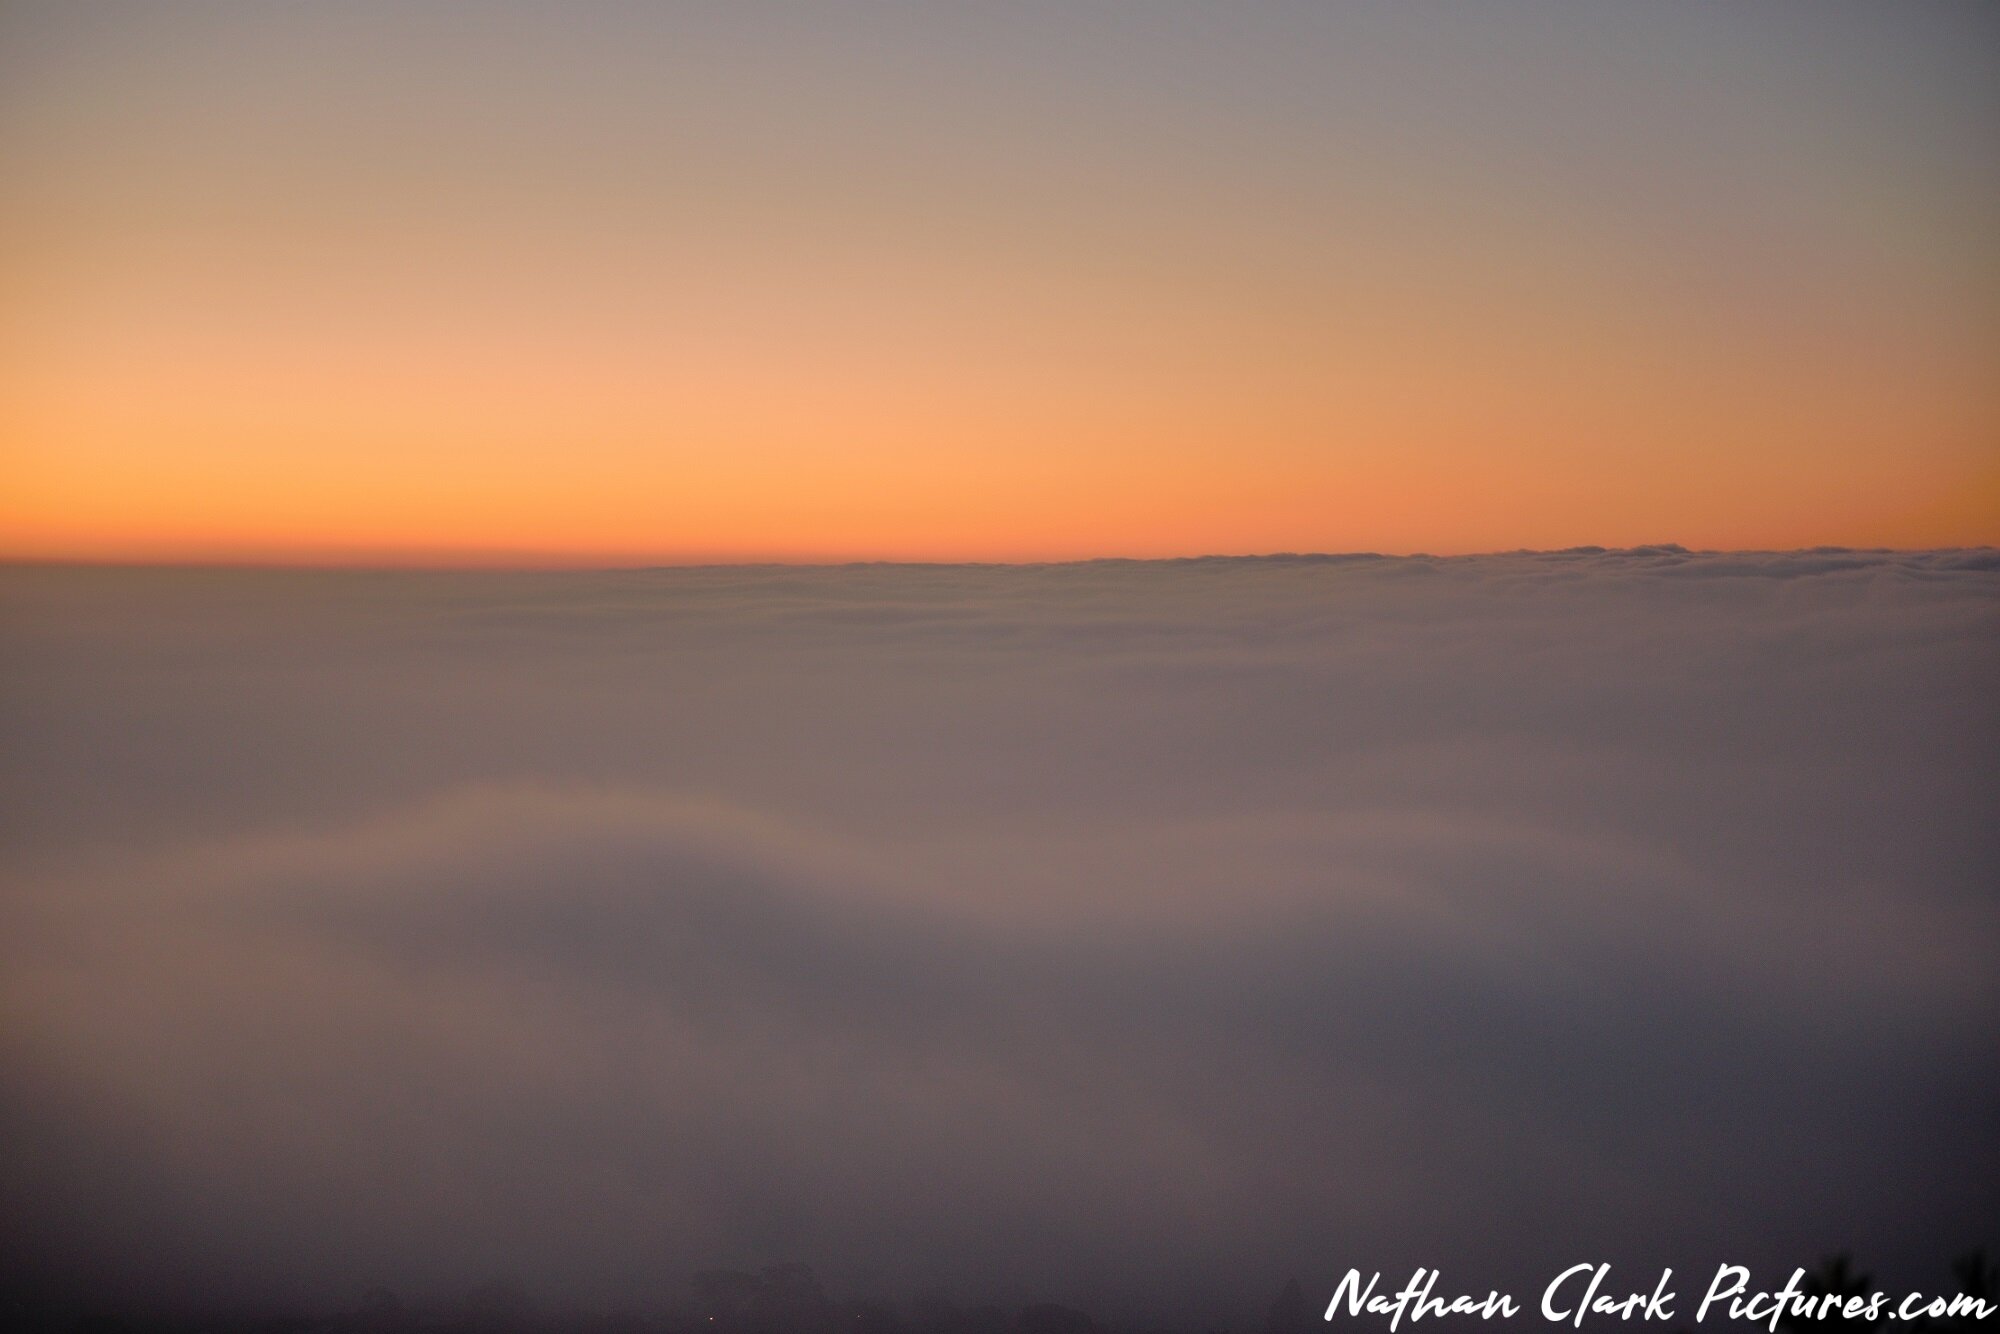
CANBERRA BALLOON SPECTACULAR 2022

Over 3 amazing mornings on the 12th, 13th, and 14th March, we had the good fortune of flying weather for the hot air balloons. As you may know from my posts over the years, this is a rare occurrence to have consecutive days that the weather is perfect for flying, and many a morning we have got up at 6am to find only a few balloons blown up and tethered at the ground.

This years feature balloon, just one unfortunately, was Tico the Sloth. A huge 33.5 meter high balloon that graced the sky as smooth and slowly as the real ones move. He, like so many of the other balloons also lowered his basket onto the surface of Lake Burley Griffin, for all the water crafts to come and say hi.

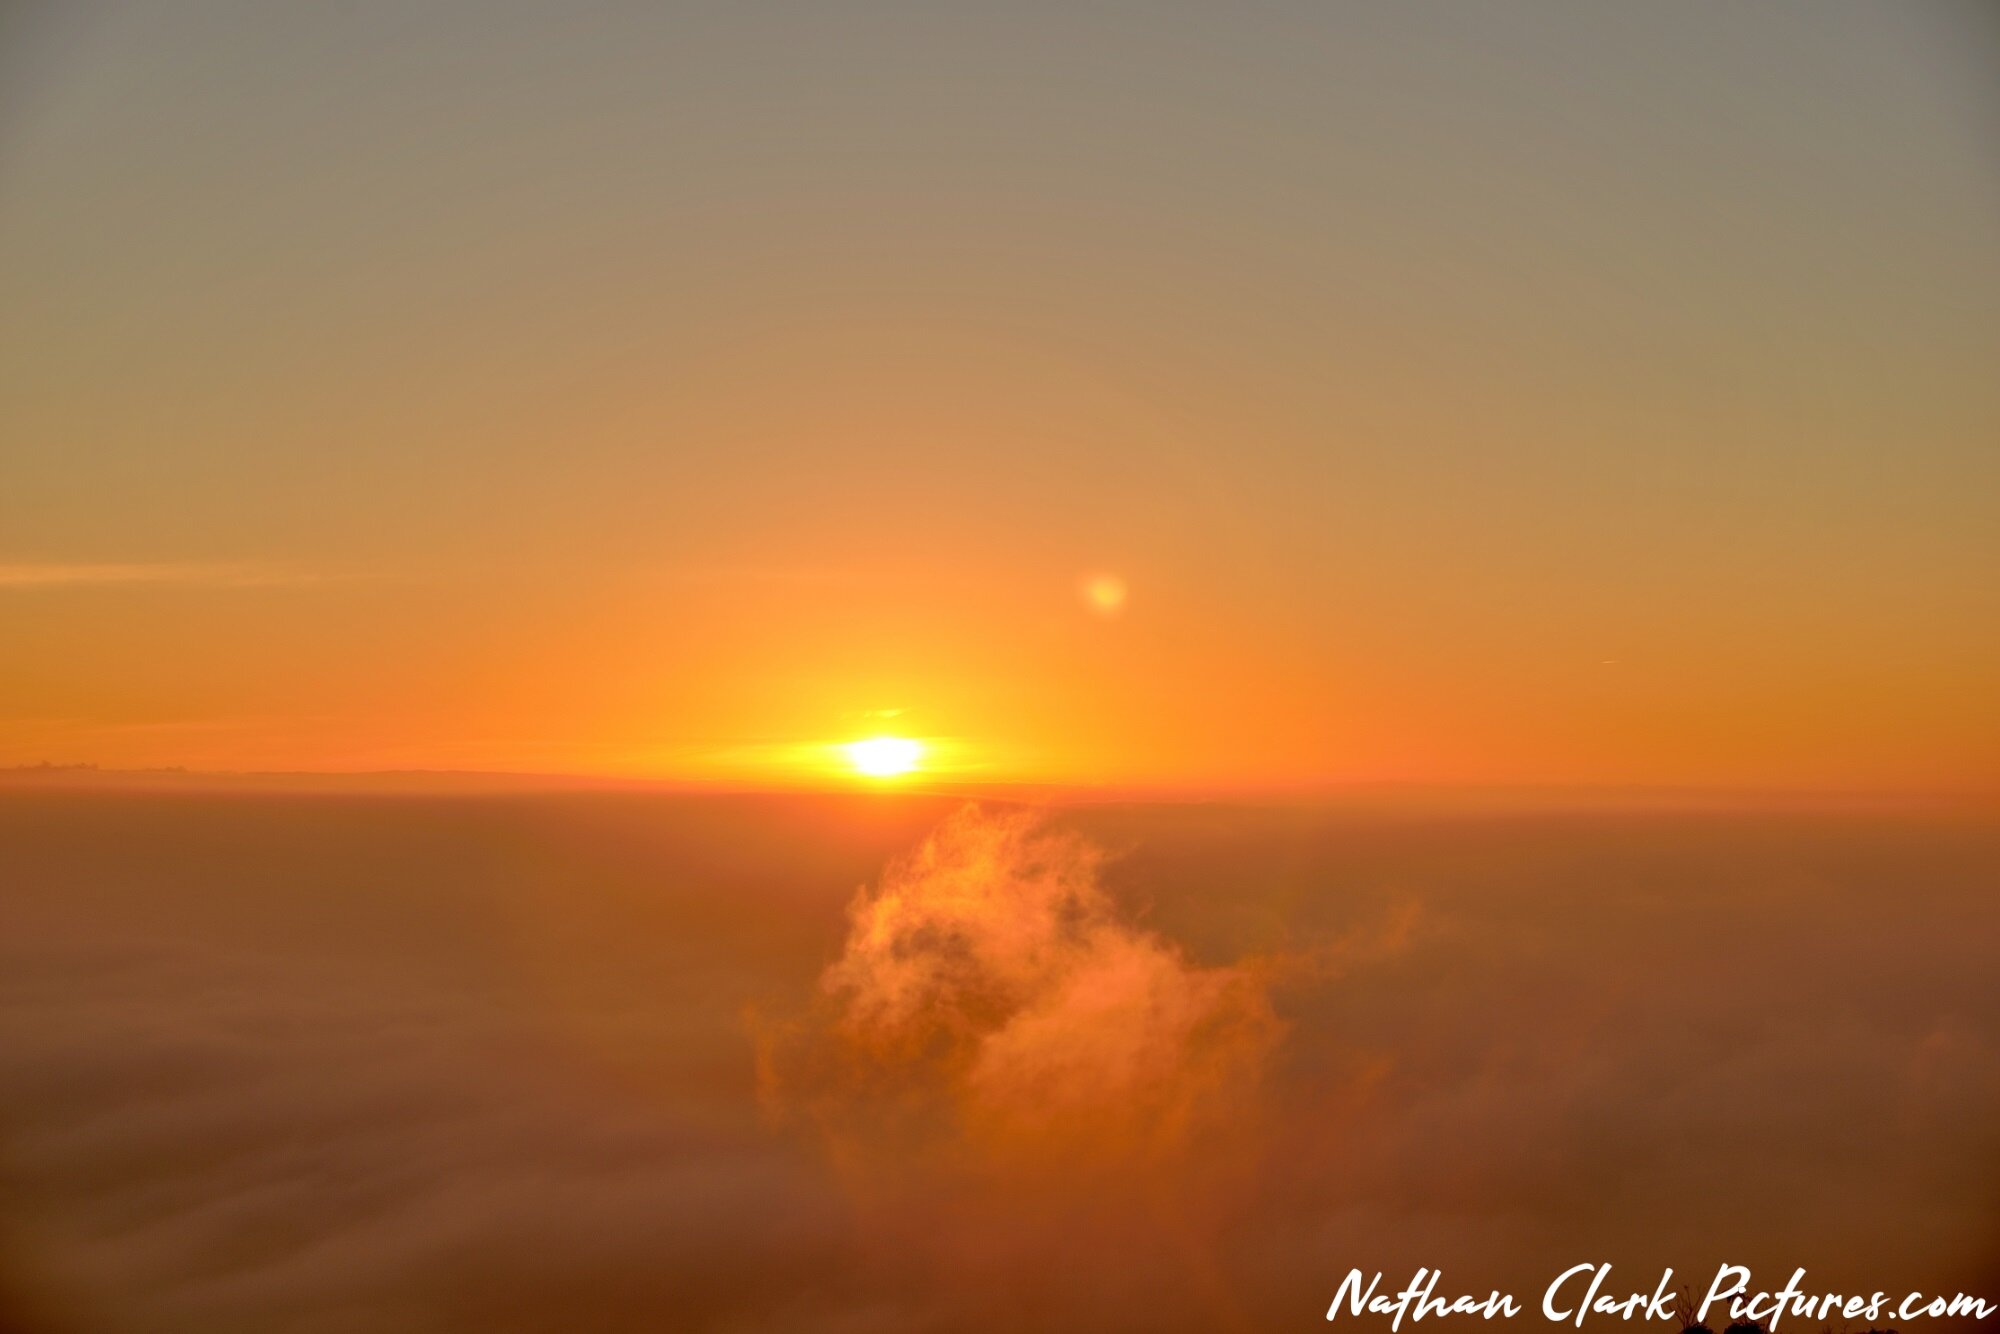
I was fortunate that the launching time was sunrise, as this made for some beautiful background sky colours.

This is just a small selection of the huge numbers of pictures taken again this year. I hope you enjoy them.

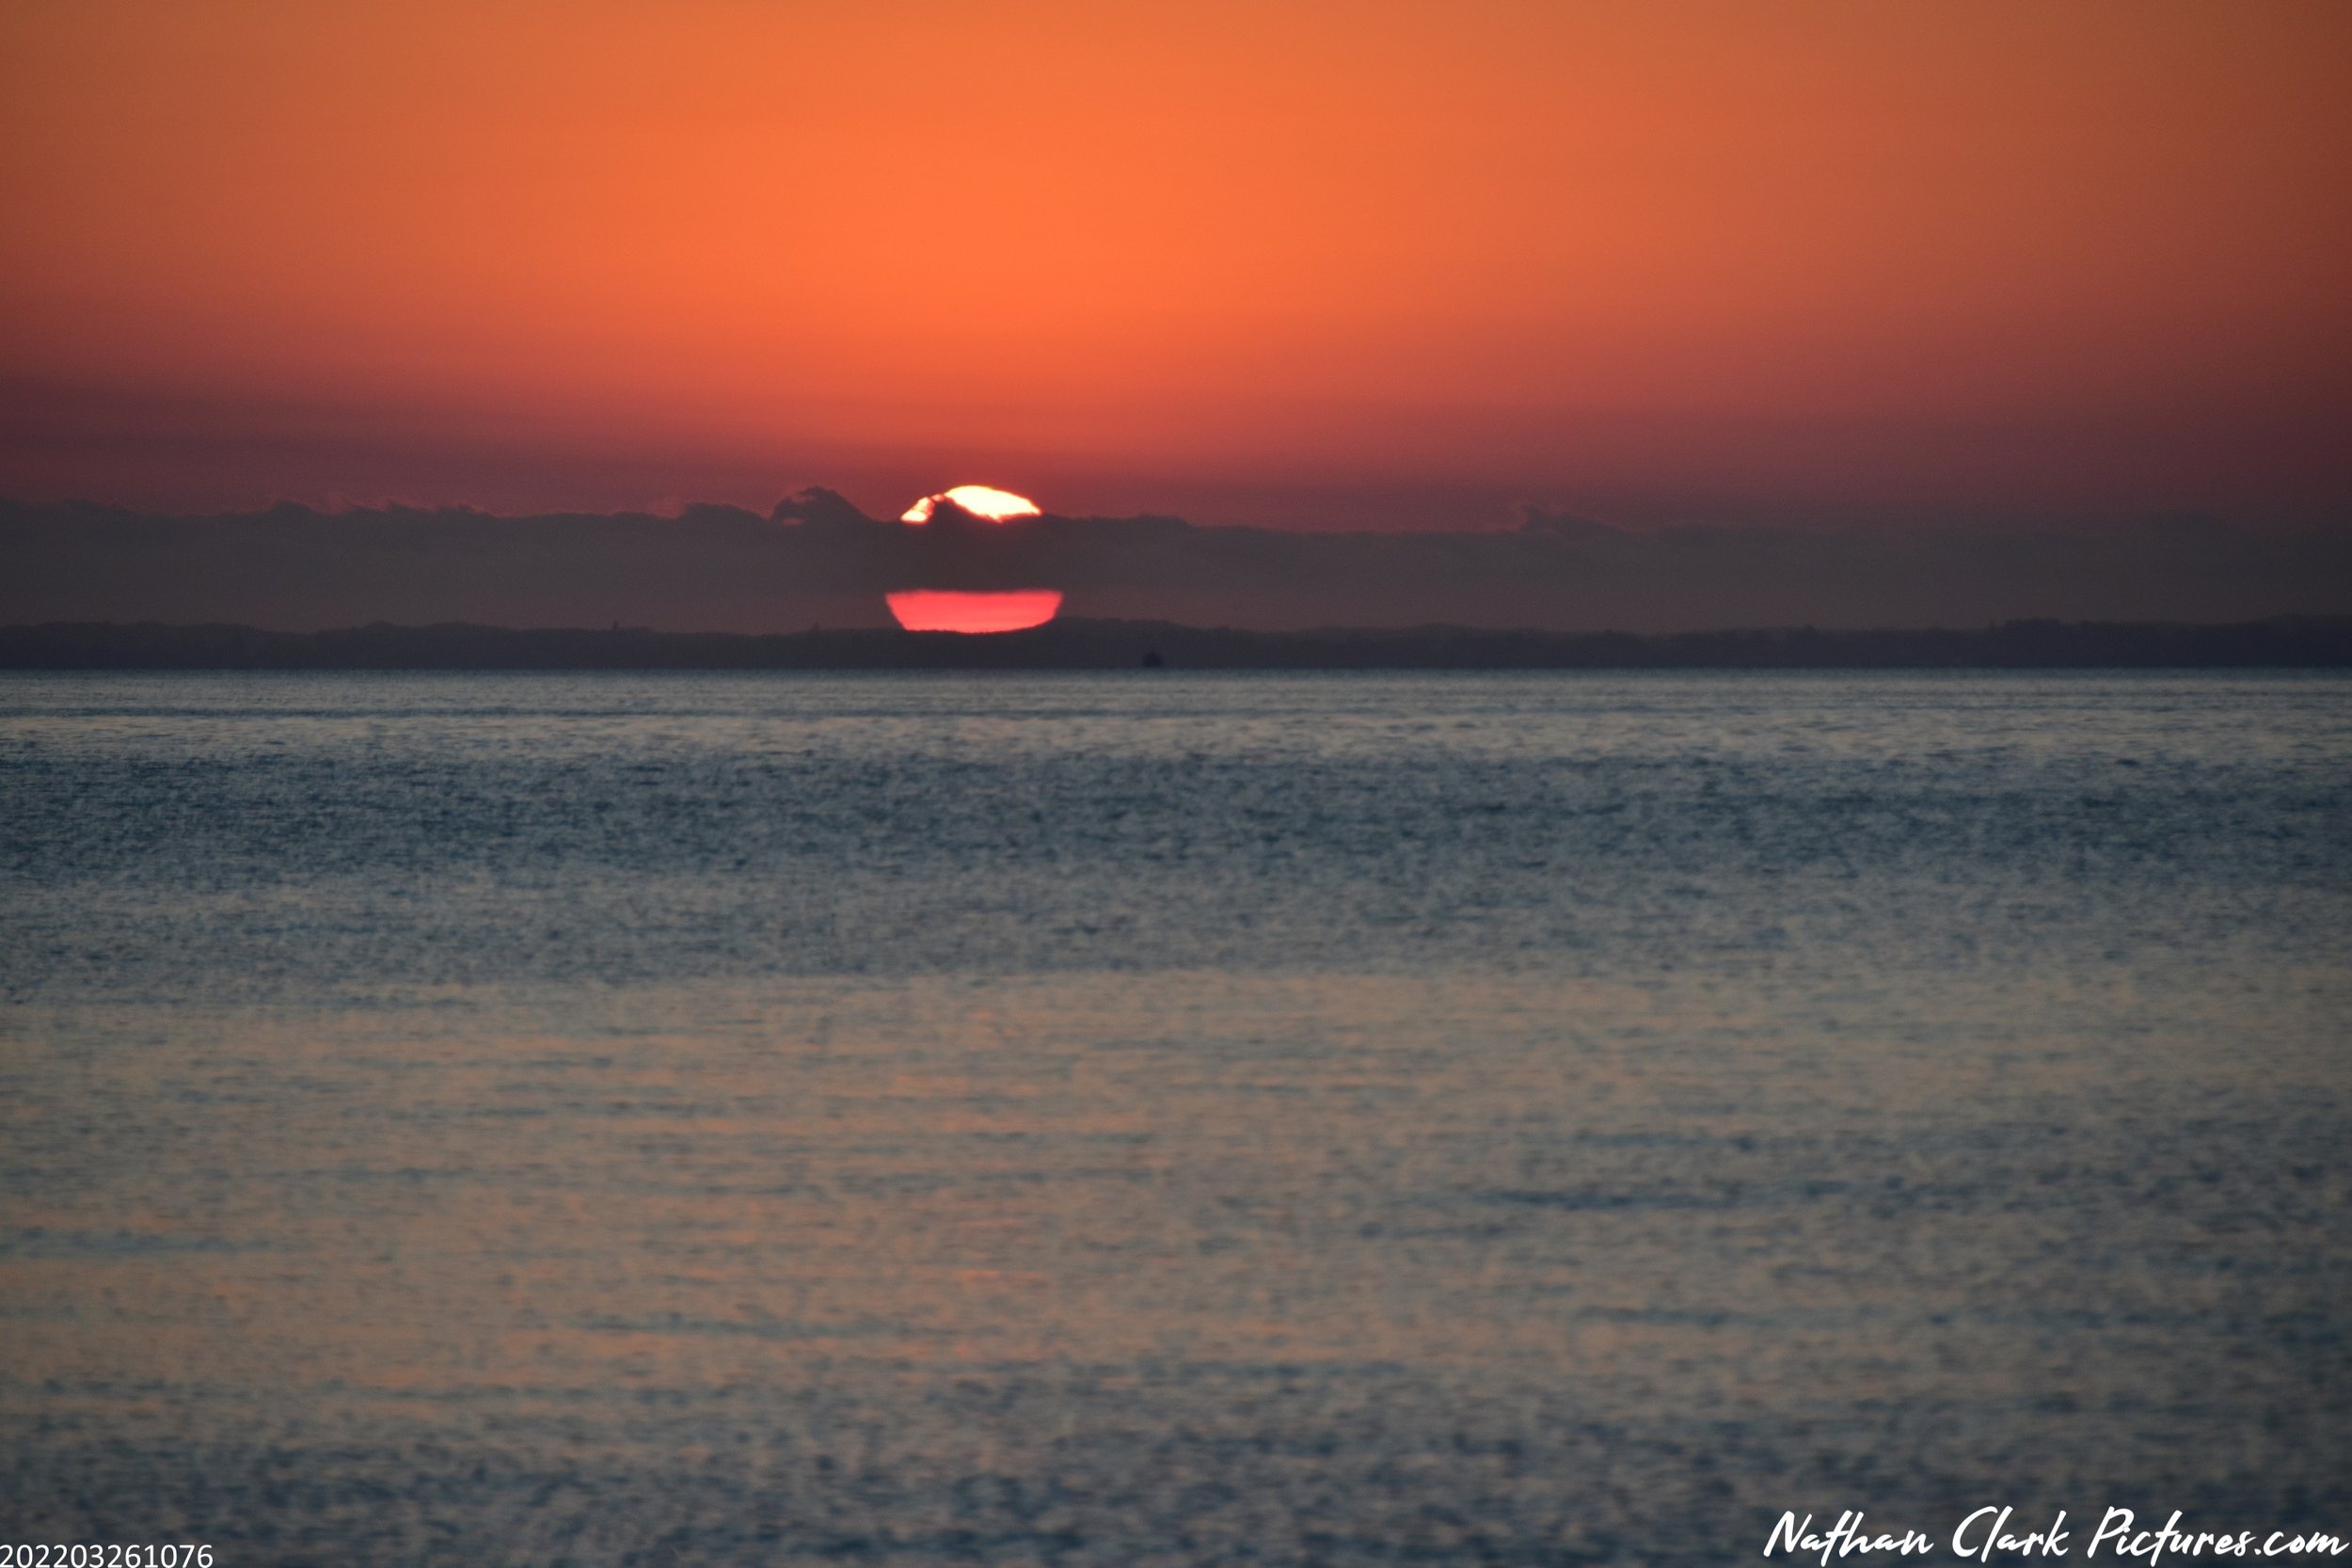
MCCRAE BEACH - SATURDAY 26TH MARCH 2022

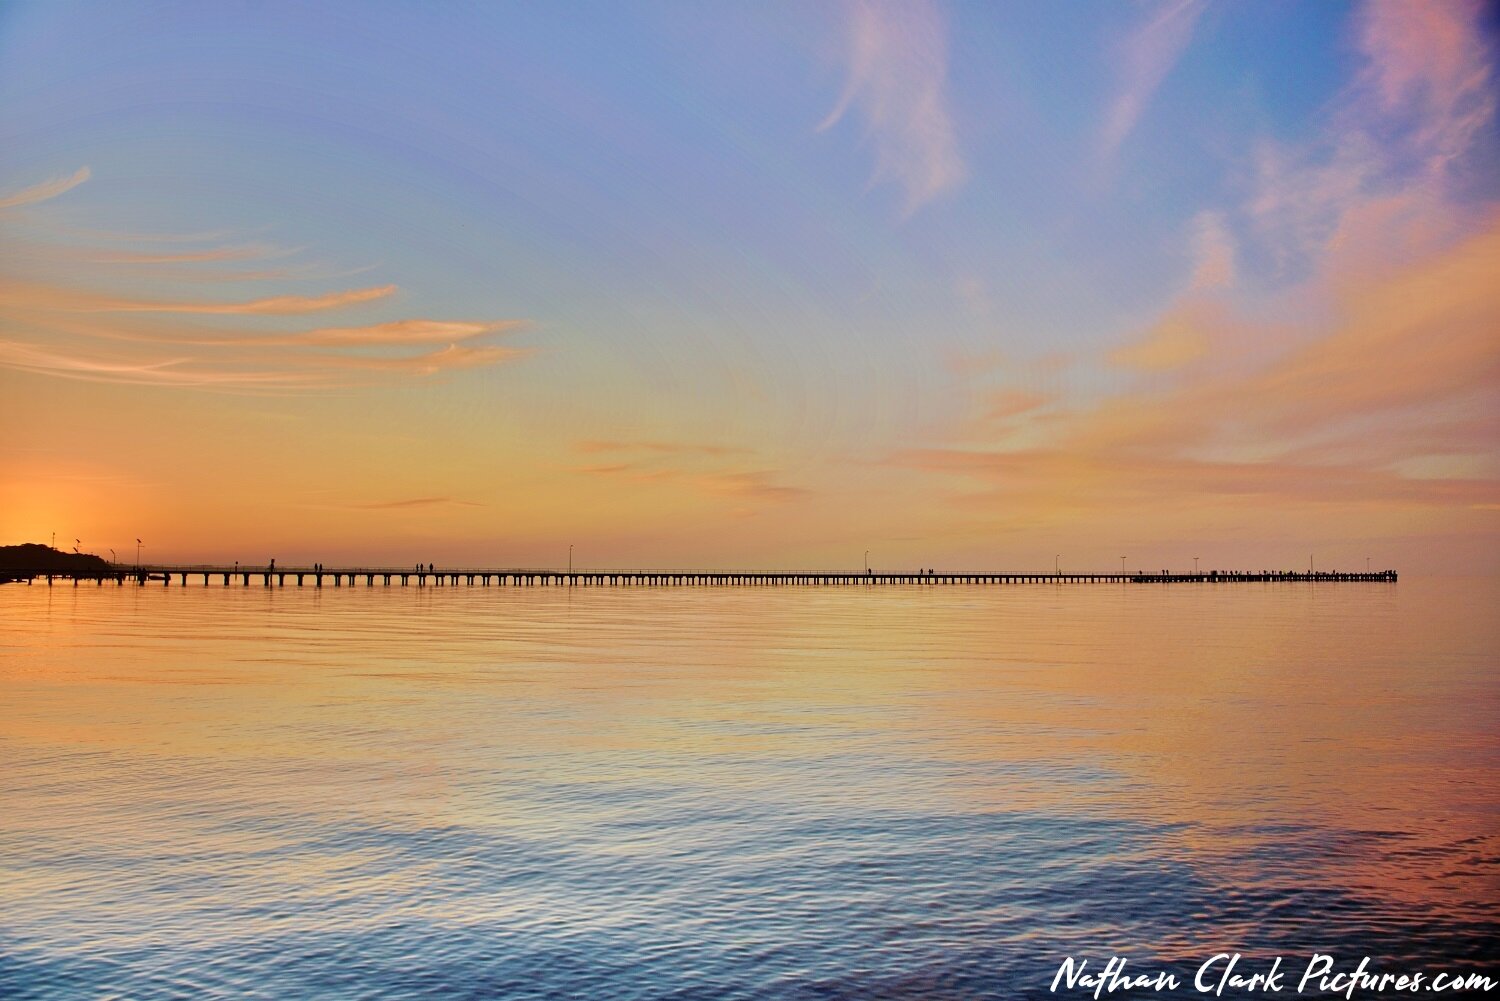
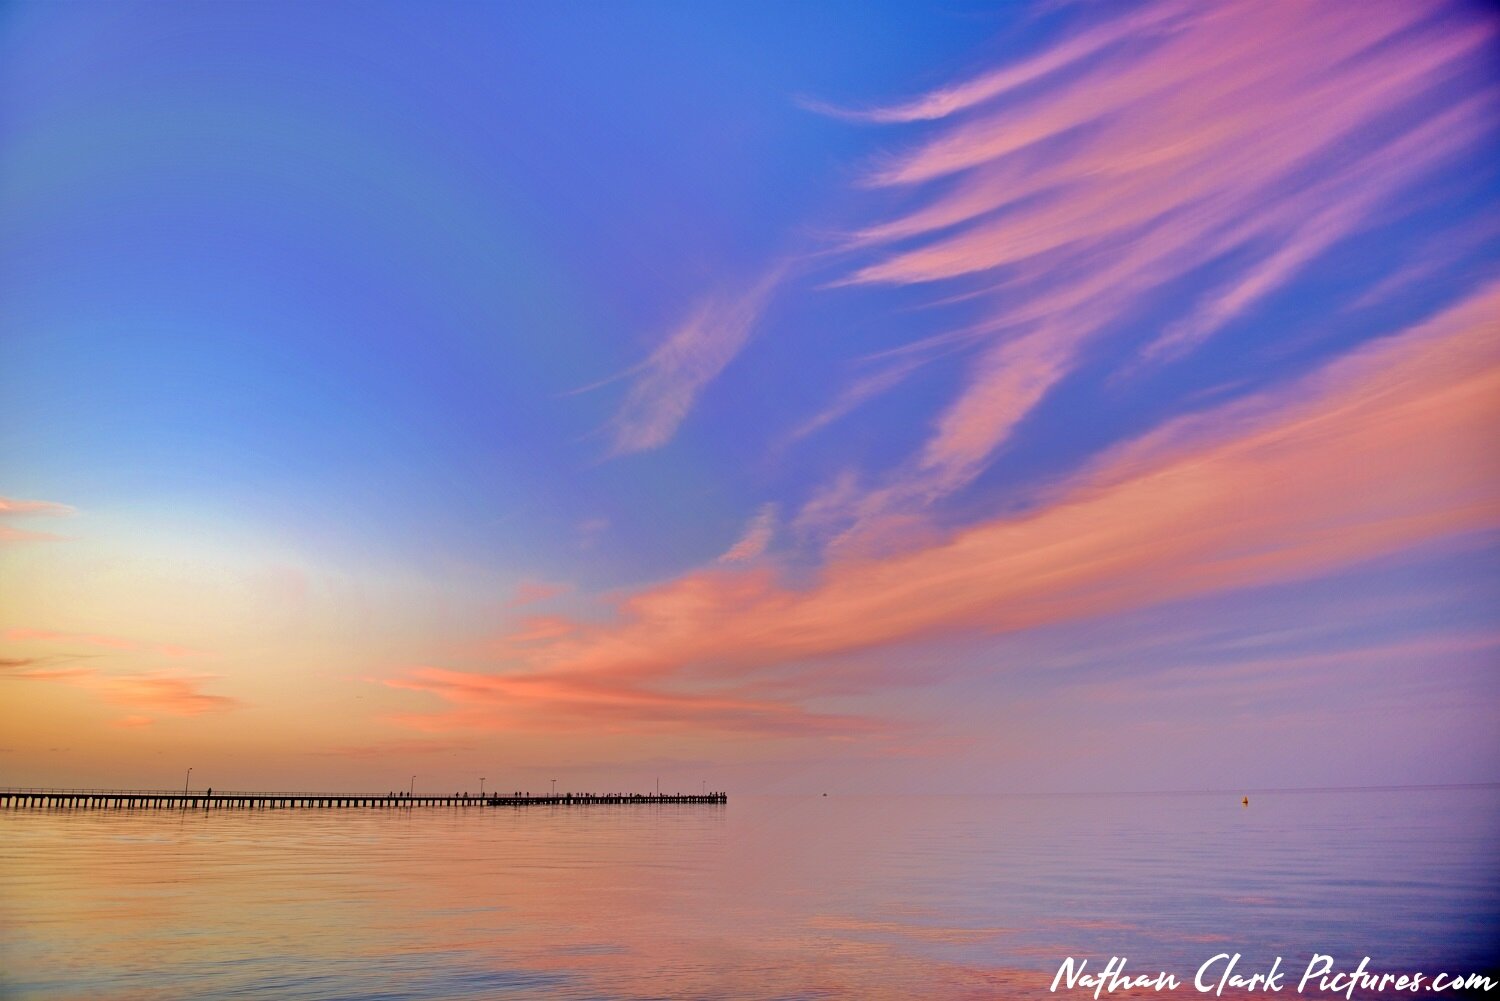
It was the boat. I was watching it while driving along Point Nepean Road. Just sitting there in the glistening water with the sun beginning its descent from above….

I stopped at Anthony’s Nose to take the picture, when I saw some fishermen in the distance, and I just knew they would make a brilliant silhouette for the sunset. So, back in the car and a little further down the road, and I was set !

Nikon D5500, DX, Nikon 18-200 3.5-5.6, HOYA PL_CIR (Circulating Polarising filter)

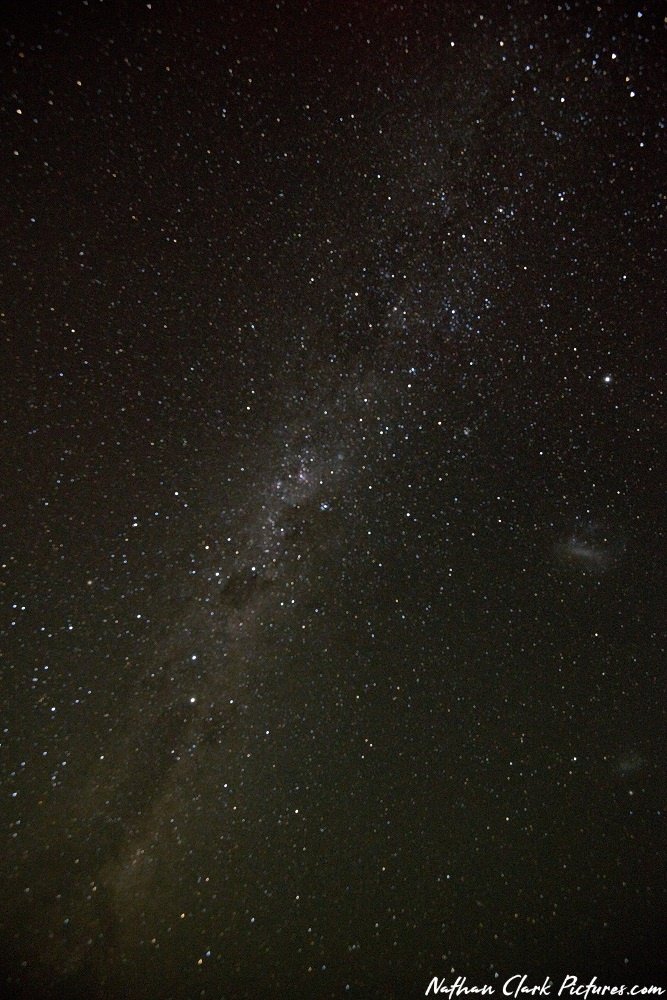
GUNNAMATTA BEACH, NIGHT STARS - FRIDAY/SATURDAY 3/4th MARCH 2022

It was a warm night on the Peninsula, and I thought I would try to capture a few pictures of the Milky Way. Well, I didn’t quite get the explosive center that I was hoping for, but… there were lots of stars to look at.

Focusing on stars at night is quite tricky. You can try with your auto focus, but you will have to be very lucky to get this to work. Also, the ‘infinity’ position on the lens focus ring isn’t going to get you there, as there is almost always a little back and forward required to get it perfectly right. That, along with the stars constantly moving, makes for a very tricky subject.

The longer your exposure, the longer the trails of the stars are going to be. The quicker your exposure, the less stars and brightness you are going to have. So, you have to move to the ISO to make some more adjustments.

Ready to go out yet ?? I recommend you start with a very high ISO, lowest possible f stop, and a 15 sec exposure time. Then, start playing around.. Move the ISO adjustment up a little higher, then lower, and look for the differences. Then, move the f stop, and see what changes that will make. I don’t think you will want to go any larger than f9. And then, finally, start playing around with the amount of exposure time. Make it 10 sec, and take it out to 20, 25, 30… see what the difference is to the stars. Oh, and remember to take off your Auto Focus, and ISO off auto.

Enjoy these pictures…

SEAWINDS GARDENS MAGIC - FRIDAY 3rd DECEMBER 2021

I got to visit and experience the magic of Seawinds Gardens this afternoon.

It was a much cooler day than the previous 2, where it got to over 30o, and this afternoon there were no thunderstorms.

There weren’t many kangaroos out this afternoon, most likely because I was so early, being around 5:30pm. The best time to see the kangaroos is about an hour before sunset. Which at this time of year is 8:30pm. I was very lucky to be able to see a joey in the pouch of one set of Kangaroos.

You can get quite close to the kangaroos, and if you don’t startle or panic them, they are quite happy to just keep eating while you walk up to them, as long as you leave a 5 meter or so gap. (Not advisable to get too close, especially with young ones. And, NO, do not try to pat them)

There are so many green leaves on the trees at the entrance, it is a very different look to what it was like only a couple of months ago, when all the leaves had dropped.

There are lots of ducks walking around the park in teams at this time of year, and if you visit the Gardens, as well as visiting the 2 lookouts, don’t miss the pond which is down the hill to the right, as you are walking towards the lookouts from the car park .

Nearing the ‘Seawinds Lookout’, there is a beautiful rose garden, and just like the entrance trees which have come alive with leaves, the rose garden is in full bloom now at the start of December.

The paths are very wide and excellently sealed throughout the gardens. However, one of the best things about the Gardens is, you can walk on the paths, or take the grass. And, you shouldn’t get lost, as it is very well signed throughout.

And, finally, if you have little ones, there is a fantastic playground only 50 meters from the end car park.

Enjoy…

Pictures taken with Nikon D5500 DX, 18-200mm lens.

STORMY AFTERNOON - WEDNESDAY 1st DECEMBER 2021

While we haven't had a drop of rain from this storm on the Mornington Peninsula side of the bay, the downpour on the other side, over Point Cook, has been torrential.

For us, the colours in the sky over the bay was amazing.

And, I even managed to capture one of the many lightning strikes !

Pictures taken from a couple of different lookouts on Arthurs Seat.

Nikon D5500 DX, 18-200mm lens with polarising circular lens.

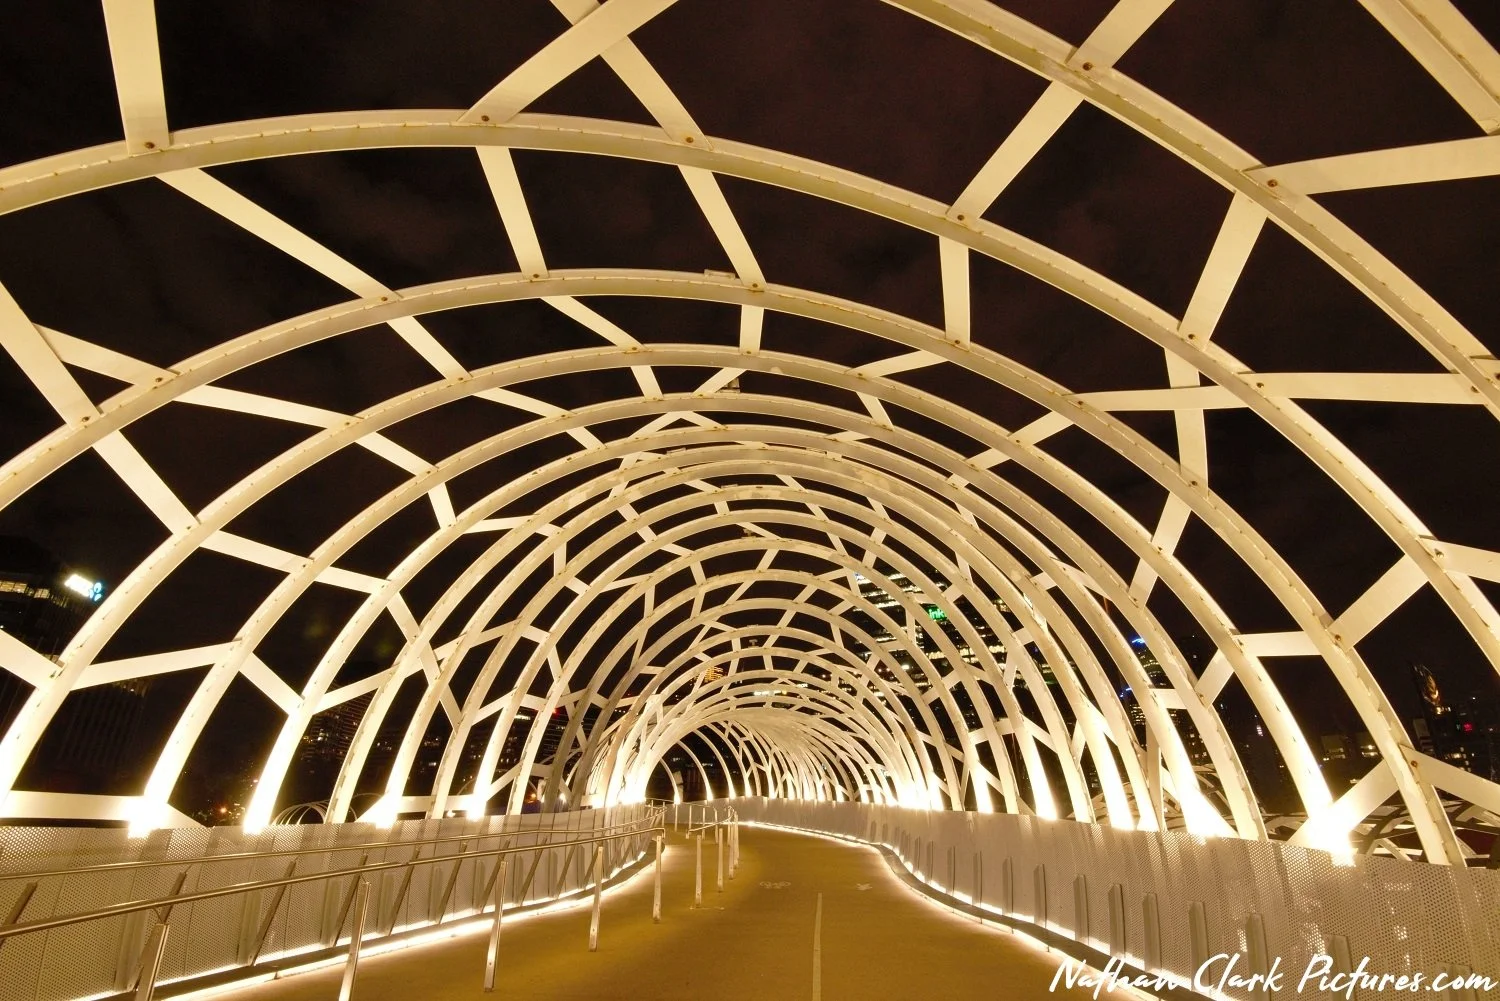
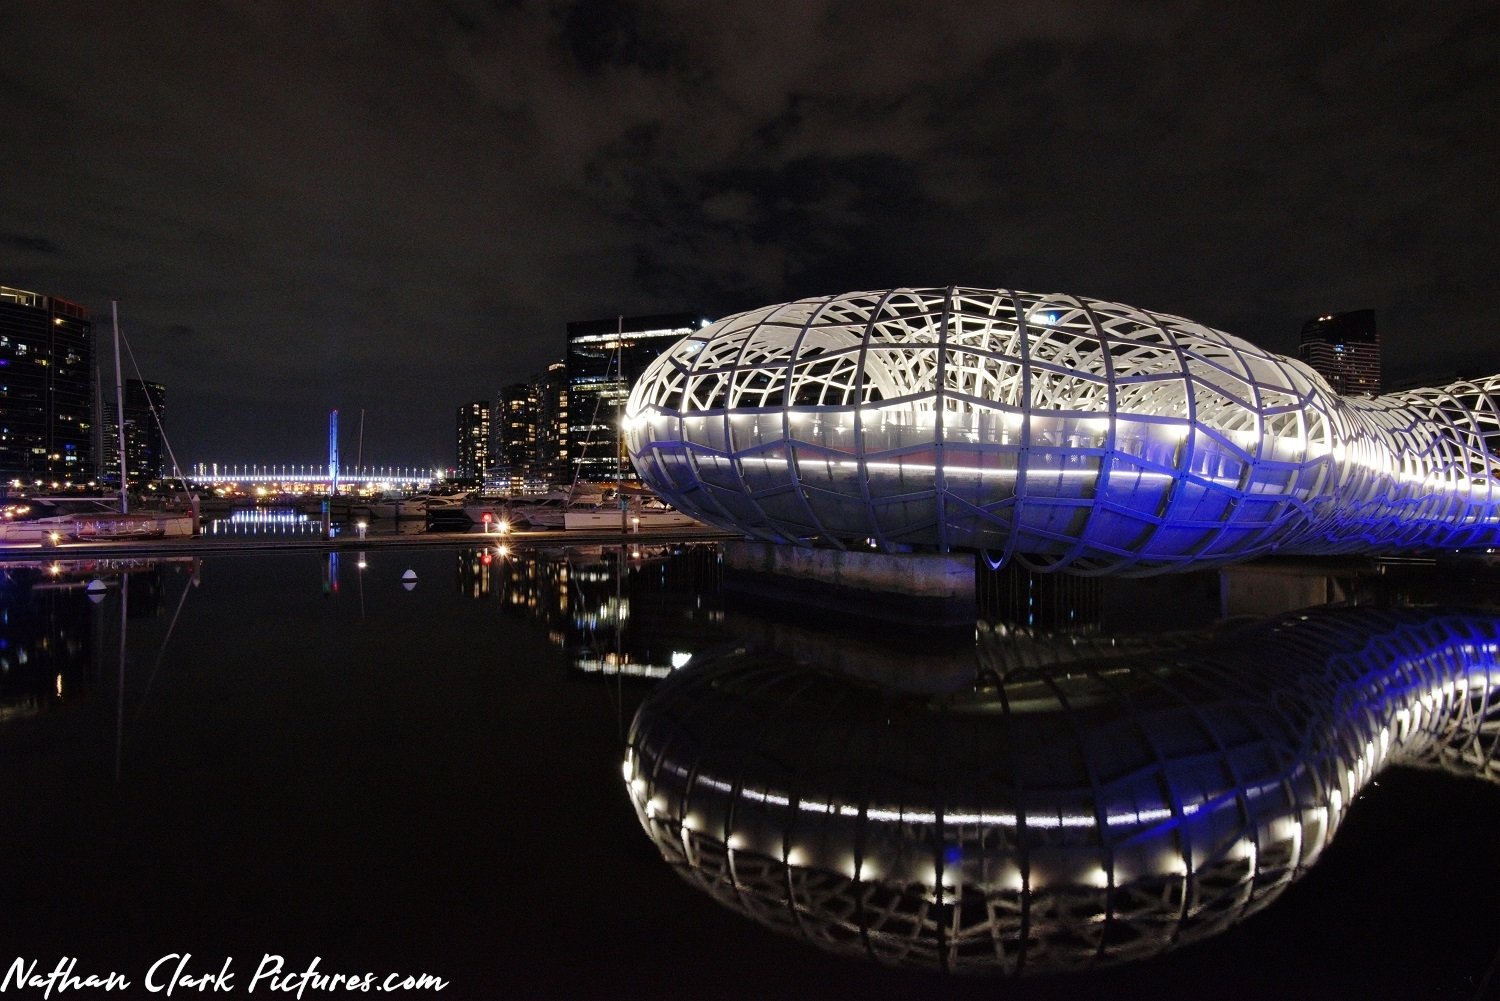
Melbourne City Docklands - TUESDAY 23rd NOVEMBER 2021

Clouds, clouds, clouds... what is it with all this cloud...

It was a beautifully warm night in Melbourne City, which makes it a great night for walking around and taking pictures.

These were taken from the Yarra river, in the Docklands area.

Photo tips: We have been talking about White Balance and how it can change the colour in a picture... can you pick the pictures with a cloudy white balance, and those with Auto White ??

Cloudy, without meatballs, but please enjoy...

Nikon D800E FX, 16-35mm lens.

SAFETY BEACH BOAT RAMP - SUNDAY 21st NOVEMBER 2021

Camera tips: I had a good sunset tonight with a friend as we shared some of our camera knowledge with another friend who is gaining an interest in learning about using a DSLR camera.

We played with Exposure Compensation and White Balance, while in Program mode.

We saw how changing the Exposure Compensation when looking into the sun can make a dark picture turn light. (See example pictures below of 0 Exposure Compensation, then +2, and +3)

We saw how changing the White Balance settings from Auto to Cloudy can add a bronze colouring to the picture. (See examples below of Auto/Sunny White Balance setting, and Cloudy)

There are so many settings with these cameras, and by taking it one step at a time, and changing these settings it will help your understanding of what changes they can make to your picture. (Of course, having someone there to show you how, and to help navigate you through the settings can be a great help)

We also talked about JPEG and NEF file pictures.

POLICE POINT - MONDAY 4th OCTOBER 2021

Exercise walk around Police Point, Point Nepean National Park.

A beautiful place if you get the chance to come and visit one day.

Police Point has a very historical significance and is rich in history, which is extremely well presented on the many notice boards.

This is part of the many exciting things to see and learn about at Point Nepean National Park.

The lavender is in flower now, and there are many other plants in flower, and on a sunny warm day there are plenty of bees...

CAPE SCHANCK - SATURDAY 18th SEPTEMBER 2021

With +5km added to our allowable travel distance, I now have a new, but old, favorite place I can visit.

With a thunderstorm in the forecast, and purple on the radar, I calmly sat and ate my lunch at home as I watched the sky get darker and darker…

Finally on my way, I found hail on the side of the road. So, as much as I would have loved to capture a stormy sky, it was probably just as well that I had missed the storm, and I got to play in the now beautiful sunshine.

I do love the amazing views from this section of our Mornington Peninsula, where you are looking out over Bass strait, with the wind coming across the ocean from Tasmania, and beyond that, the South Pole….

There is a lot of steps involved with walking out to the end, known as Pulpit Rock. But, the black stoned beach is an amazing sight and the sound of the sea water breaking on the rocks and rolling them against each other is surprisingly calming.

The Cape Schanck lighthouse grounds are open to the public by electronic gate from 6am till 6pm. Tours of the lighthouse, and houses in the grounds, which now includes a museum, are available outside of lockdown, and are extremely well priced at $14 an adult. Numbers are very limited, so plan ahead. Look up ‘The Lady of History’ on Facebook. (18.09.21)

Please, enjoy todays these pictures…

GUNNAMATTA COLOURS - WEDNESDAY 8TH SEPTEMER 2021

Tonight I was late for the sunset, again. But, this time it was by choice…

I’ve always said, if you see an opportunity to capture something, you have to stop and take that opportunity. Tonight, with 15min to spare, I saw just that something… cows. Unfortunately thought, it didn’t ‘grab’ me as much as I had hoped. So, back in the car I jumped, and kept on to the beach. But, at least I stopped and tested the possibilities.

Photo Tips: “How do you get such intense colours in your sunsets?” This is a common question that is asked of my pictures, and, it really is quite simple to do.

There are a number of different types of lenses, and they all have their specific purposes. With a wide angle lens, you will be able to take a picture with a great width and fit a lot of area into a picture. With a zoom lens, you will be able to take a picture close up to your subject.

Lets focus on the sunset picture as an example. A wide angle lens will open the picture up to a lot of sky, and all the colours in the sky at that time. A zoom lens will narrow your width of view and get a lot closer to your picture subject, which reduces the variety of colours, and makes these colours stand out more.

See the pictures at the end of the gallery below. Both taken at the same time and location, but due to their field of view, give different colours. I have circled the rock to help you see the difference between the wide angle and zoom pictures.

WOW… How’s these!! MONDAY 6th SEPTEMBER 2021

Procrastination on whether to go out or not is the biggest reason for me missing an opportunity.

However, keep in mind the real colours in the sky can occur just after sunset, at the time known as ‘Blue Hour’. Ironically, this time of day is just after the sun sets, and lasts approximately only 20-30 minutes. (Not for a full hour)

The sun rises and sets every day. Many are very uneventful. (this leads to my procrastination, as you can, but can’t, go to every sunset or sunrise. Sometimes you can can be lucky, and tonight was one of those for me.

Here are just 4 of tonight’s best… enjoy.

LOCKDOWN SUNSET EXERCISE - WED 25th AUGUST 2021

Apparently Spring is coming soon…

It’s very quiet here on the beaches at the Peninsula right now.

I’m sure everyone will be making the trip as soon as they can. But, in the meantime, please enjoy some pictures from this evenings sunset.

(Nikon D600, 24-120mm)

A BLUE SUNSET - Friday 30th July 2021

Once again I have been tricked by mother nature..

The wind was blowing and the waves were crashing, but most importantly the clouds looked like they were ready to explode with colour.. I was wrong.

On the bright side, it has been a while since we have been able to see the sun go down at the horizon, and not be covered by cloud.

And, to the young lady, Calista?, thank-you for your understanding that I had some pictures to take, otherwise, I could have talked to you all sunset, and longer, about what camera you should buy…. Please, if anyone has a question, feel free to ask in ‘‘Comment’ below, through ‘CONTACT ME’ here on the website , or, at my fb site….

Foggy Arthurs Seat - Saturday 10th July 2021

Most of Melbourne was covered in thick fog all day Saturday 10th July 2021. I took my camera out to take pictures, but there can be a time when fog is so thick that when mixed in with the sun a picture only creates a white image. For me, that was what most of this day was like.

At the end of the day I choose to lift up above the fog, and visited Seawinds Gardens in Arthurs Seat State Park. I was aiming to find some kangaroos, with a nice sunset light behind them.. but, it seems they too had had enough of this foggy day, and had decided to stay sleep.

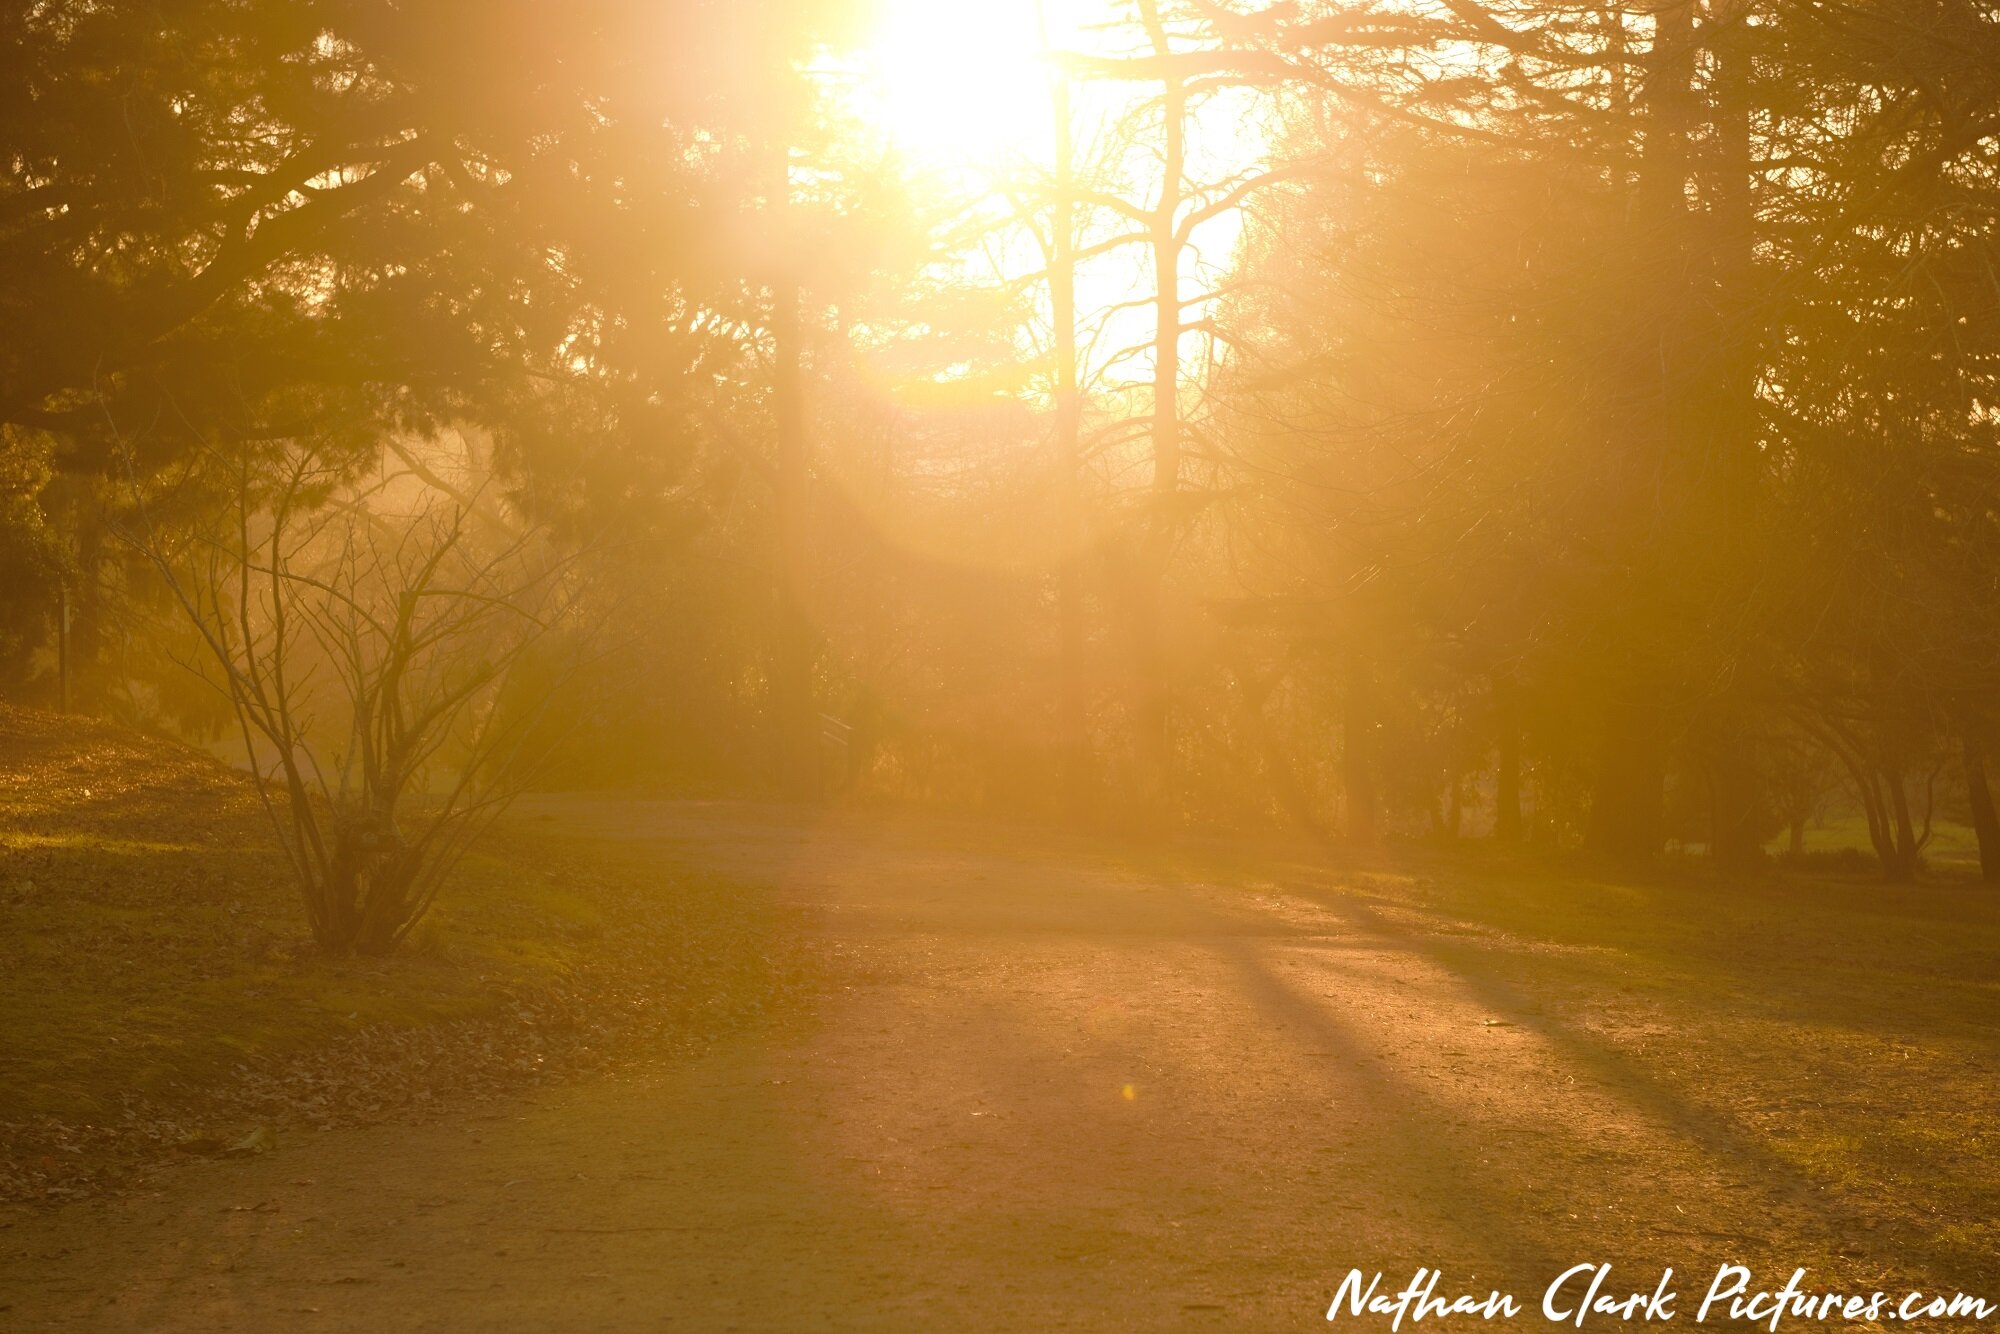
As I was walking towards the lookout, I was lucky to see a kookaburra and duck, as the bright orange sunlight was shining through the trees amongst a faint hint of fog.

At the lookout I was above the fog level, and the view of the sunset was amazing. After the sun went down I decided to drive down to the first lookout, Chapmans Point. I took a few pictures, and then drove to the 2nd lookout from the top, Murrays Lookout. Franklins Lookout, the 3rd and last official car parking lookout, was right in the fog, and I was happy with the last light of the day finally changing into blackness.

PHOTO TIPS: When taking pictures into the sun, be prepared to add exposure time. While a picture is taken looking to the side of the sun it can be of perfect exposure, yet when taking a picture looking directly into the sun it can create a dark picture. This can be because your light sensor measurement for the picture is reading the brightness directly from the sun. You can adjust this by moving the sensor to the darker part of your picture. You may then need to add more exposure time, so dial up the EV dial, (as discussed previously). Keep on taking pictures with different levels until you are happy with the overall exposure. Remember, what ever doesn’t work… just delete !

ROUGH WATERS AT THE PIER - FRI 2ND JULY 2021

Finally all the elements aligned, and I was able to return to this beautiful place to capture this magical event. The tide was at the right height, the sun was calling an end to the day, the waves were rolling in, and the wind was blowing their spray around for me…

Here is just a sample of the over 100 that I captured tonight. There are so many variables considered when taking these pictures. I started in Program mode. Moved the EV setting into both the + and the -. I changed into Manual mode, and started playing with the shutter speed, and then changing the amount of light by adjusting the aperture. Then the sun would play hide and seek within the clouds, and everything would need to change again… Then, it all came down to being able to pick the right waves, and pushing the shutter button at exactly the right time !!

Picture Tips: Whenever taking pictures at the beach, when there is sea air or spray involved, take a lens cleaning soft cloth with you, and remember to take time out to wipe all that sea spray off the front of your lens, or you will just end up with a whole lot of blurry images at the end. To help reduce the spray exposure, between shots I will hold the lens cap over the lens to protect it, and remove it in time to half press the shutter for the sensor to adjust to and measure the correct light setting, and then take your picture !

Tonight’s pictures were taken with the Nikon D600 (24mp)

GOING MANUAL AND PLAYING WITH 'S' - SHUTTER SPEED

OK, it’s time for you to get out of your comfort zone and play a little.

There are many ways to change your exposure time. We have been discussing very minor and quick adjustments by using Exposure Compensation. Now, we are going to take it up a step and move into the manual feature of Shutter Speed adjustment…’S’

If you have one, this is going to be much easier to practice with your camera onto a tripod.

As we start practicing, it is also going to be best if you can take pictures of something like a running water fall. Something with a constant moving function where you can take your time, and your subject will still be there.

  1. Select ‘S’ from your ‘camera picture’ or ‘function mode’ dial.

  2. Once in this function, you will have the ability to change your cameras physical shutter speed, using the ‘setting dial’ on the camera. (you may need to look up your camera manual if you can’t find it)

  3. The shutter speeds available will vary as per your camera specifications, but lets just say there will be a really fast shutter speed, 1/4000 of a second, and a very slow shutter speed 30 seconds. What this means is the amount of exposure time you are allowing your sensor to pick up light will be really quick/short, or, slow/long.

  4. Best practiced in normal daylight, and not facing the sun, select the shutter speed of 1/200. That is, 200th of 1 second, and take your first picture.

  5. Now, move to 1/125th of a second, take a picture, and then 1/80th of a second, and take another picture.

  6. Slide through all 3 pictures, one after the other, and look for a difference. Do you see any?

  7. Next, take another 3 pictures, start at 1/400, then 1/80, and the last 1/10, and again compare all 3.

Do you see the slight difference in the 2 pictures below. Can you guess which one was long and which one was short exposure?

BEFORE THE RAIN - TUE 8TH JUNE 2021

I’ve always said taking pictures is full of exercise… Well, these pictures from today were no exception.

Walking up and down the pier, and even trying to stay on the pier and not be blown off, all amounted to a lot of exercise.

Unfortunately these clouds didn’t form any brilliant shape, they just came over as a dark blue, ready to drop rain. Which they did soon after I took these pictures.

LAST DAY OF AUTUMN 2021 - MON 31ST MAY 2021

The last day of Autumn 2021, and I just had to get out and take a couple of pictures…

Back to Rye Pier to watch the fishers feeding the fish and the people walking their dogs…

And one of the leaves holding on…

BEACH SUNRISE - SAT 22ND MAY 2021

I haven’t been up and out so early in a long time. I usually save these early rises for holiday snaps. But this morning I was going to help Little Miss Joey and the team with their breakfast after their sleepover, so had a good reason to rise early, and take advantage of the sunrise in the process.

It was just 1o as I waited for the ice to slowly flake off the windscreen with each swipe of the wipers. It was a beautiful clear sky for a sunrise, and the car had only just started blowing warm air through the heater before I reached my destination and had to get out again.

I walked to the Scout Hall, and there was surprisingly no noise, so I quickly went back and got my camera from the car, and walked onto the beach, just in time to see the sun begin to rise over the mountains.

Oh, and remember, if you want to walk in front of me taking pictures, you just know you are going to become the photo subject of the day… “A man and his dog beach Sunrise”

Photo Tips: Again, shooting directly into the sun, the camera sensor will make the image very dark as it compensates for the brightness of the sun. A quick way of getting around this is to adjust the EV, (exposure Value), level. This is a hit and miss adjustment, which requires you to set the EV level, take a picture, and then check in the cameras screen, and quickly adjust the EV number up or down a bit, take another picture, and check on the cameras screen again. As you change your picture composition, i.e. wider or zoom, left or right, the sun will be a different brightness level on your camera sensor, so you will need to adjust the EV level all over again. This gets easier and better with practice, so, the more you get out and take pictures the better you’ll get…