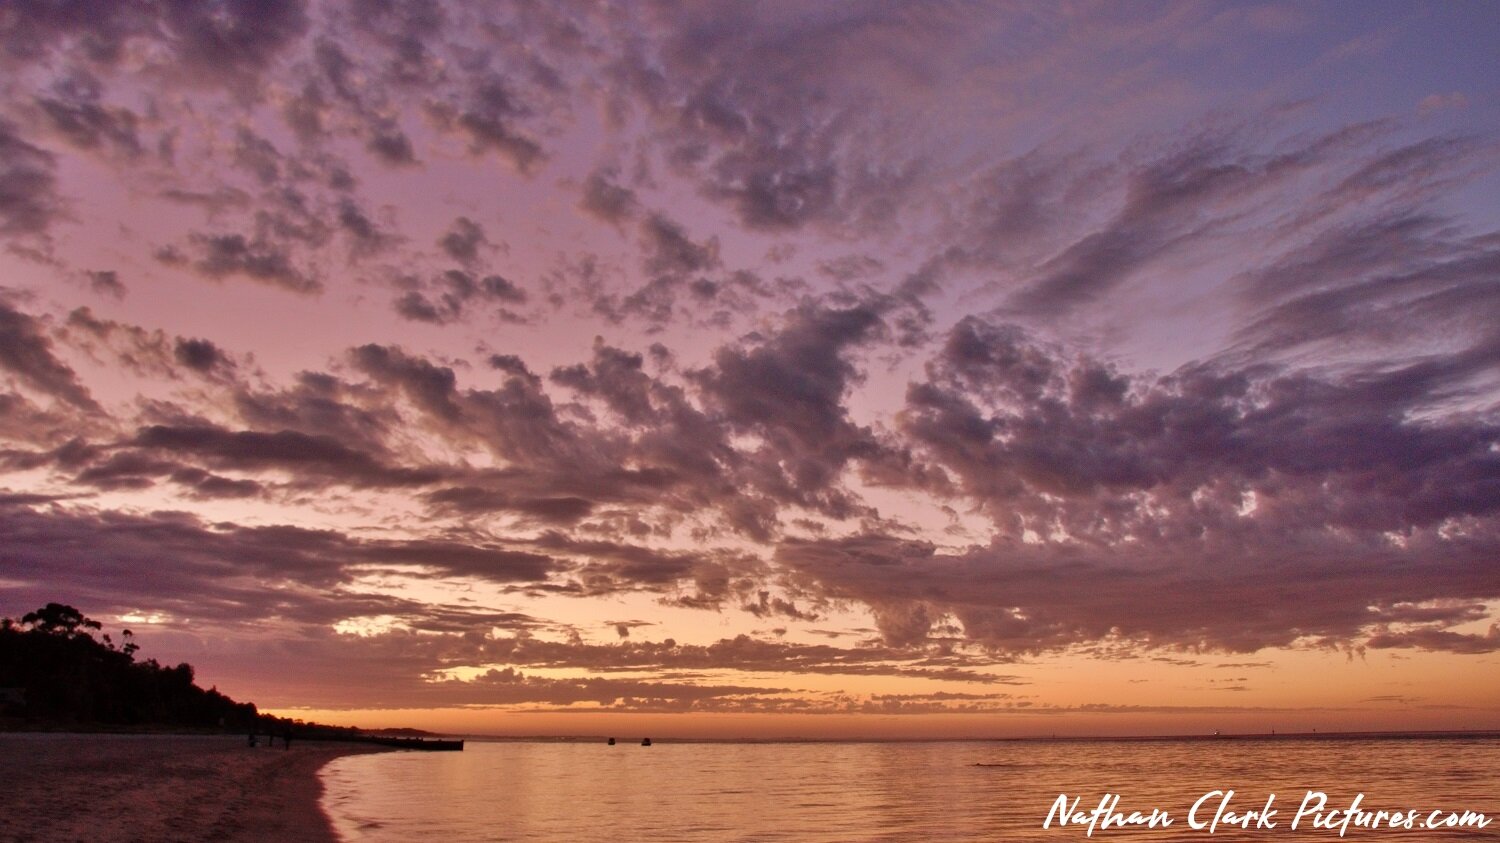
BEACH BOX SUNSET - SUN 16TH MAY 2021

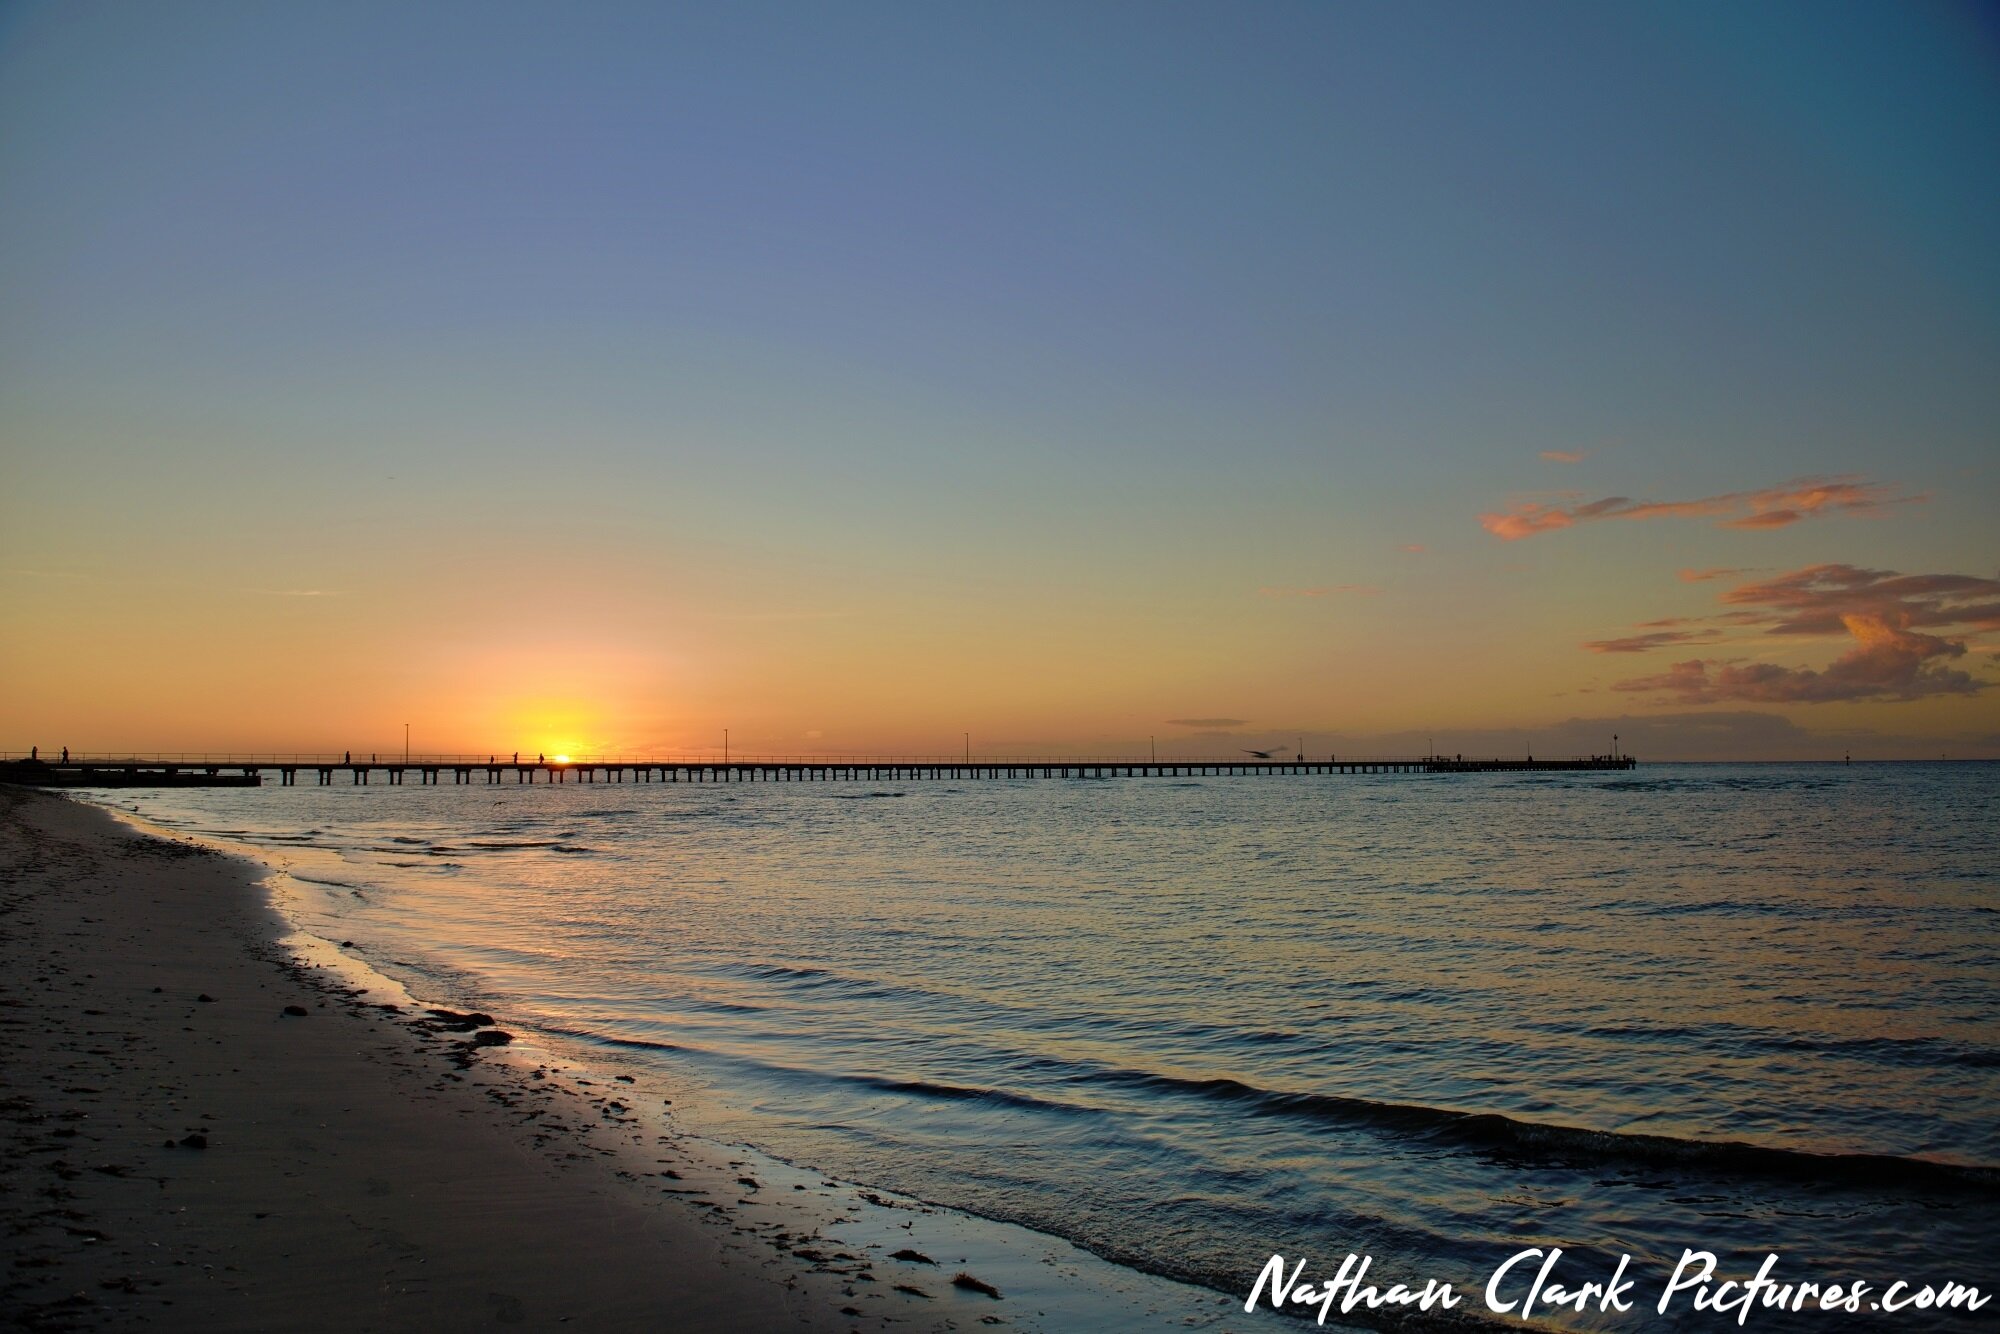
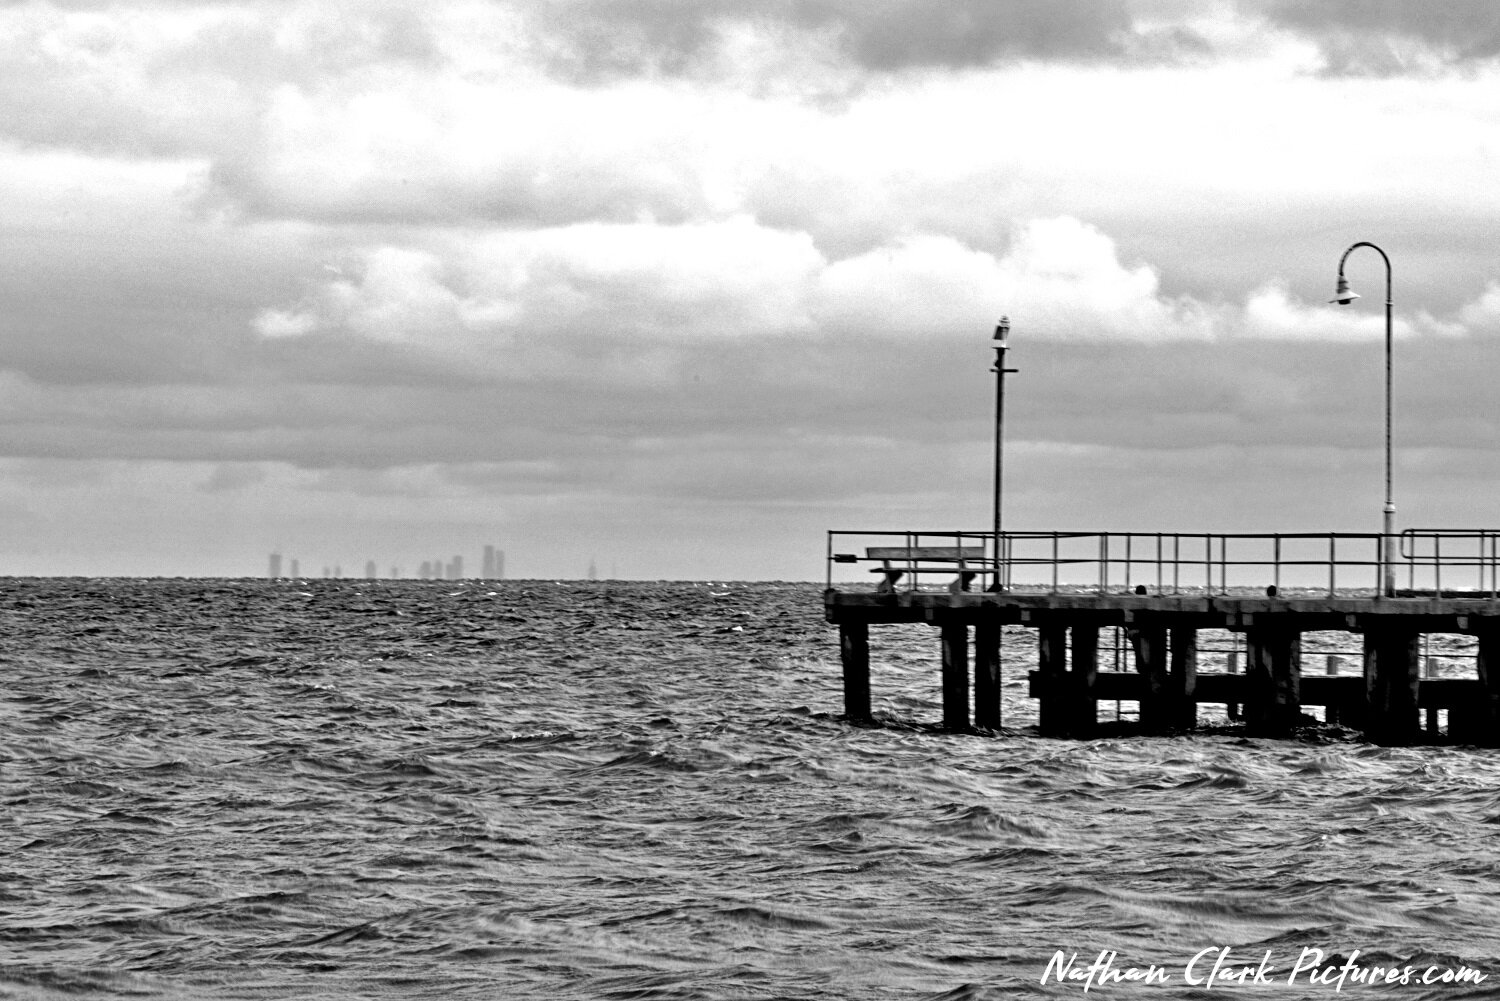
It was blowing an ‘onshore’ gale, and there was a huge cloud mass enveloping any chance of a sunset, but as I’ve said before, you have to take the moment when it presents. An onshore gale is when the breeze is blowing from the sea/water onto the land. This can present a number of problems such as sea breeze being blown onto your lens, and sand blasting.

Equipment Tips: Lens Filters.

With an onshore wind at any beach you have to be very careful not to sandblast your lens. A lot of lenses are open to the elements through their barrels. A lady at Camera Clinic at Collingwood in Victoria, once described the extension lenses to me as ‘Vacuum lens’s’, due to their dust and grit attraction. In a quiet environment you can even hear them sucking in the air as you move between the wide and zoom settings. In strong winds like you can get at a beach you can easily get tiny grit going through to the inside of the lens. You can also easily get sand scratches on the lens glass.

It is for reasons like this that I always recommend having a filter on your lens from the moment you buy it. It doesn’t have to be an expensive filter, but, like everything, the better the quality filter you get, the better the glass/plastic coating will survive and clean, when dirty. Oh, and that’s another thing, don’t short change yourself by cleaning your filter or lens with anything other than a good microfiber cloth. Hankies, clothing, and tissues, as soft as they may seem, can all result in small scratches that can gradually damage your filter or lens with scratches.

Another good reason for having even the most basic UV filter on your lens is the ‘insurance’ you give yourself in the rare event that if you knock the front of your lens on anything and scratch it. You can’t go back from a mistake like that, and replacing a scratched lens can cost a lot more than replacing a scratched filter…

So, this afternoon, with my expensive 24-70mm 2.8 lens, with UV filter fitted, and a big winter jacket, I moved between the beach boxes, taking advantage of their limited protection from the wind, and enjoying the views. I hope you do too…

CHASING MUSHROOMS - SUN 2ND MAY 2021

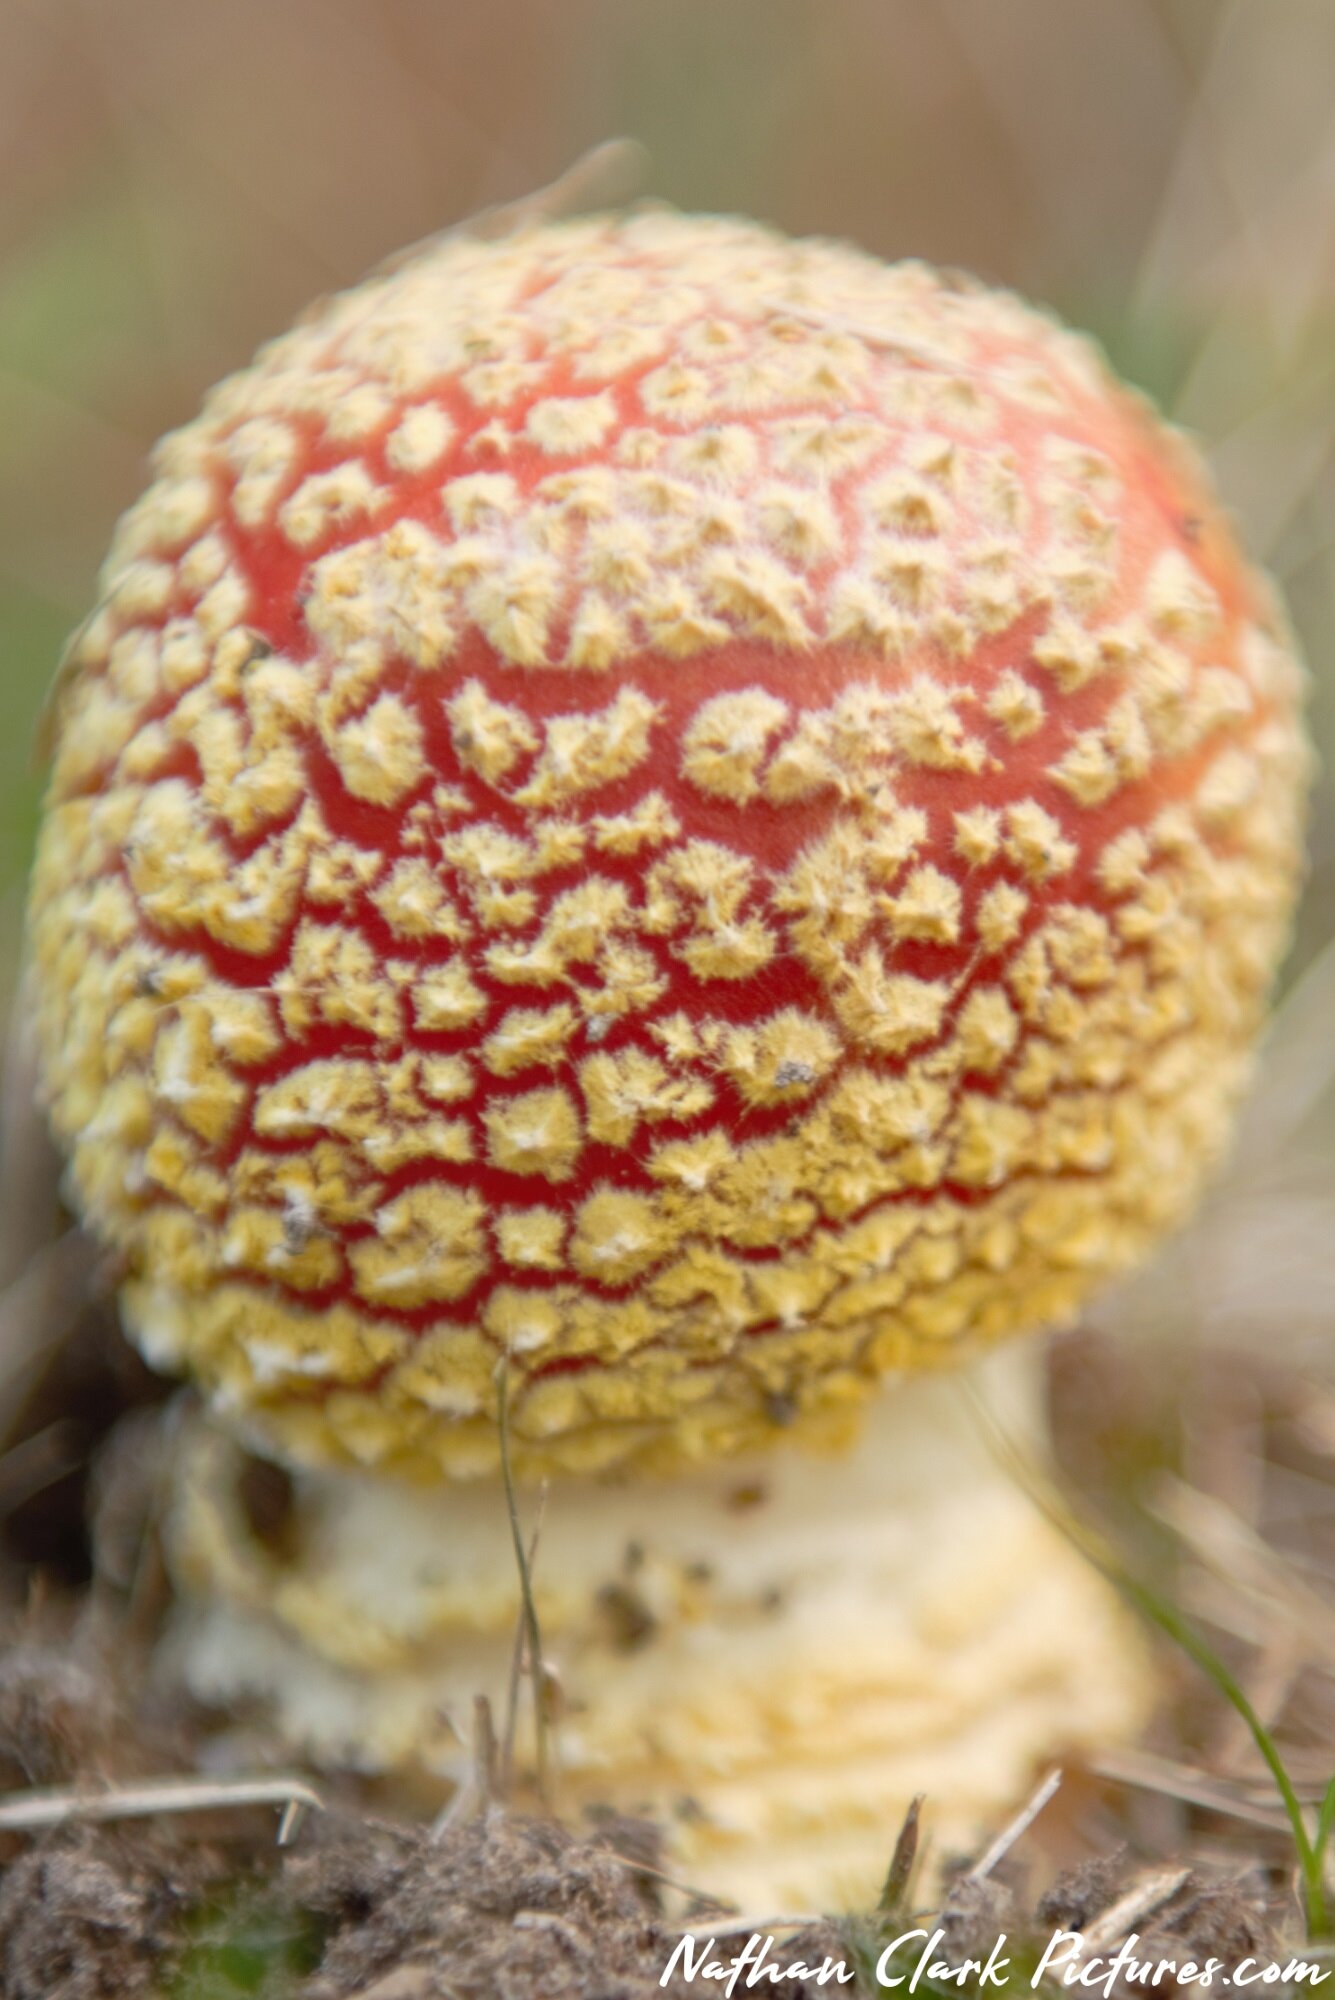
I can’t explain why… but, there’s something about going back and photographing these red and white dotted ‘Fairytale’ mushrooms every season, that I love.

It’s botanical name is Amanita muscaria, but is also called ‘fly agaric’.

An information search tells me “it’s not poisonous”… but it goes on to say “you will just get sick and vomit all over the place”. Hmmm ??

They are fungus, and part of the toadstool species. They love to grow in the warmth litter of birch and pine trees, and grow late summer and early winter.

The other mushrooms I saw today were Conocybe, and there were plenty of blackberry bushes to negotiate…

TAKING PICTURES OF THE MOON - TUE 27TH APR 2021

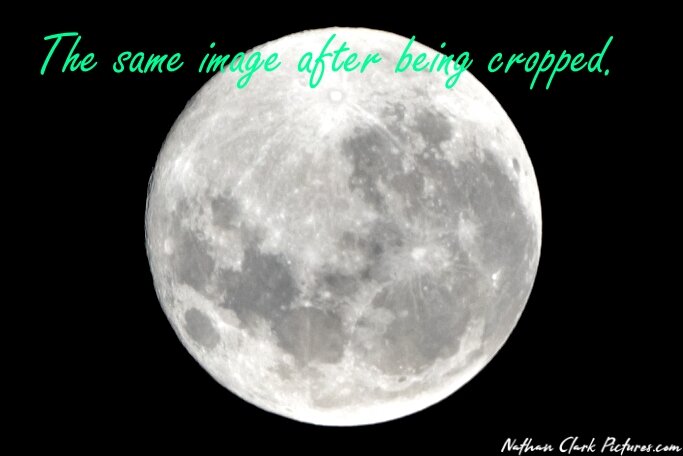
Everyone is talking about the ‘Super Pink Moon’, and you’ll see pictures appearing all over social media and the news. Taking pictures of the moon can seem pointless and frustrating at the best of times. You see others magical pictures of Big amazing moons, and yet when you take your picture, it just turns out like a big white dot !?

Well, I’m going to tell you that yes, you too can take these pictures. You just need to venture out of your comfort zone from the Auto Mode, into Manual mode. And, as always, the more money you put into your equipment, the better quality image you will have at the end, but, YES, YOU can do this… !!

Which ever way you look at it, night time photography has it’s issues. To start with, it is late, and that generally means you have been up all day, and are now tired, and should be in bed. Next, it is dark. So, finding all the buttons and settings for your camera is much more difficult than in daylight. And, depending on the time of year, it is likely to be cold, so you have layers of clothes on, making it bulky and difficult to move. You may even need to have gloves on to keep your fingers on your hands.

To help combat these issues, it is best to try and work out how to change your settings when in the warmth and light of day, or at home, before setting out. Work out how to move into Manual mode, and how to change these 4 settings, ISO, White Balance, Aperture, (‘f’ settings), and Shutter Speed. Yes, you could need to play with all these settings to get the right picture.

The moon is a changing light, and, it is a moving light, so your settings one night may not work for you the next night you are out. Being able to adjust the amount of light onto the sensor will make the difference between a white dot, and a characteristic moon.

I recommend moving your ISO from Auto to Manual, and start at 100 ISO. This will make for low ‘noise’ in the picture. (less grain)

Next, set your Aperture at f9. As you know, the smaller the f number, the more light that is let onto the sensor. It also gives a more concentrated focus on the details of the subject. This f9 setting will allow a fair amount of light through, which then allows you to play with the Shutter Speed.

Try starting out at 1/125th of a second for your Shutter Speed, and see what the difference is as you go slower or faster. When your lens is at it’s full focused distance, you will notice that camera shake, especially when hand held, is more noticeable. By using a quicker Shutter Speed, instead of a slower shutter speed with a longer exposure time, you will reduce this camera shake.

Once you feel you have the other settings right, you can change your WB (White Balance). Moving this setting between sunny, cloudy or flash for instance, can magically create a white, blue, or yellow moon.

Finally, when you have your perfect picture, Crop it. Cropping a picture makes the subject appear bigger. In most cases, you can easily do this in camera.

But, none of this is going to happen if you don’t grab your camera and get out there. I recommend you go into your own backyard and start practicing, before taking a trip out far away….

ECHUCA RAILWAY - FRI 9TH APR 2021

I passed this poor old set of carriages on my travels on this day…

It was getting close to sunset, and the light was just perfect., so I just had to stop.

Picture Tips: Ever take that picture and your subject is too dark or light !? There are many camera settings you can change to capture your subject in the right light, but one quick simple setting is the “Exposure Compensation” button. (It is also known as the EV adjustment) Simply put, this function allows you to quickly and easily, gradually increase or decrease, the amount of exposure to your picture so your subject is perfectly lit. Note, this function only works when in ‘M A S or P’ settings, not Auto Mode.

As you slightly depress the shutter button to focus on your subject, the camera is also taking a light measurement, as per the camera settings. Sometimes you need to help your camera adjust on what YOU want the light value to be. My Nikon cameras have 15 graduated positive and negative exposure settings to take you from 0 to +5 or -5.

Sometimes this can be a hit and miss adjustment and you will need to change your setting a number of times until you get the perfect balance.

The negative function works when your subject is too bright, and you want to take away some of the light, like when you are taking a picture of someone on a bright sunny day at the beach. The positive function works when your subject is too dark, and you need to add some light so you can see them, like the surrounding foreground of a sunset picture.

Remember, it’s all digital, and doesn’t cost anything but time, so go ahead and try this feature out, and simply delete the pictures you don’t want to keep.

The below picture was the result of over compensation. Now, I don’t condone vandalism or graffiti in any way, so I decided to keep this picture like this.

NRC_7344erw.jpg

ROSEBUD PIER - SAT 27TH MAR 2021

Sorry I haven’t been as active recently. Been busy studying…

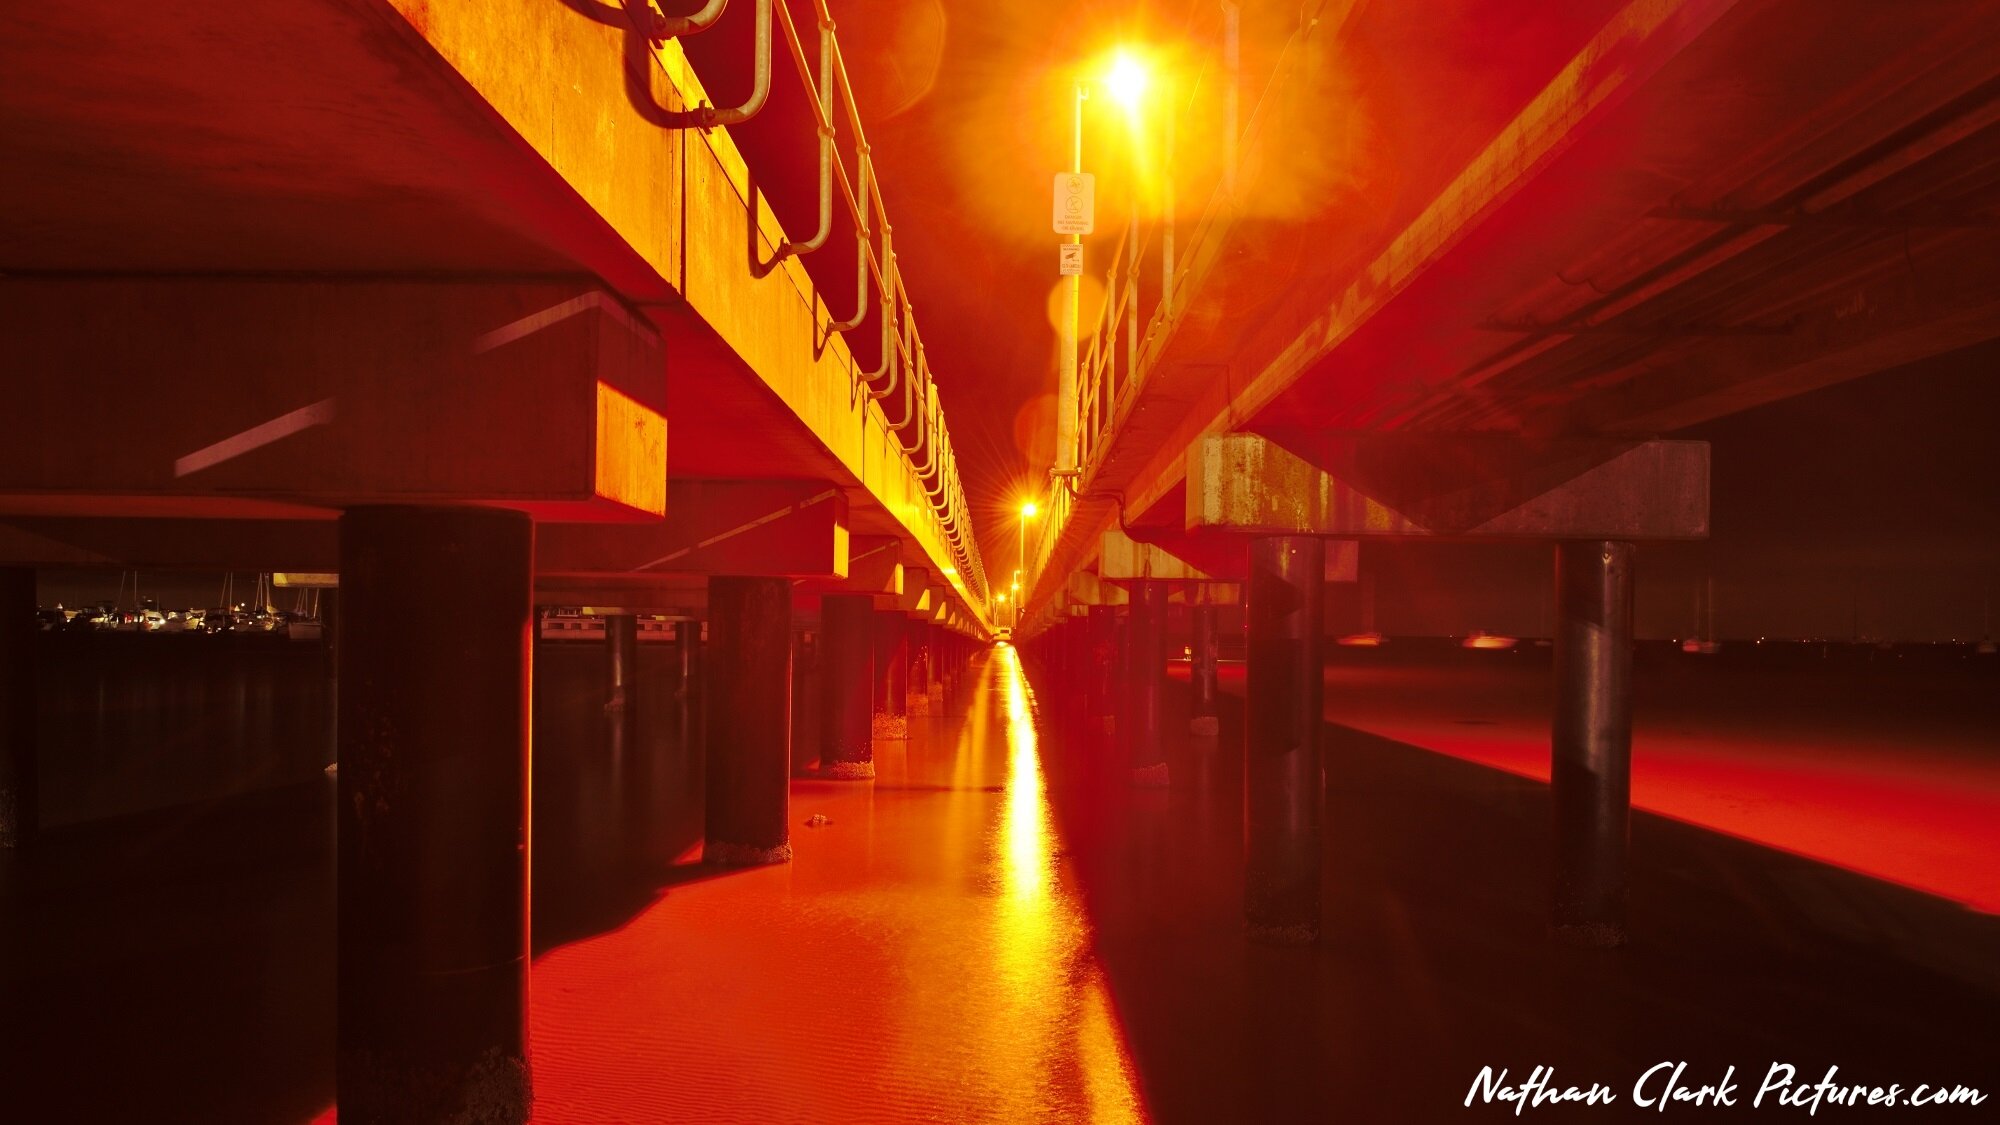
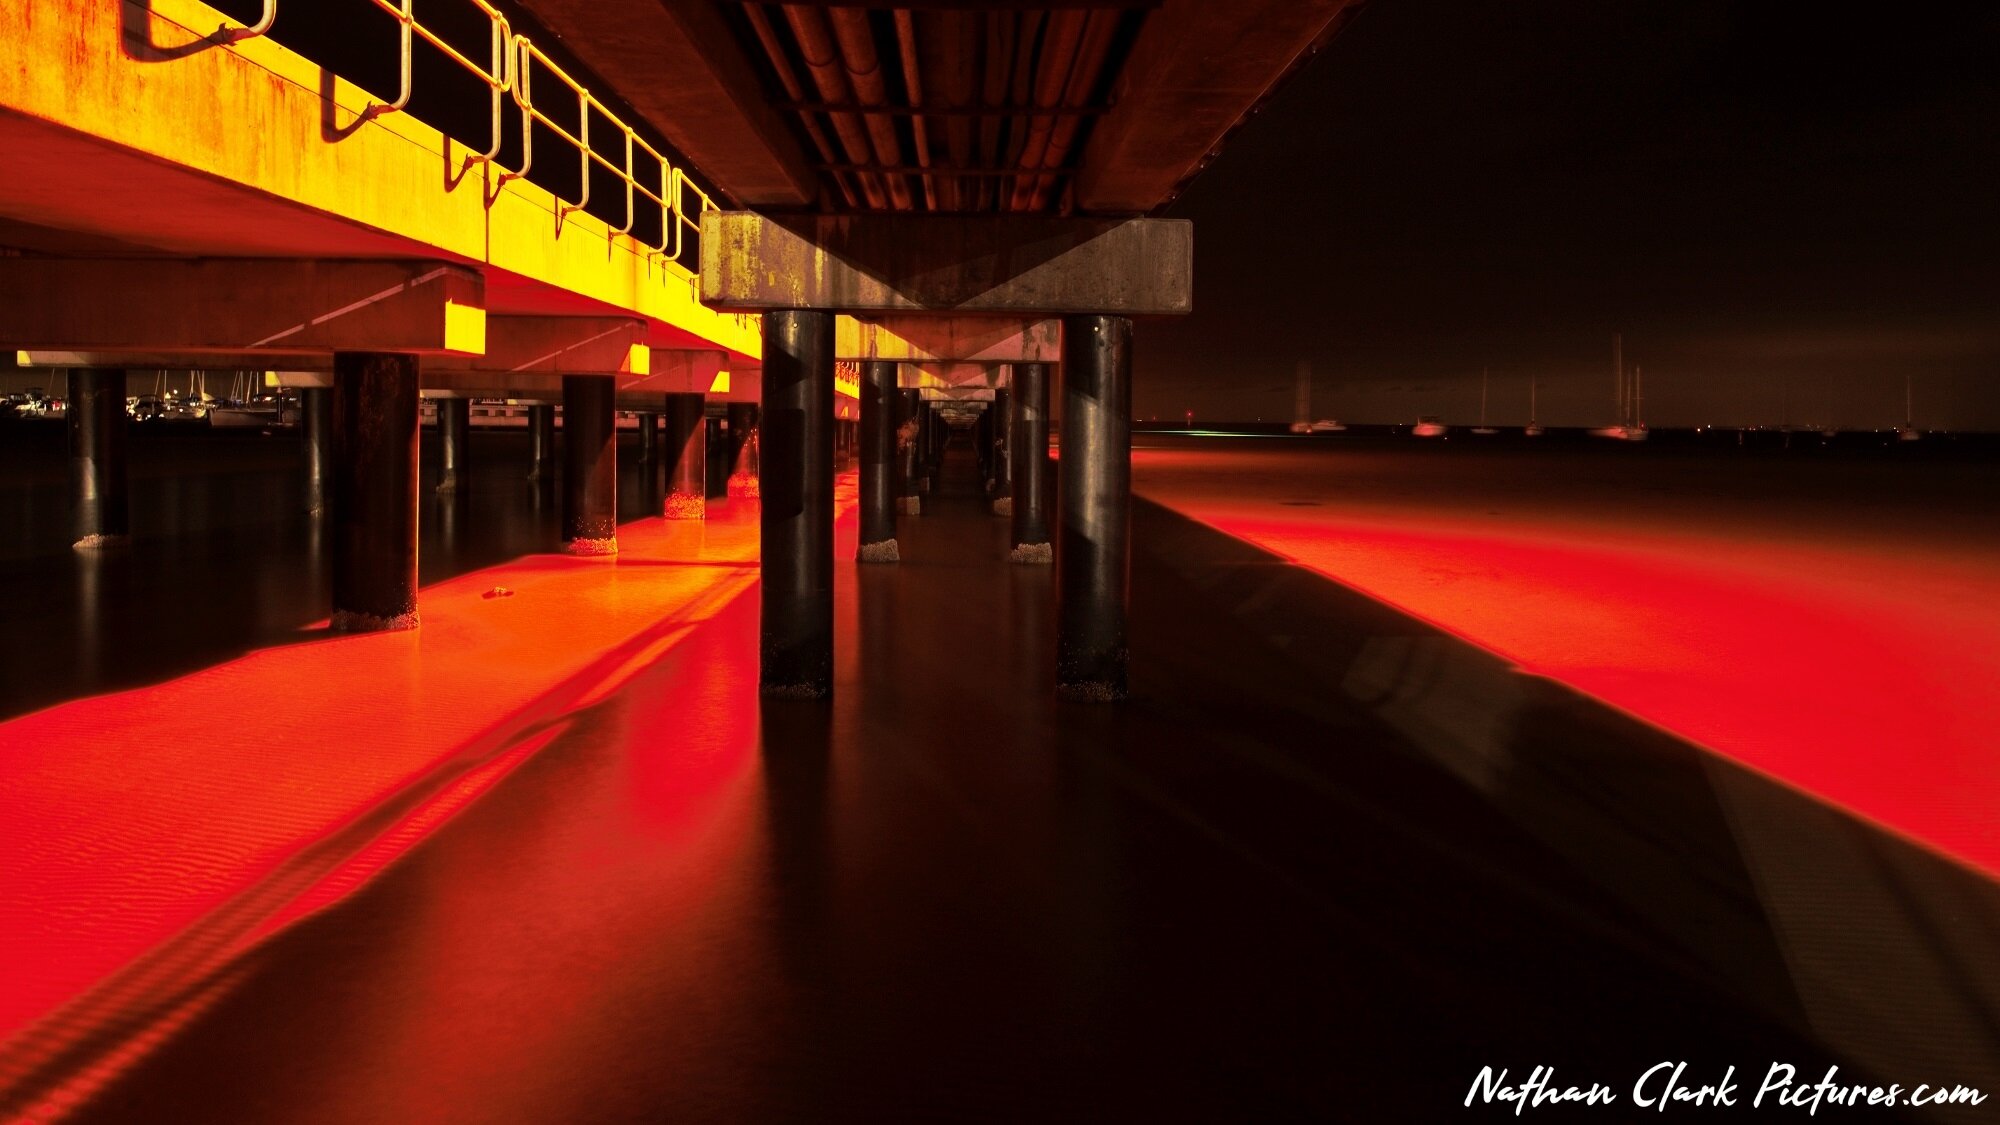
However, we did go for a walk to Rosebud Pier this evening, and I hope you enjoy the colours and stillness of the water tonight.

Check out that moon !! (McCrae lighthouse below)

It could be called the still before the storm, with the school holidays to start at the end of next week, it’s going to get very busy around here…

CANBERRA BALLOON FESTIVAL MAR 6-9TH 2021

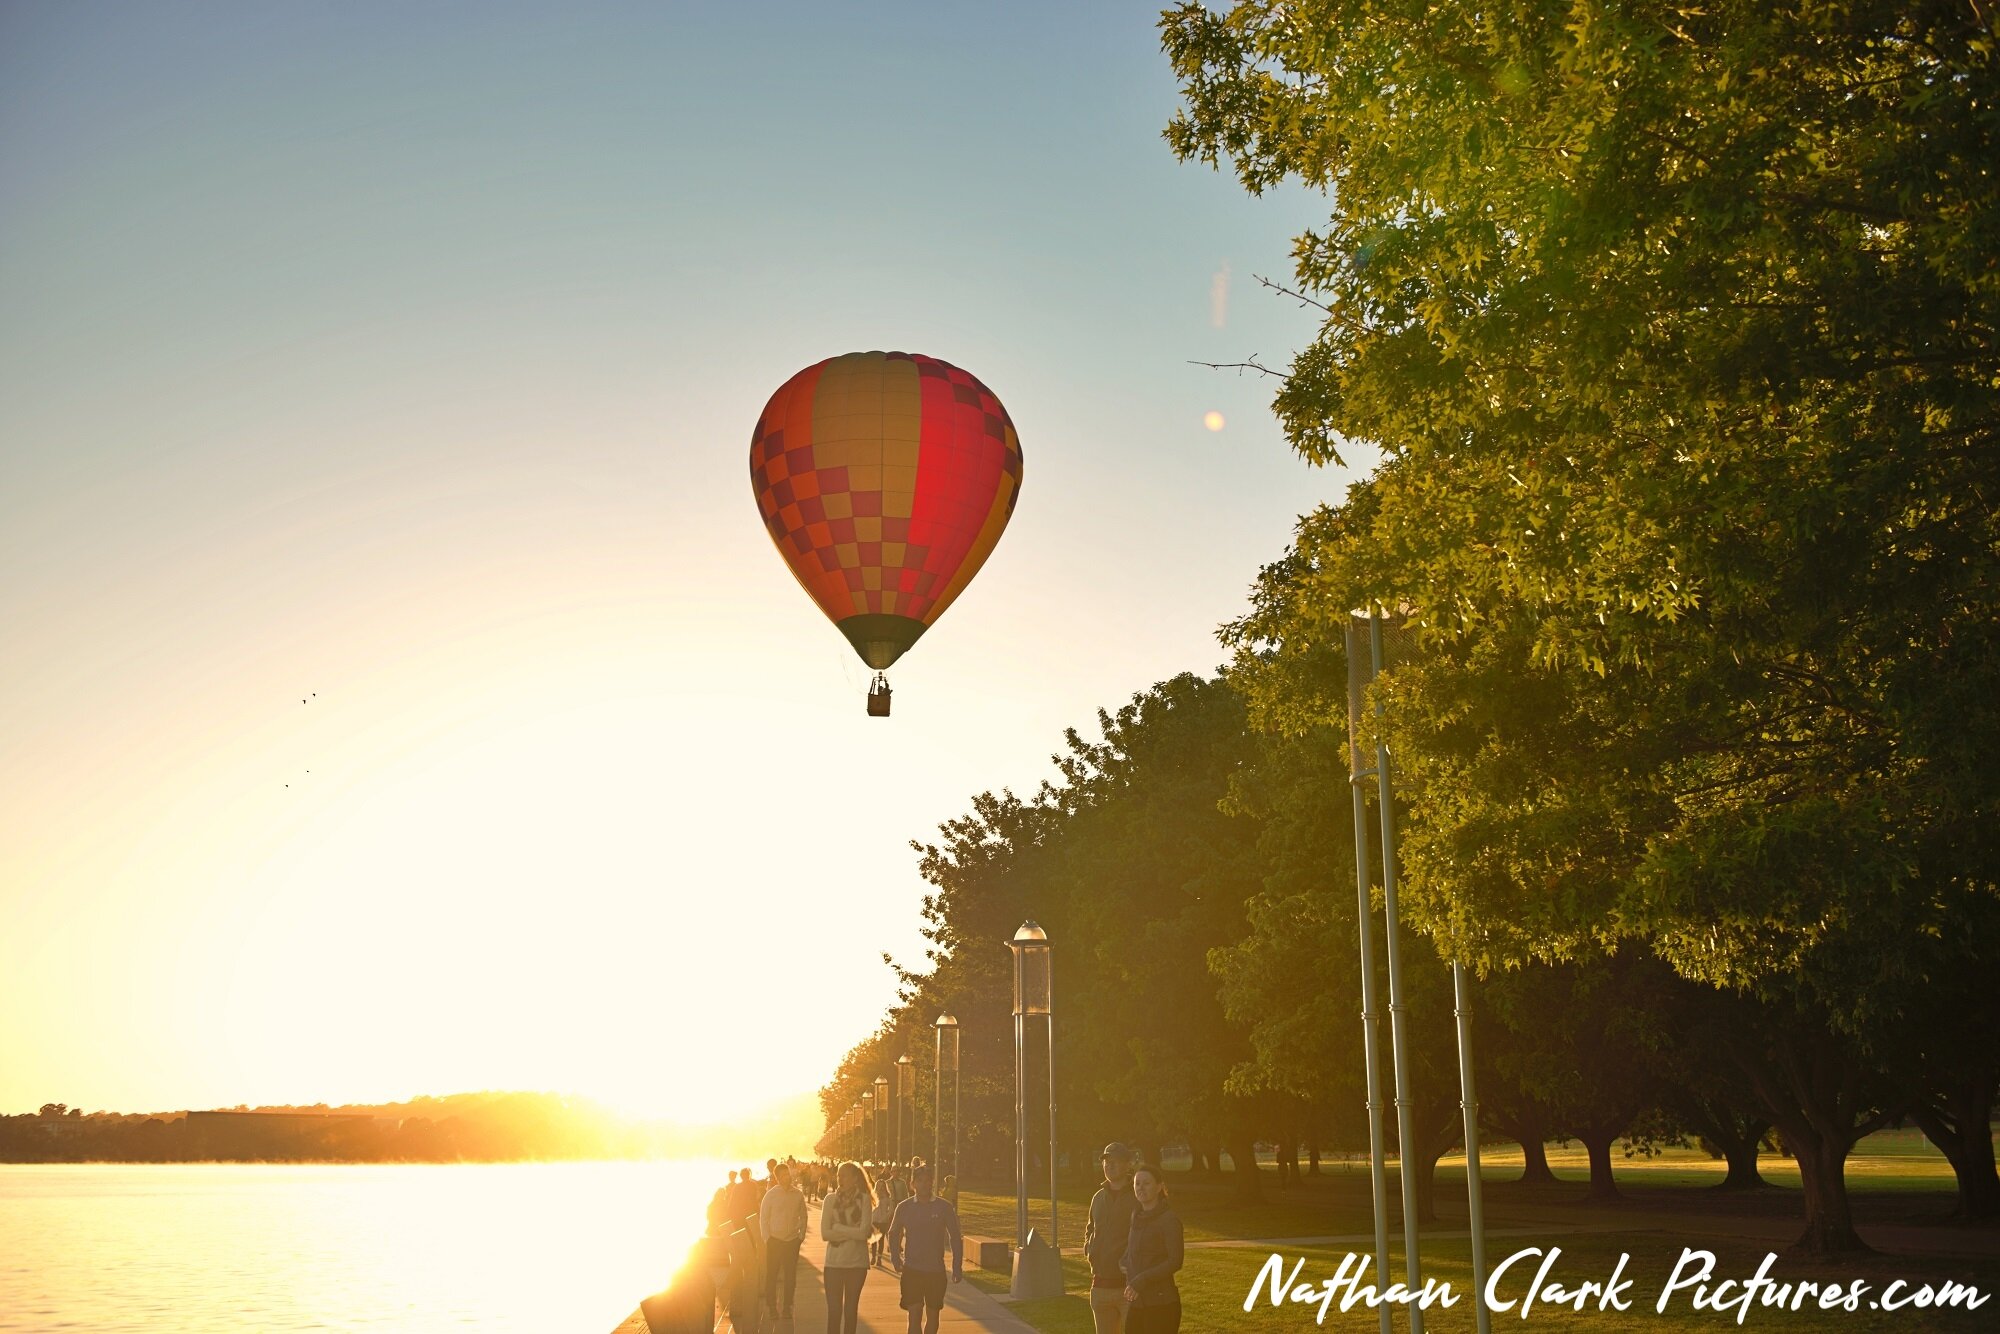
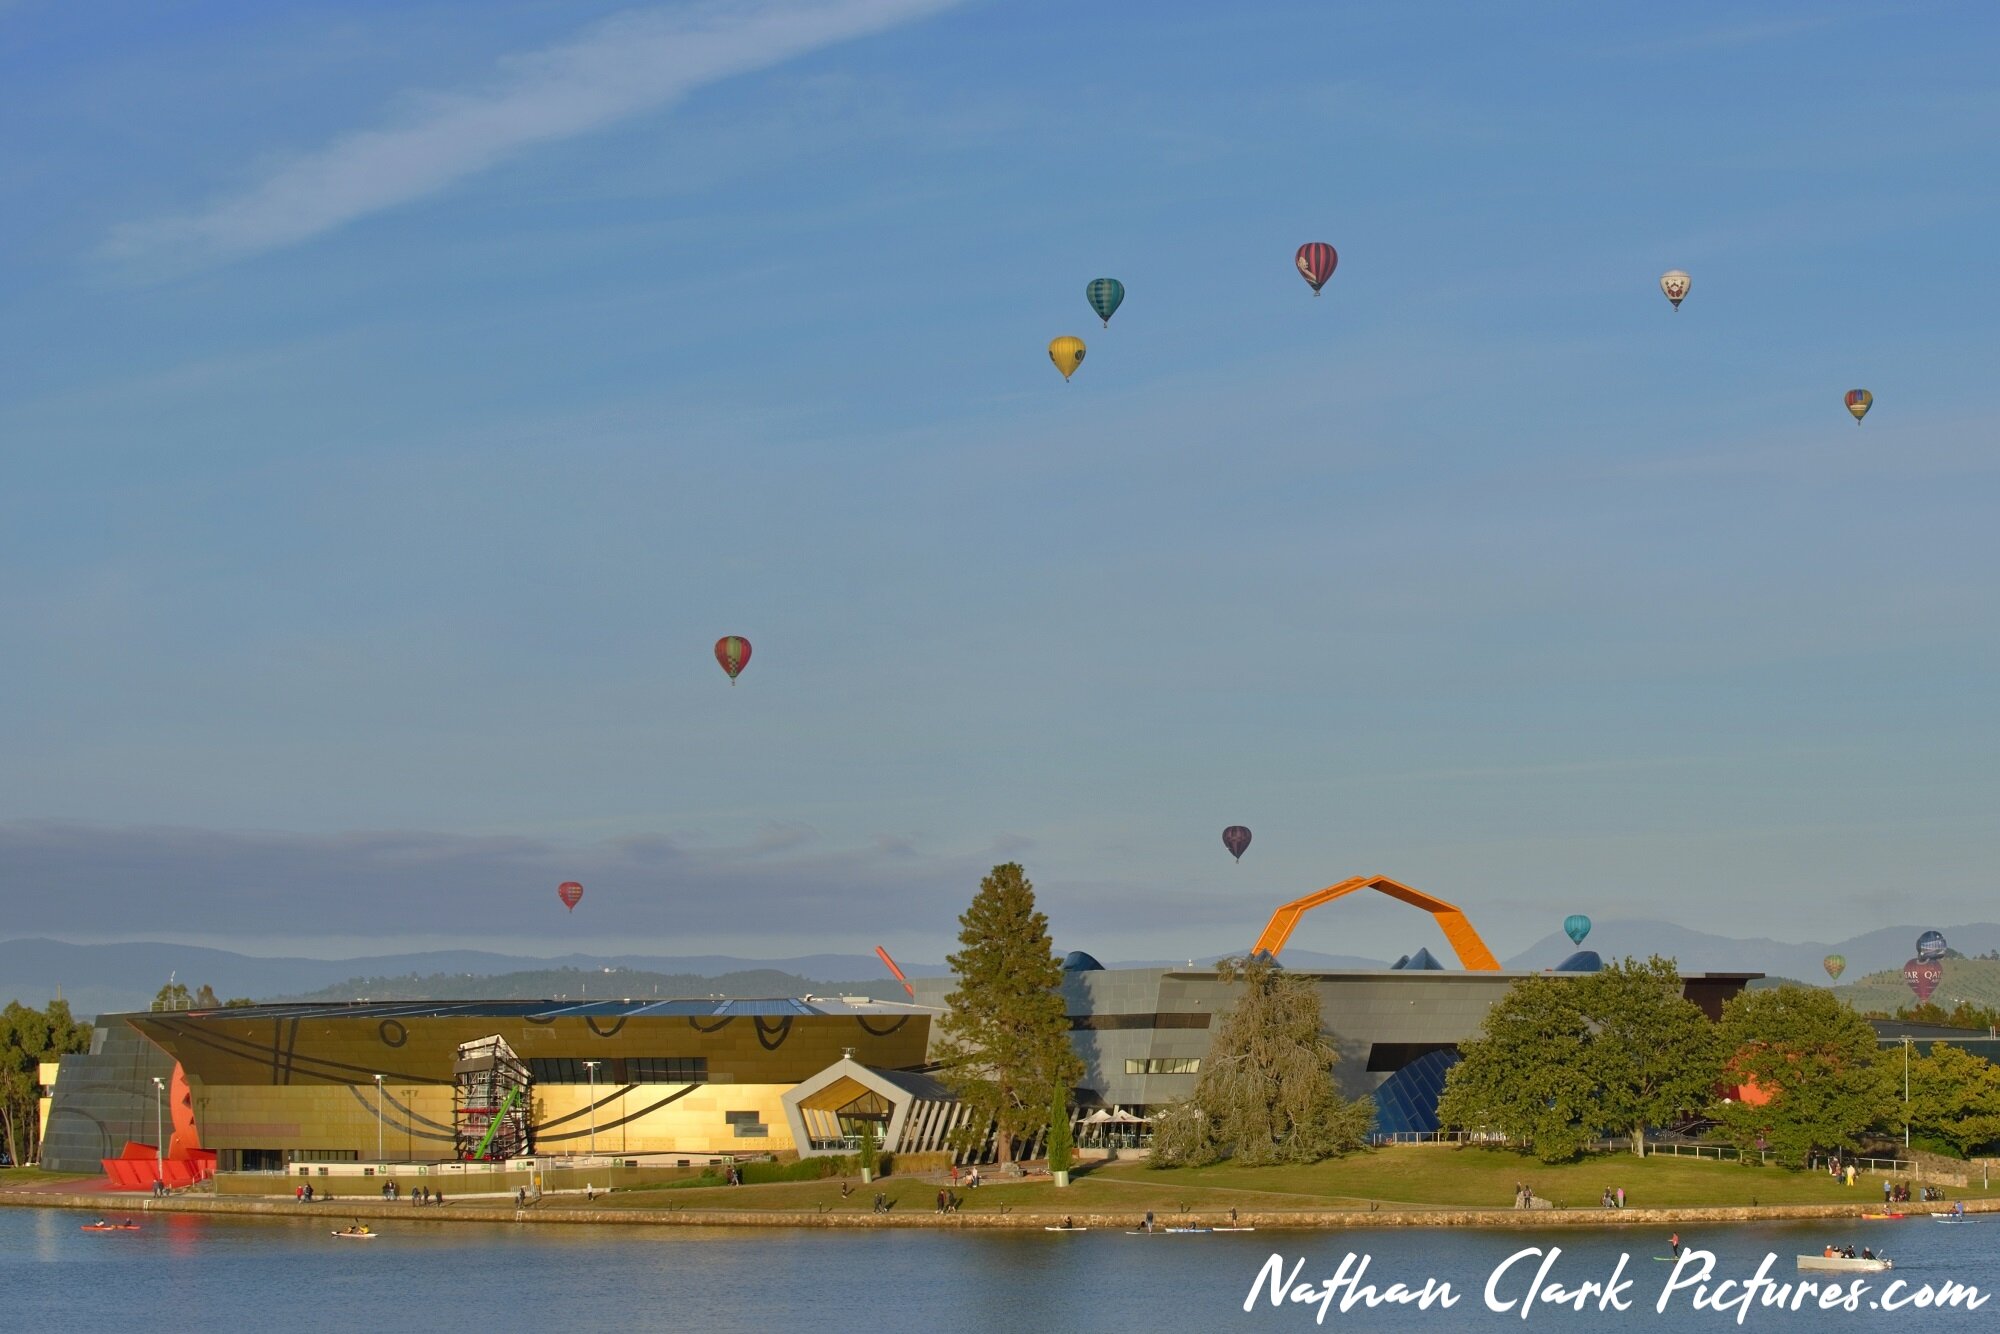
We had a fantastic time again on what has become an annual trip for us to Canberra for their Balloon Festival.

Ballooning is extremely weather dependent, and unfortunately the weather on the ground isn’t always a great indication of what is happening up higher in the sky, and sometimes the balloons do not launch.

We were there for the first 4 mornings, and we were lucky to have all sorts of weather to add to the experience.

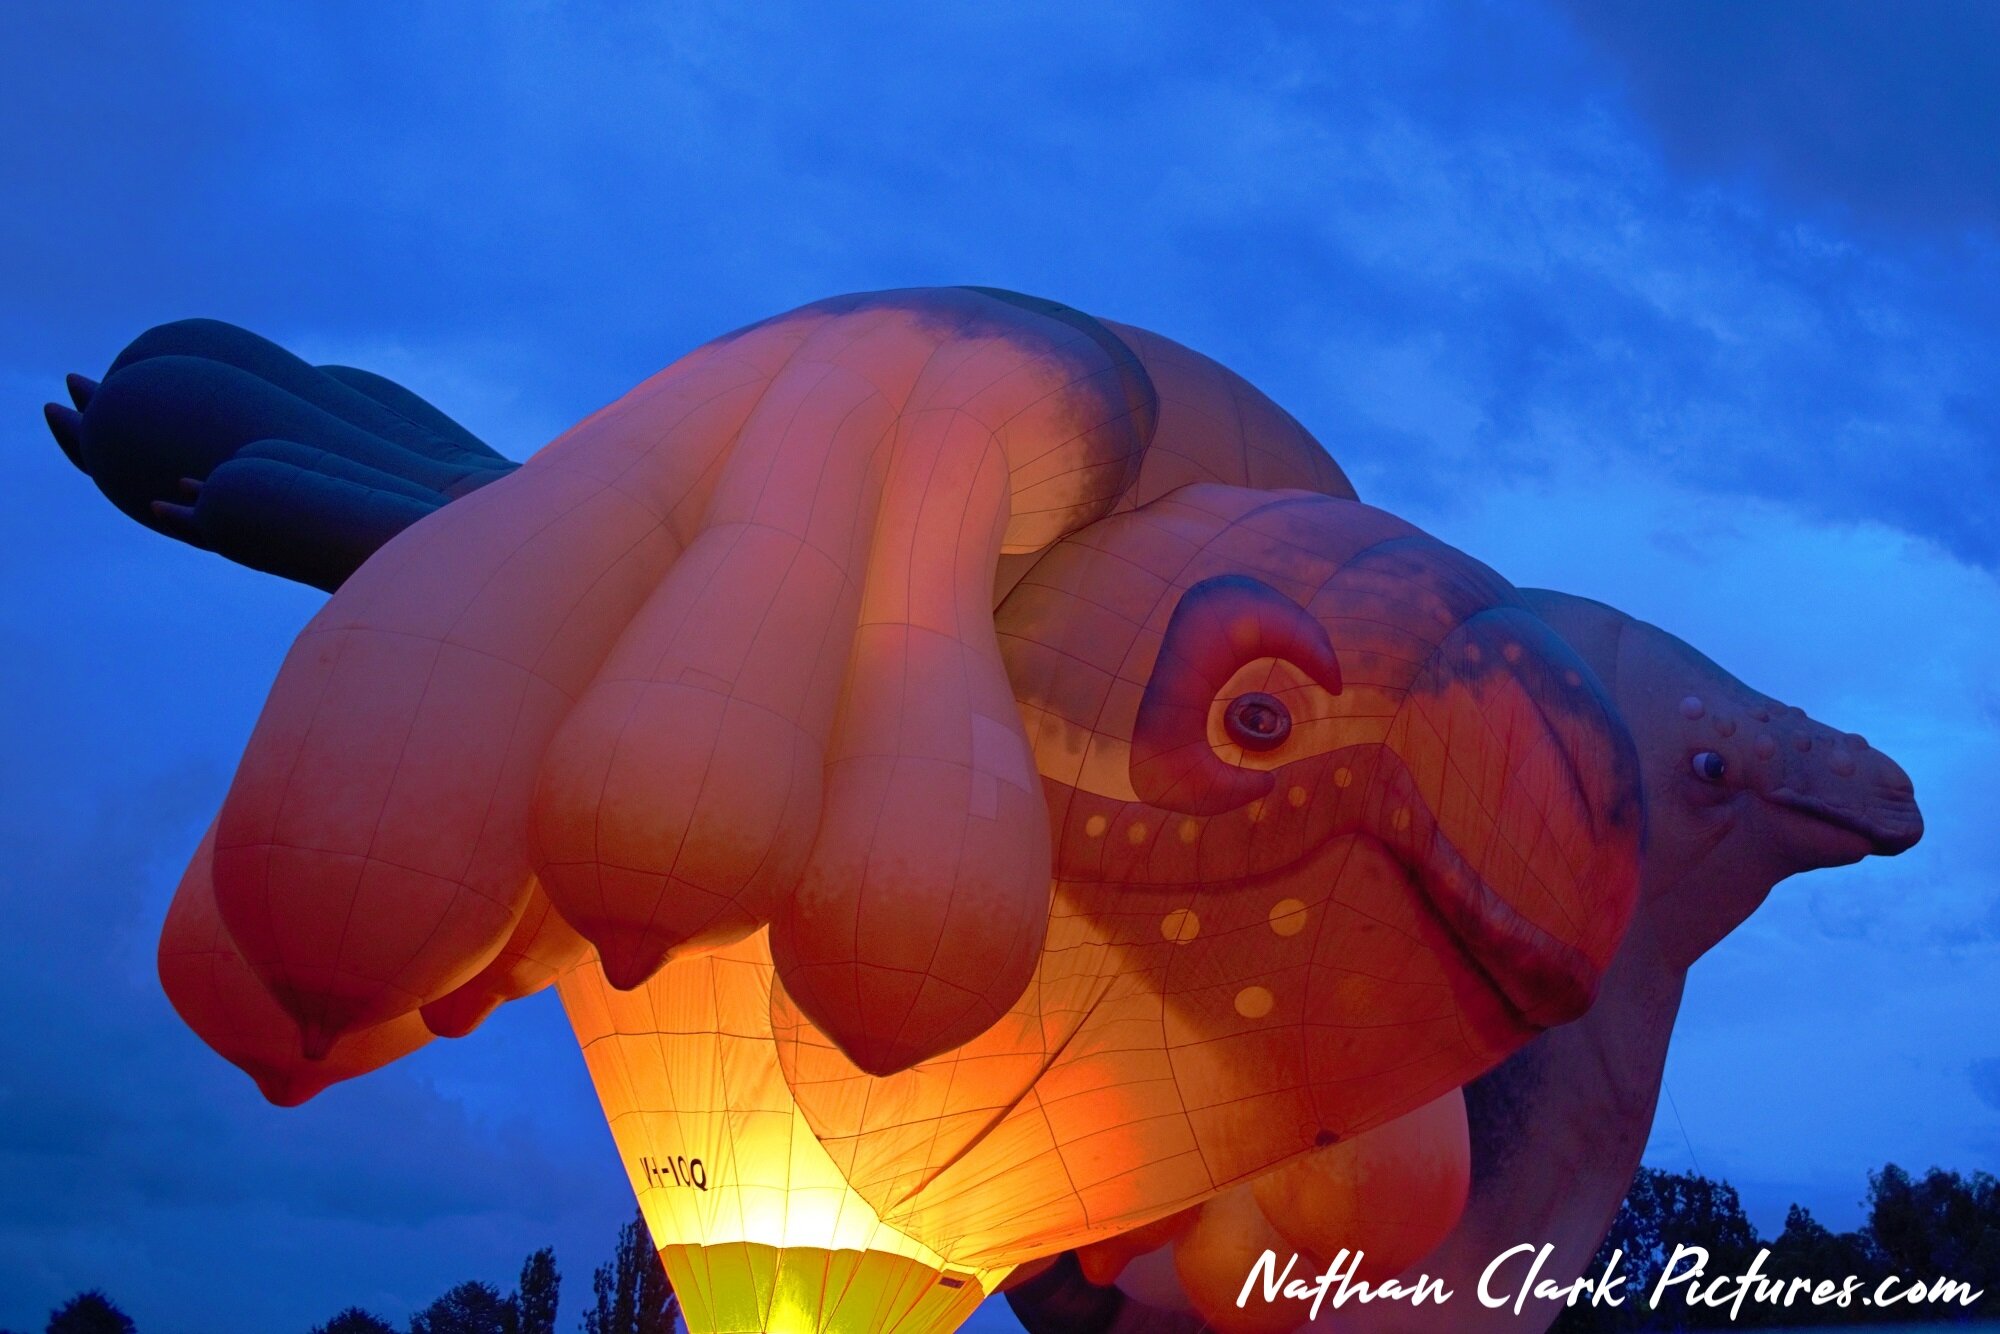
We were also treated to some amazing settings with the star character balloon of 2021, Alycorn, the Pink Unicorn. (No, not Skywhalepappa…)

With over 1,000 pictures taken, the following selection is some of the best from 2021 !!

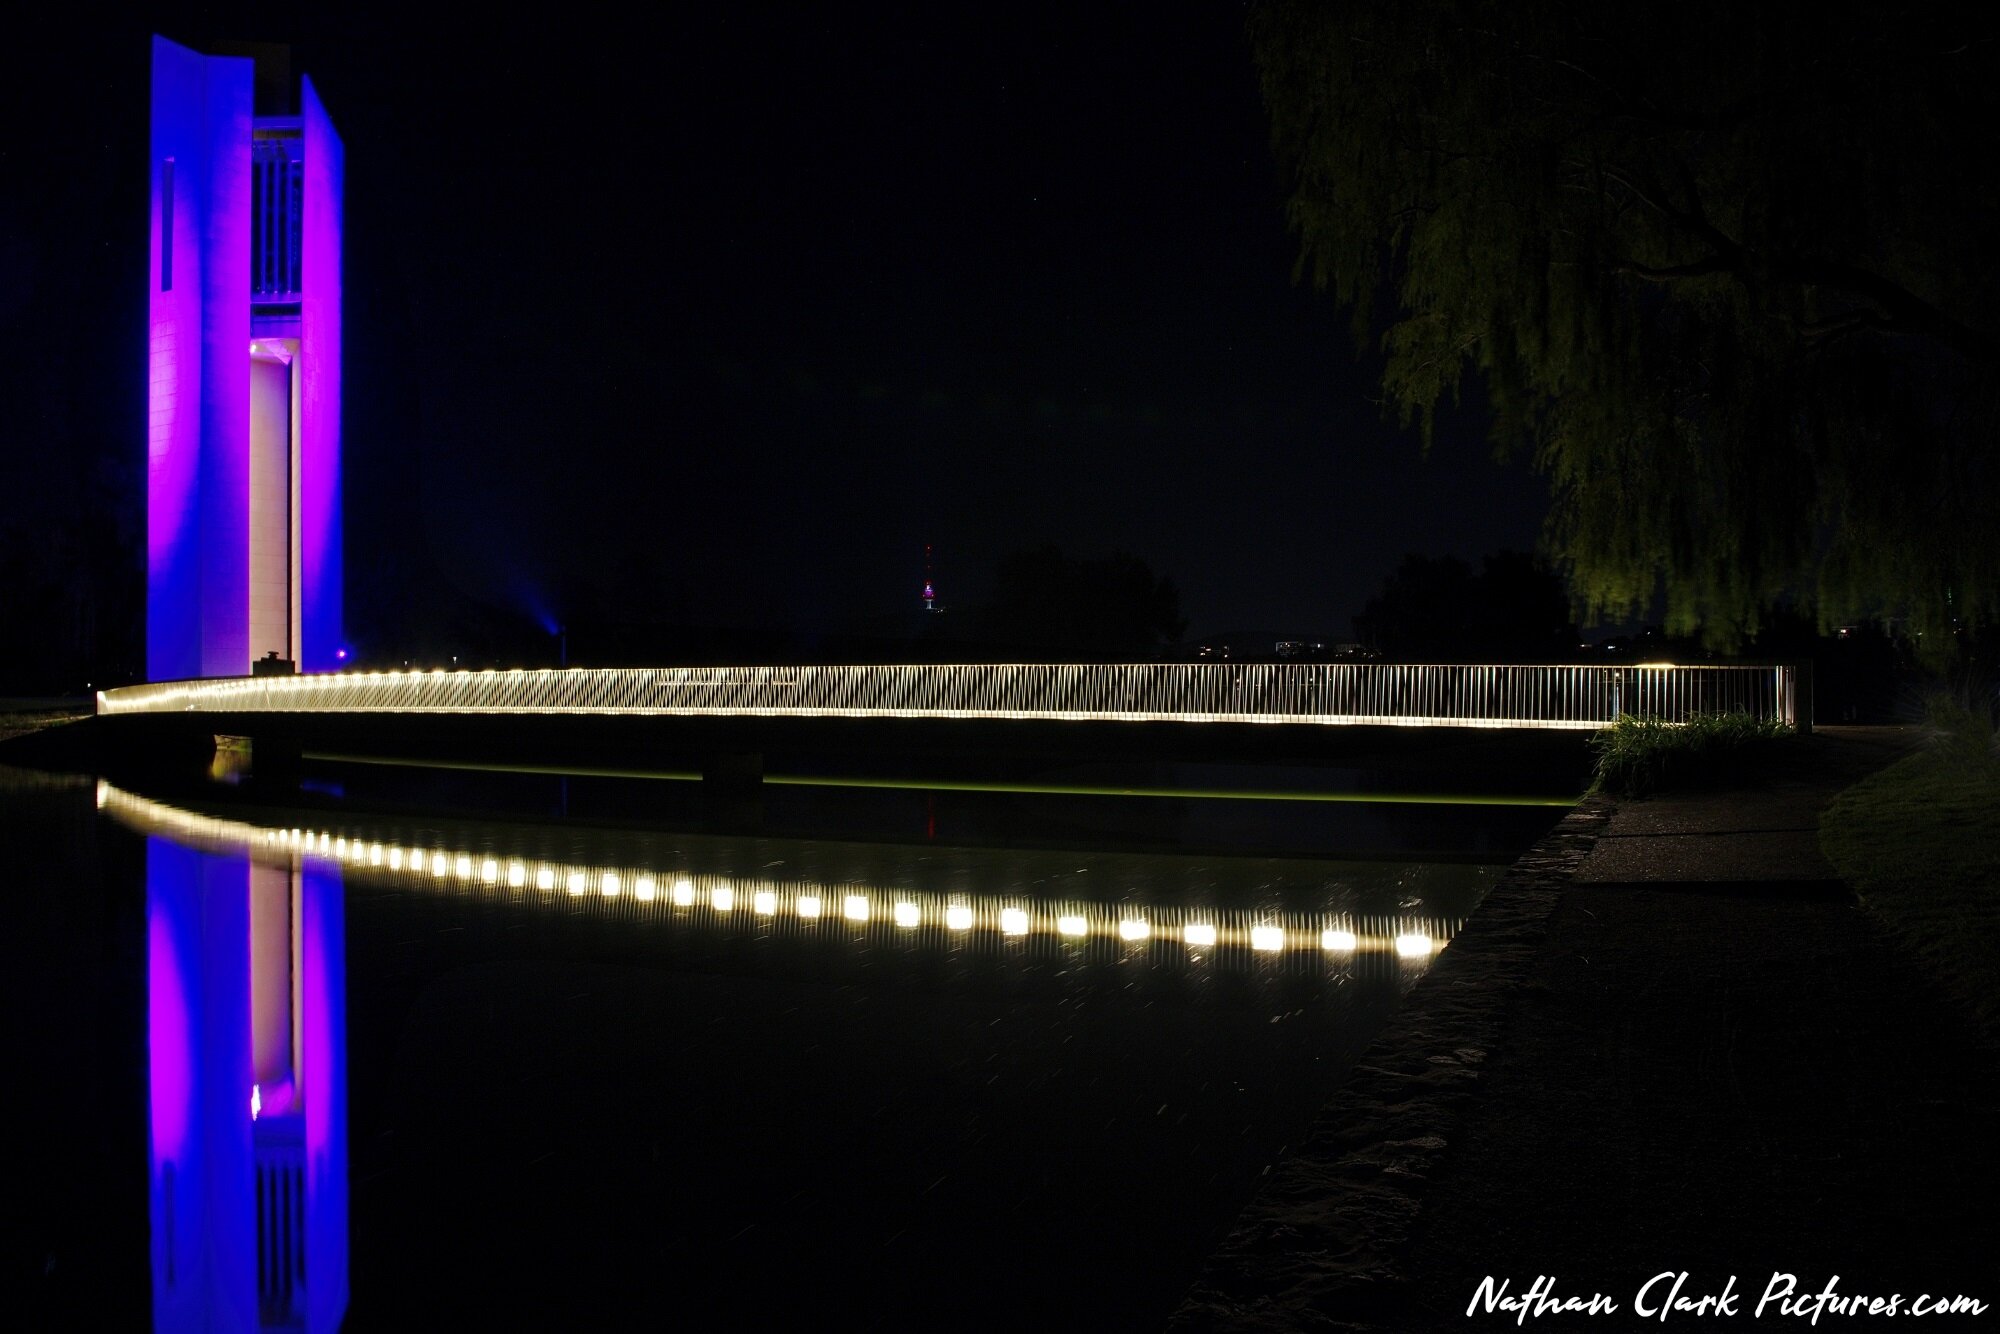
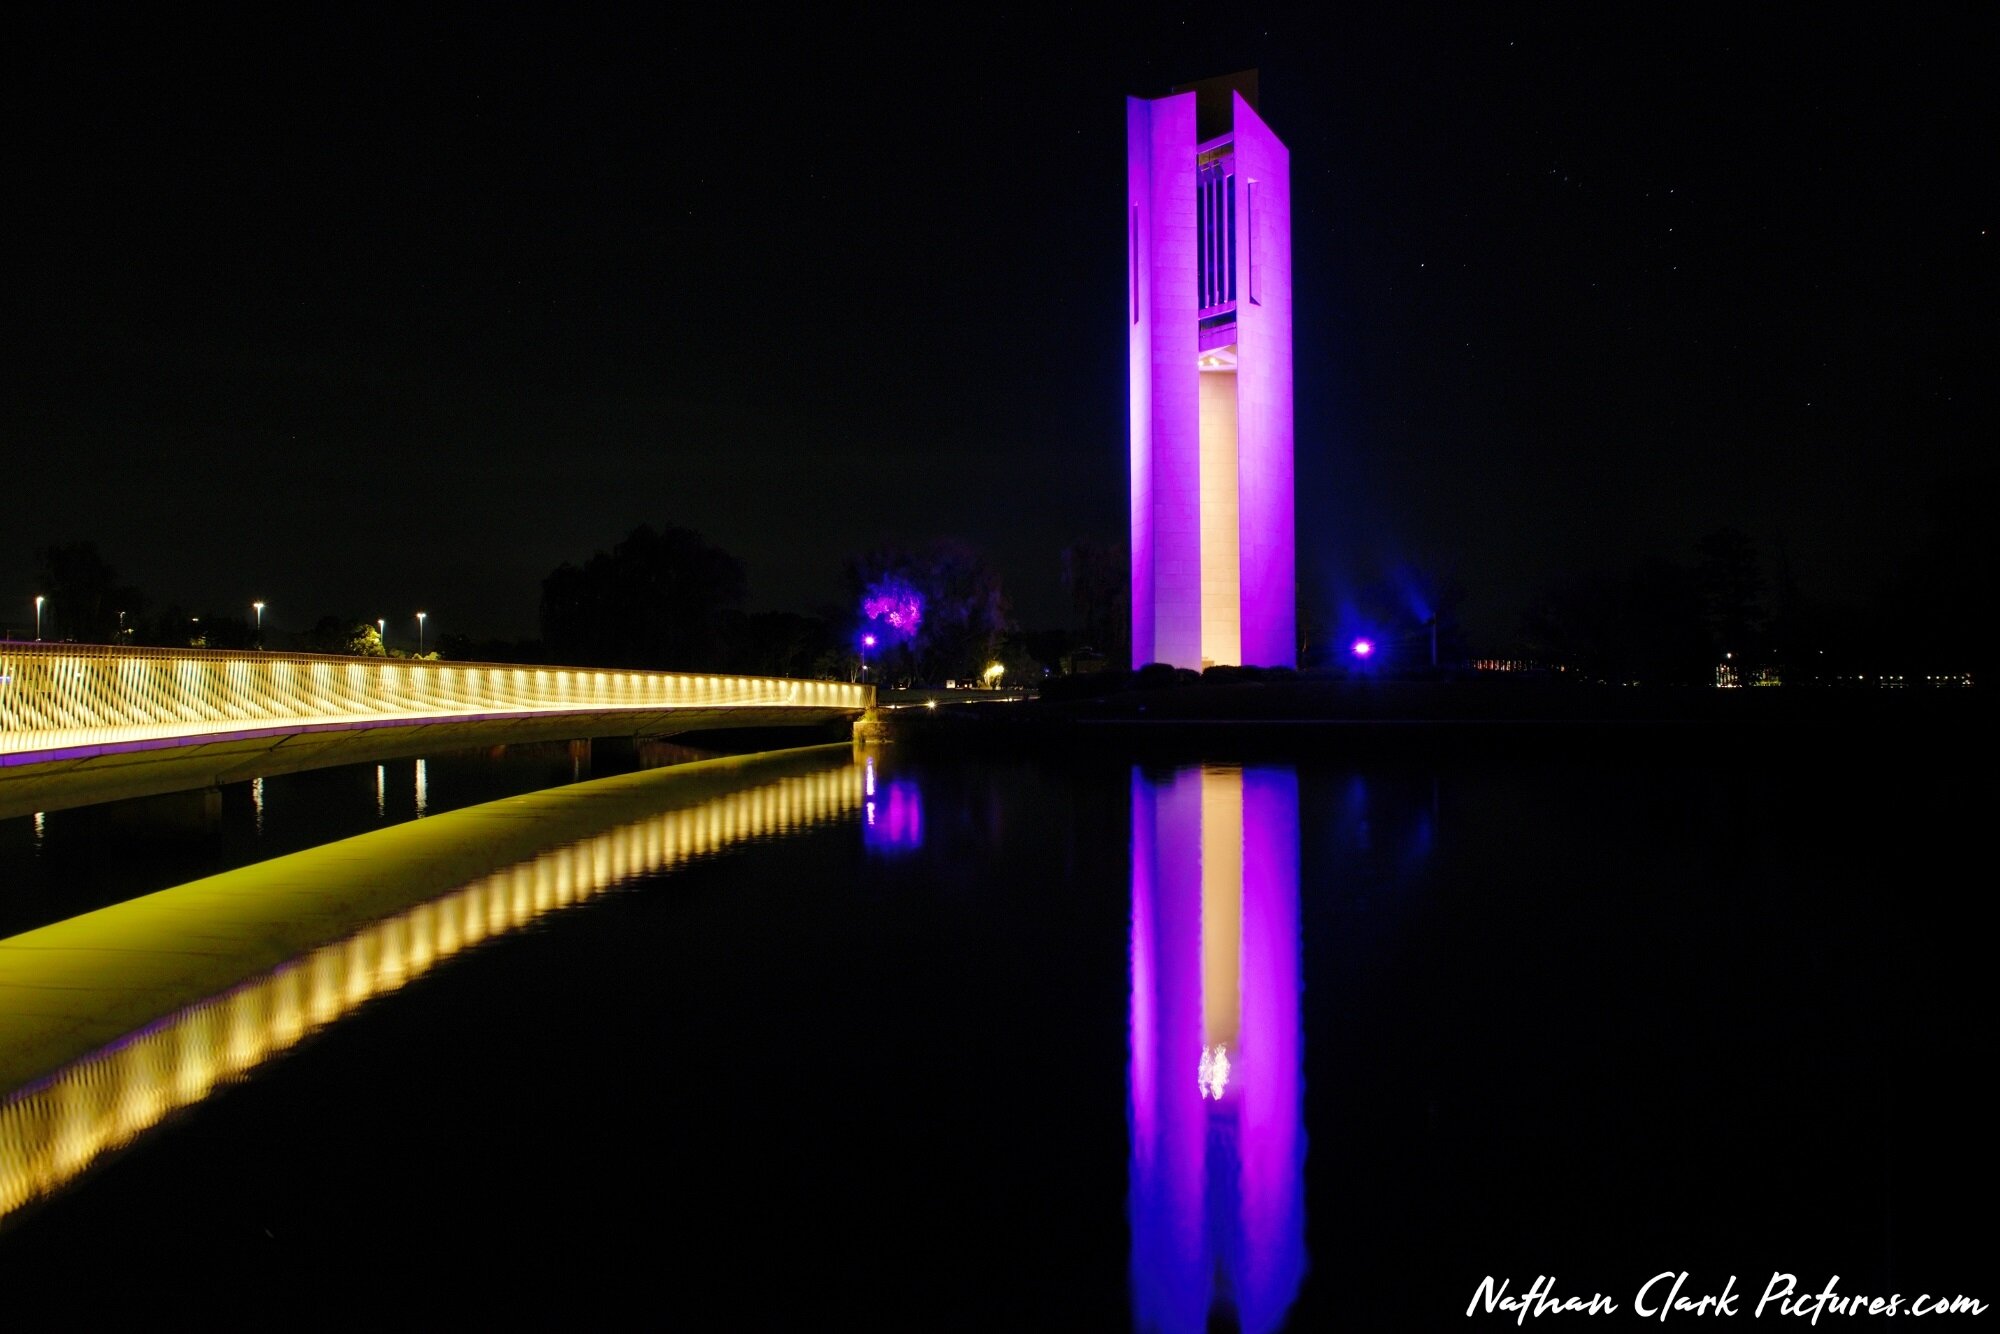
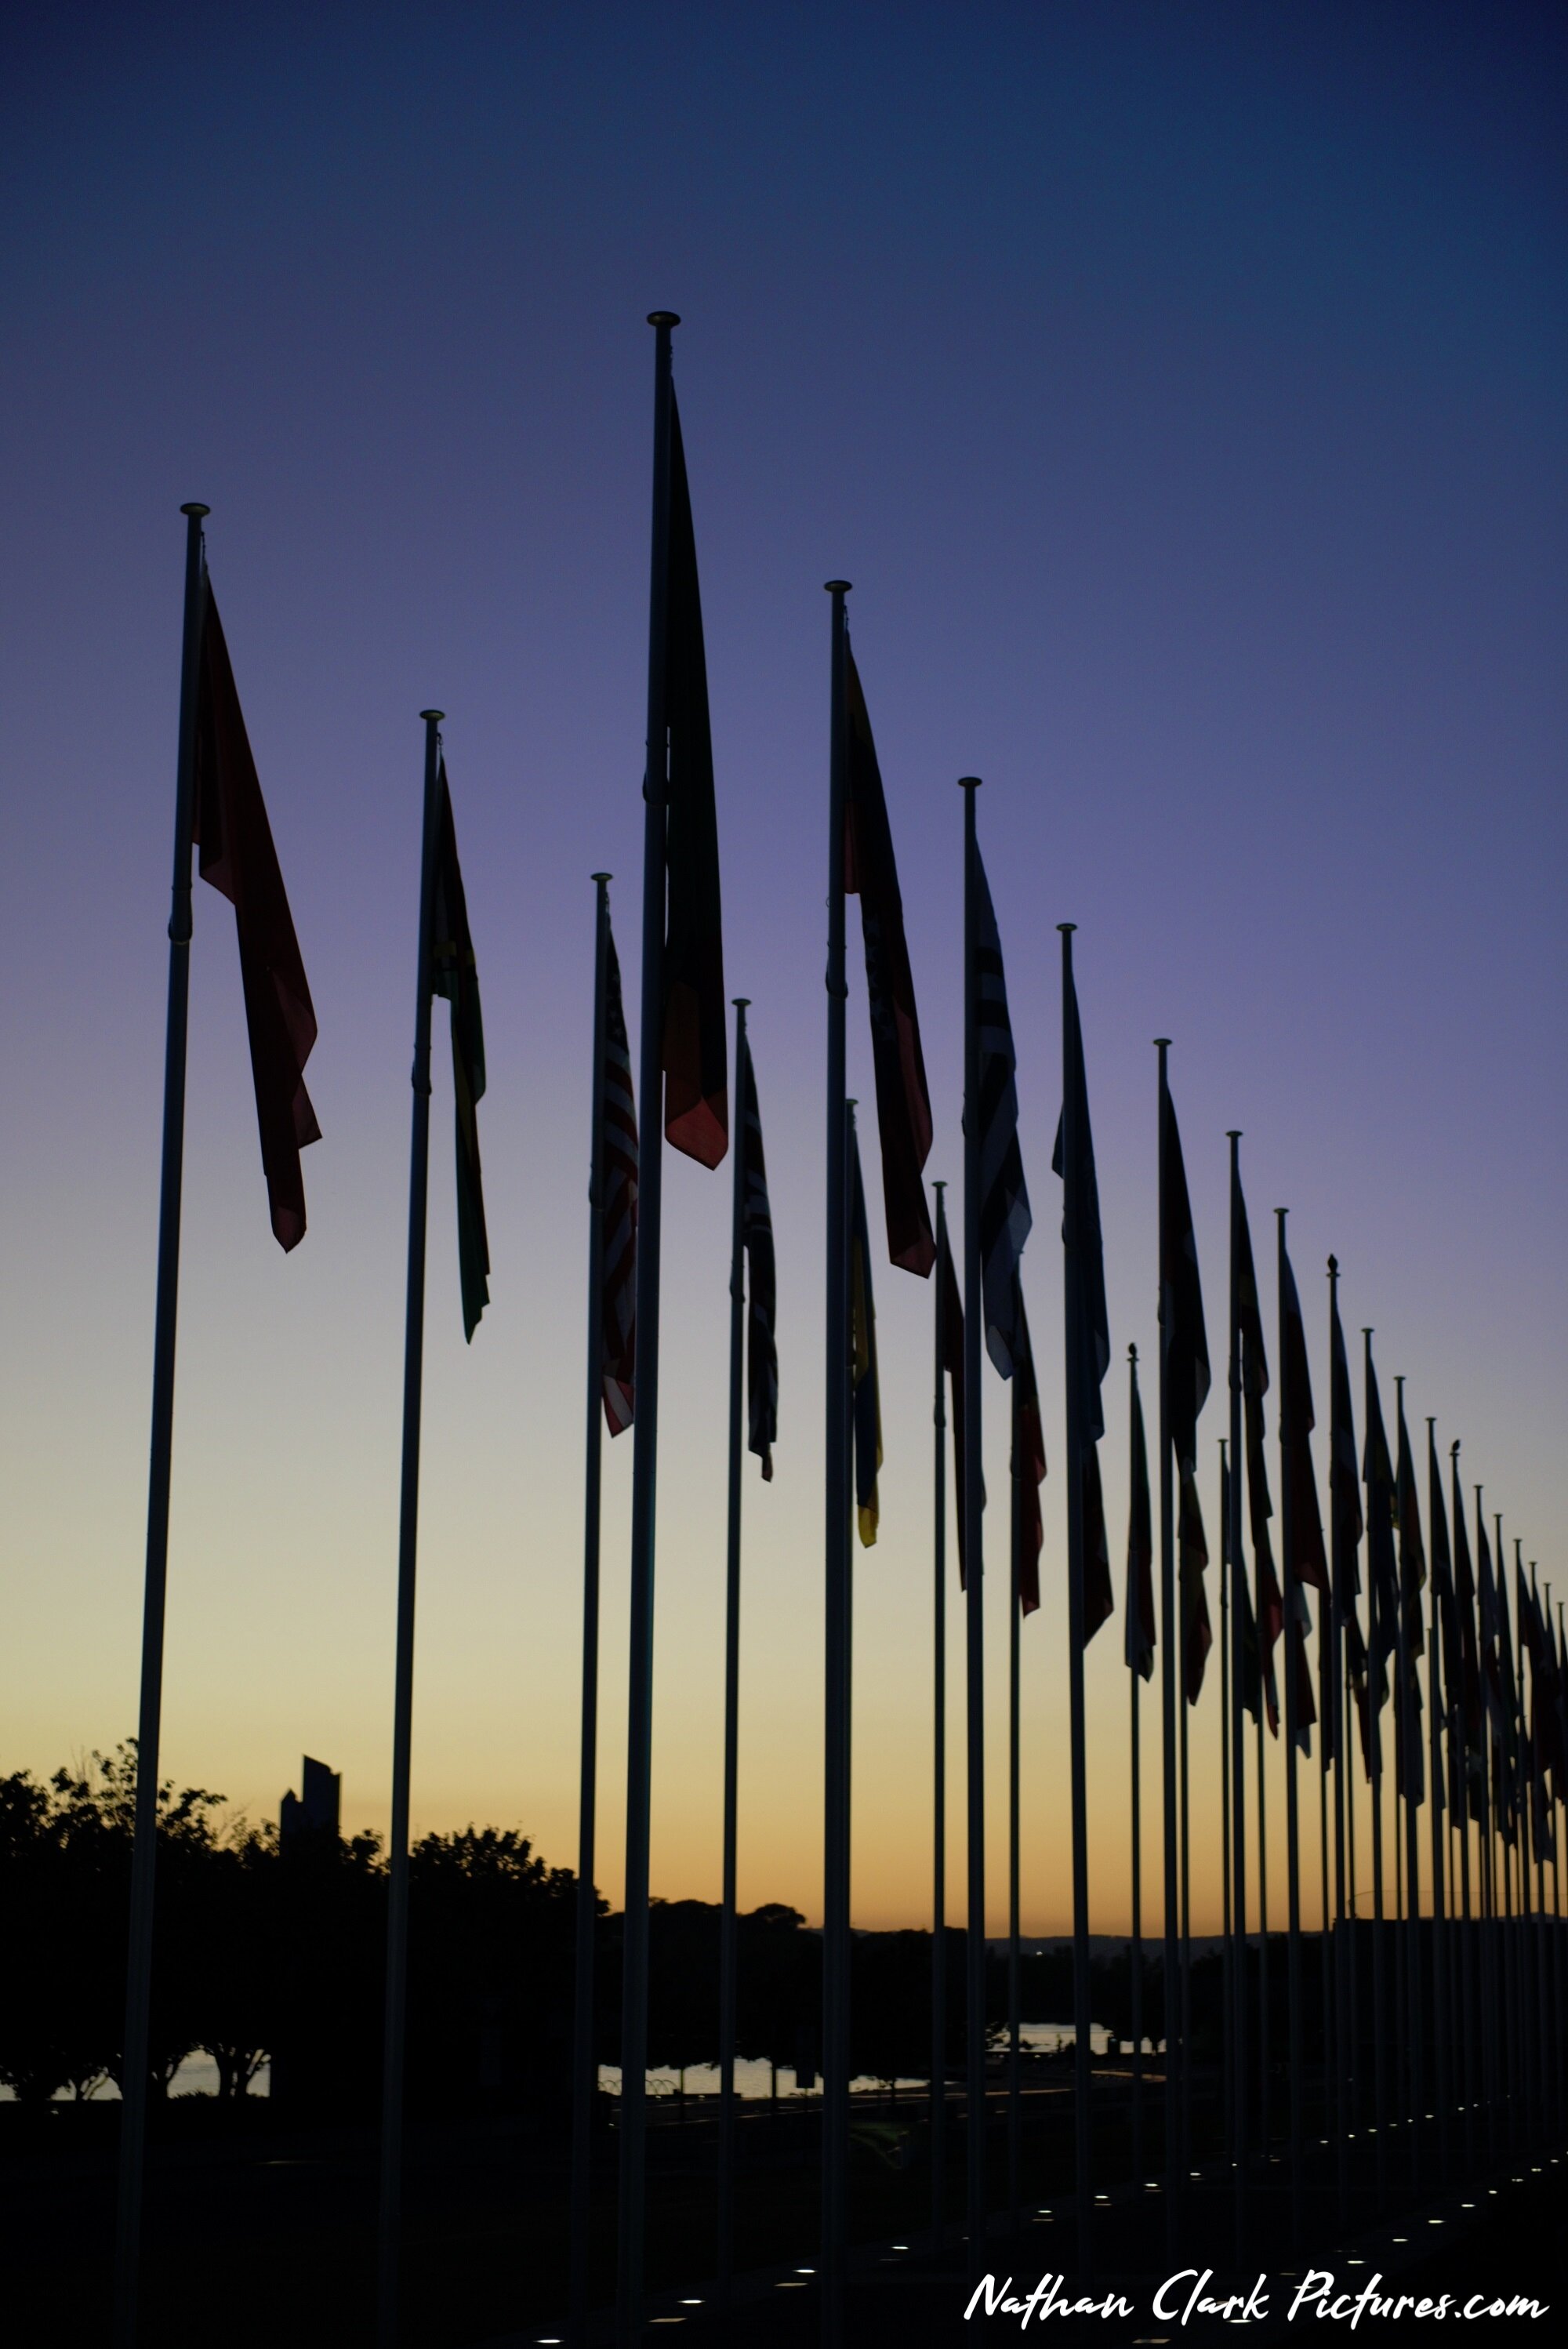
CANBERRA BY LIGHTS - MAR 2021

On Friday 5th March at 8pm, with our trusted old 85’ Brown Jayco, we set off from home on the Mornington Peninsula headed for Canberra.

At 6:30am on the morning of Saturday 6th March, I was parking in the Treasury Building car park, Canberra.

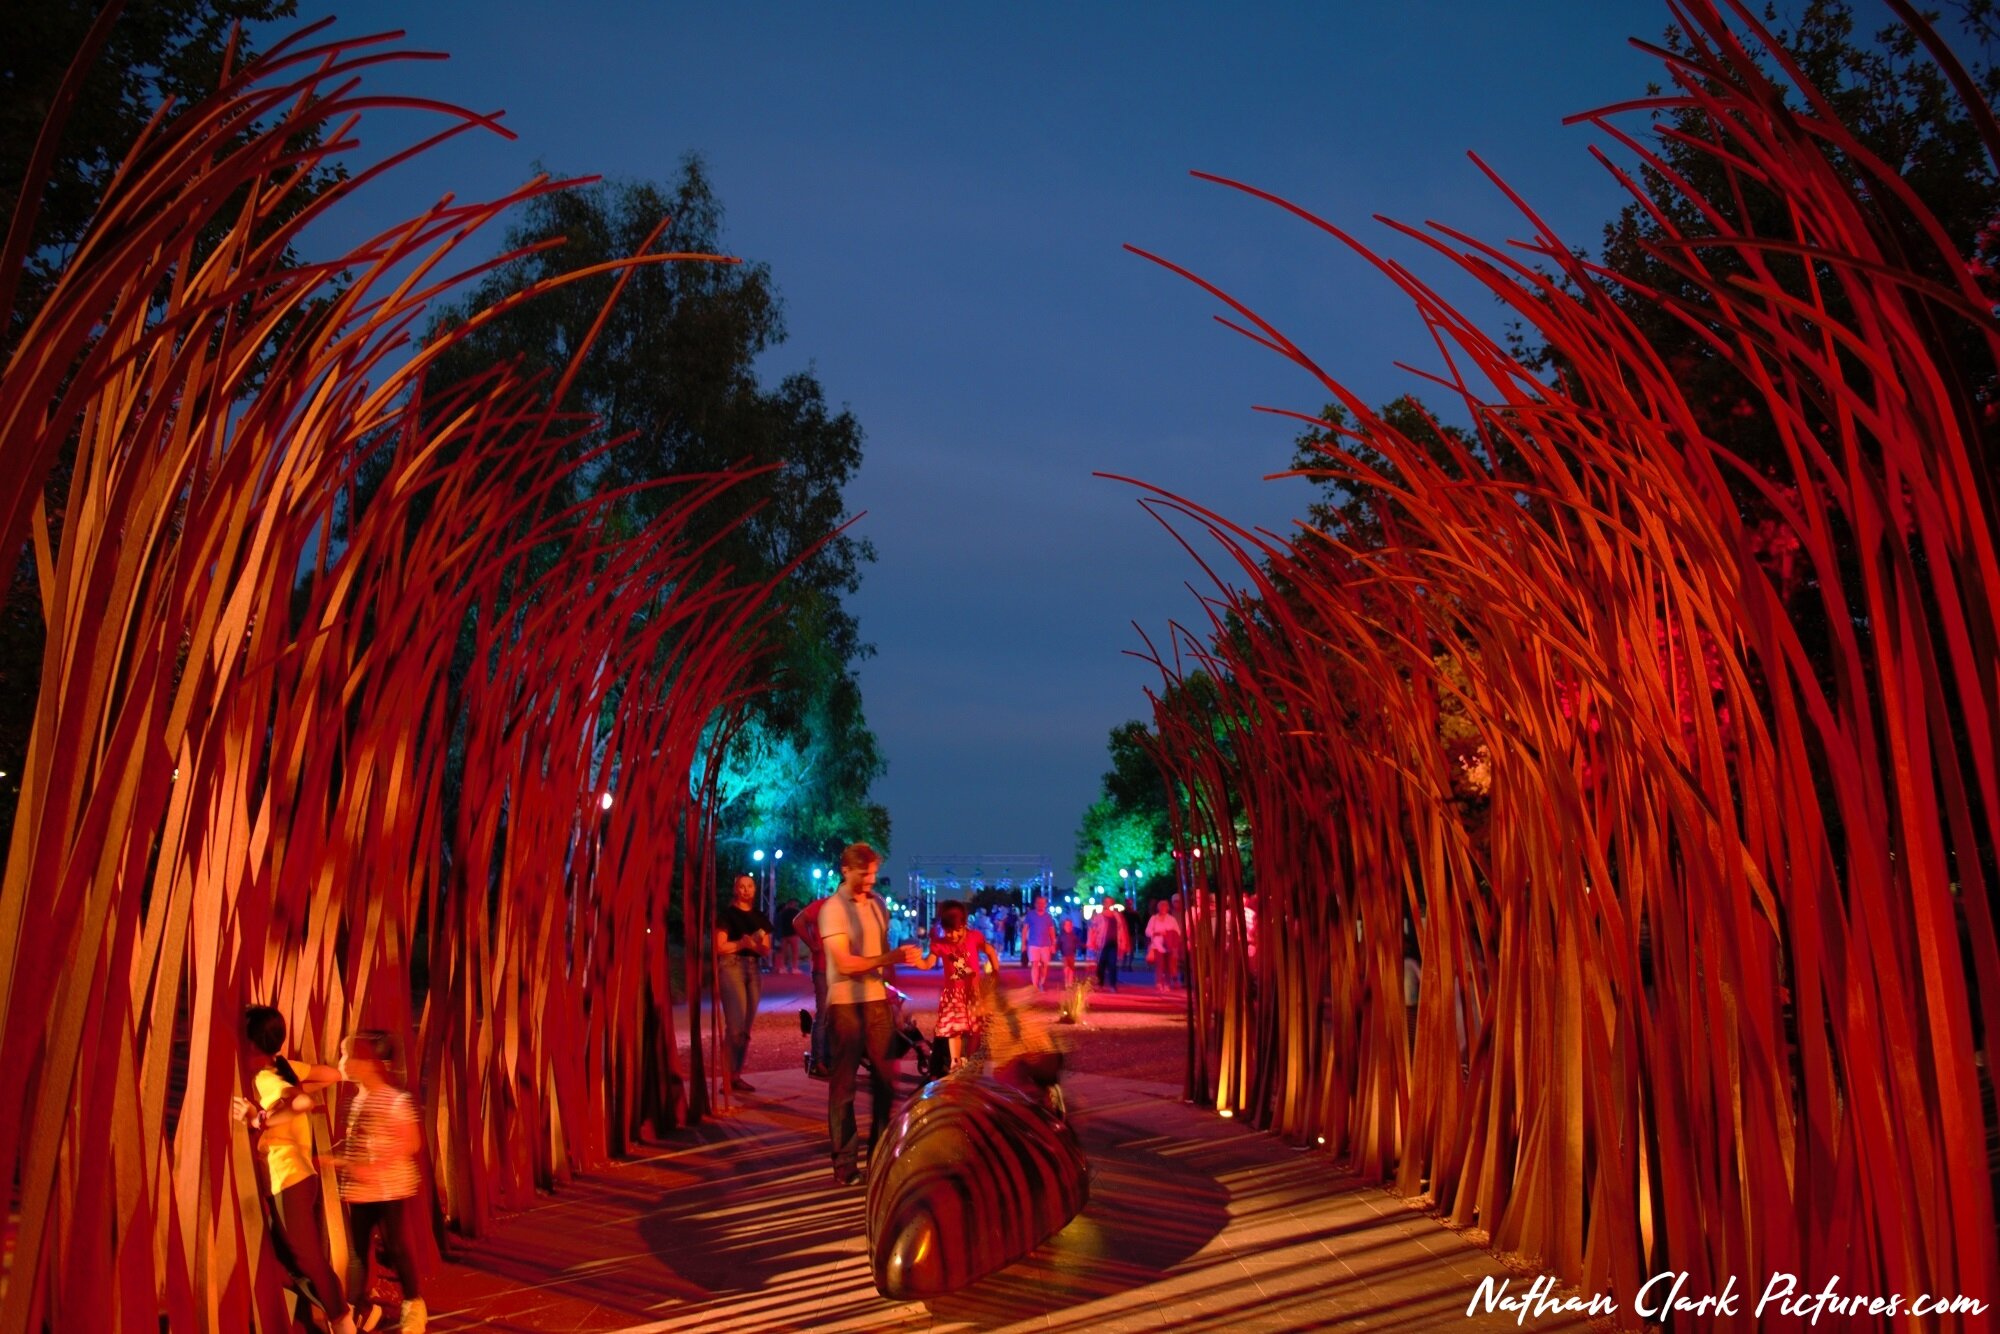
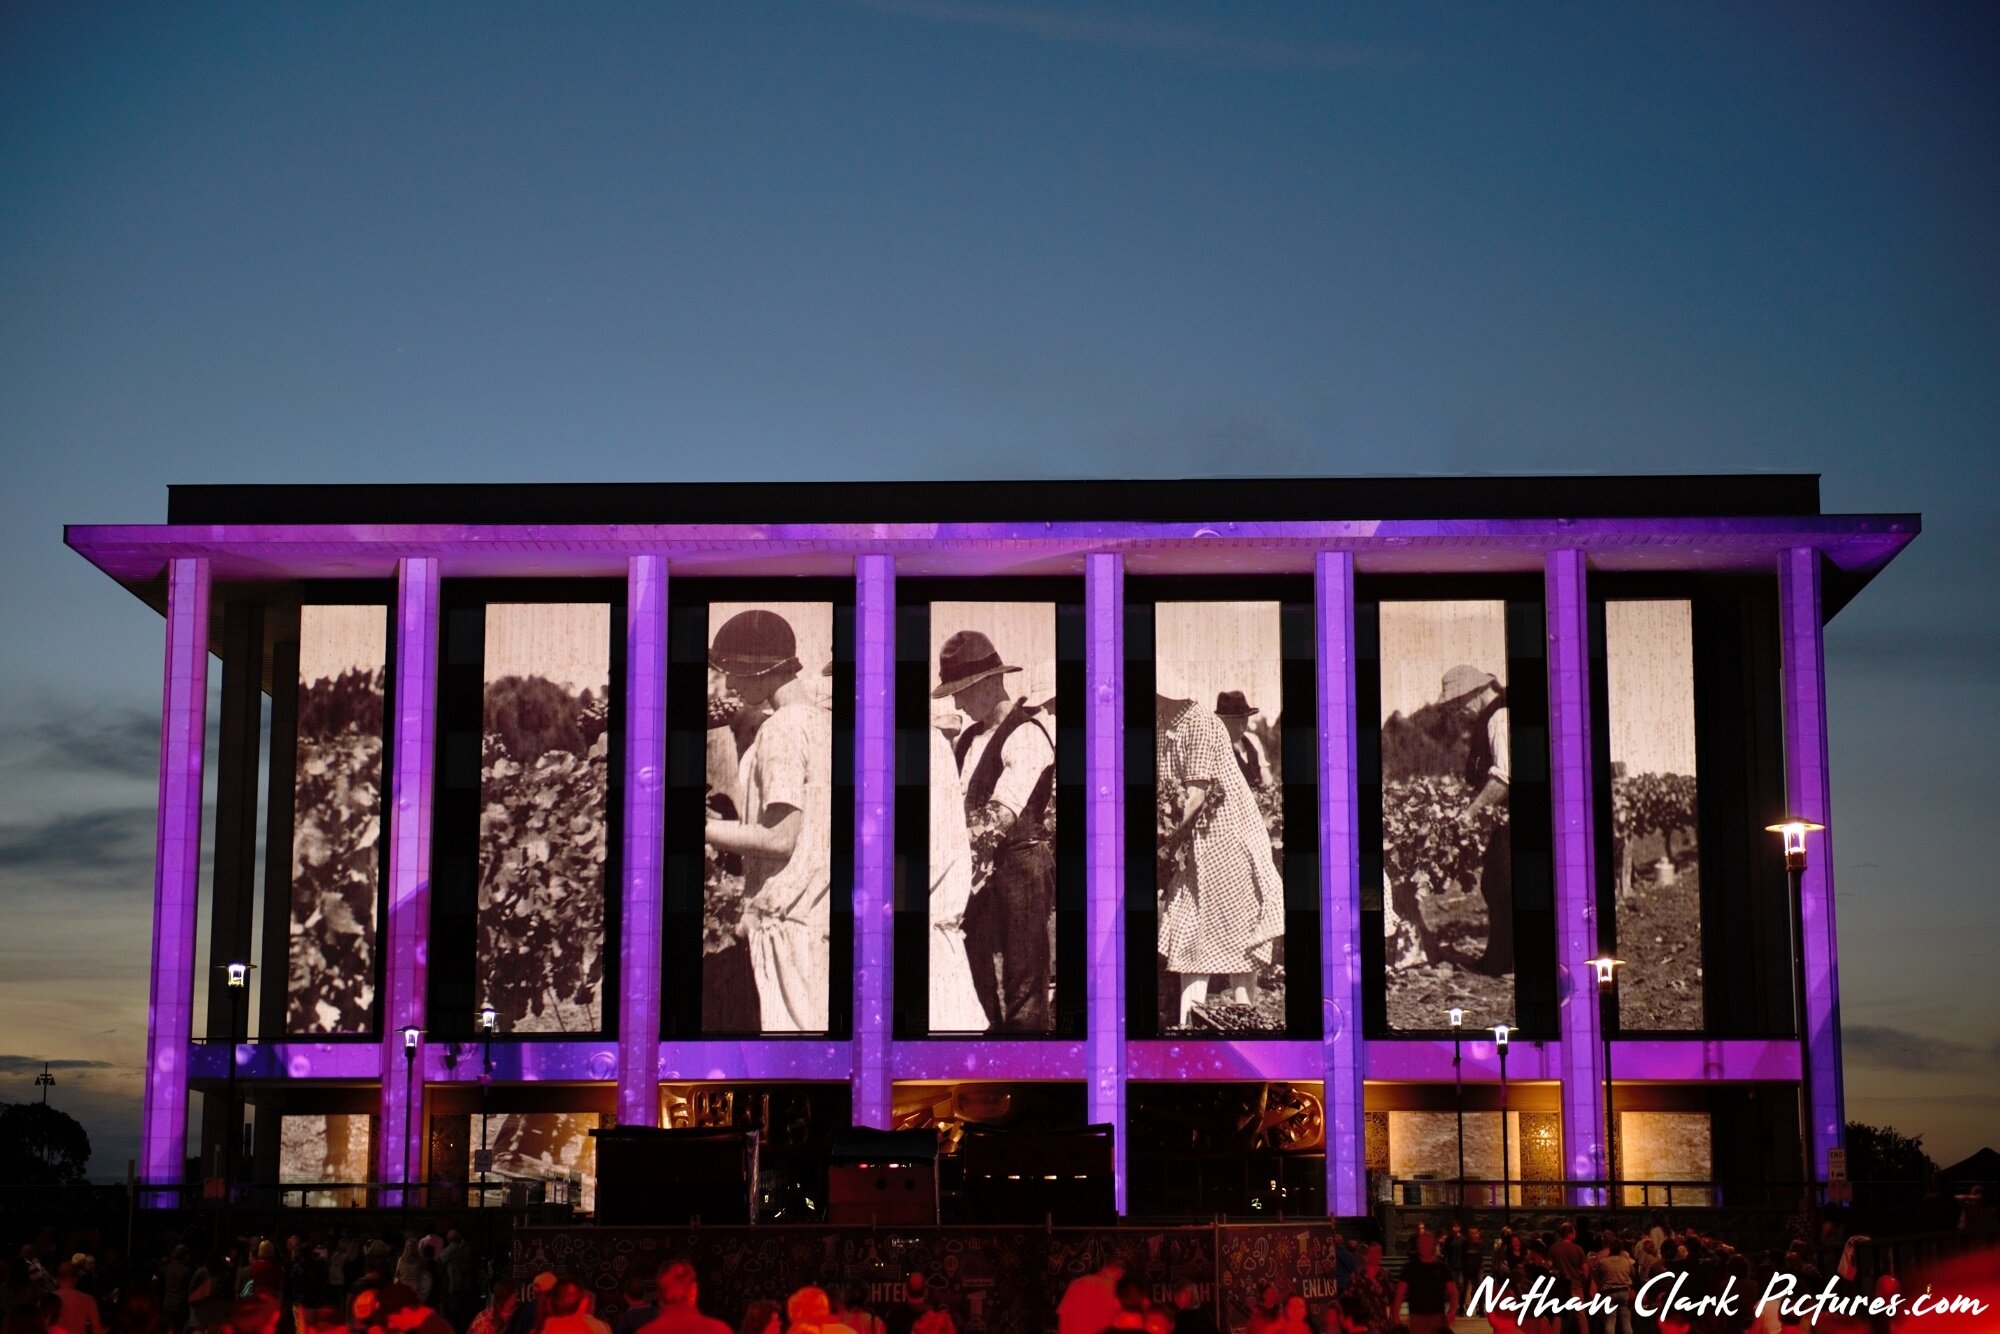
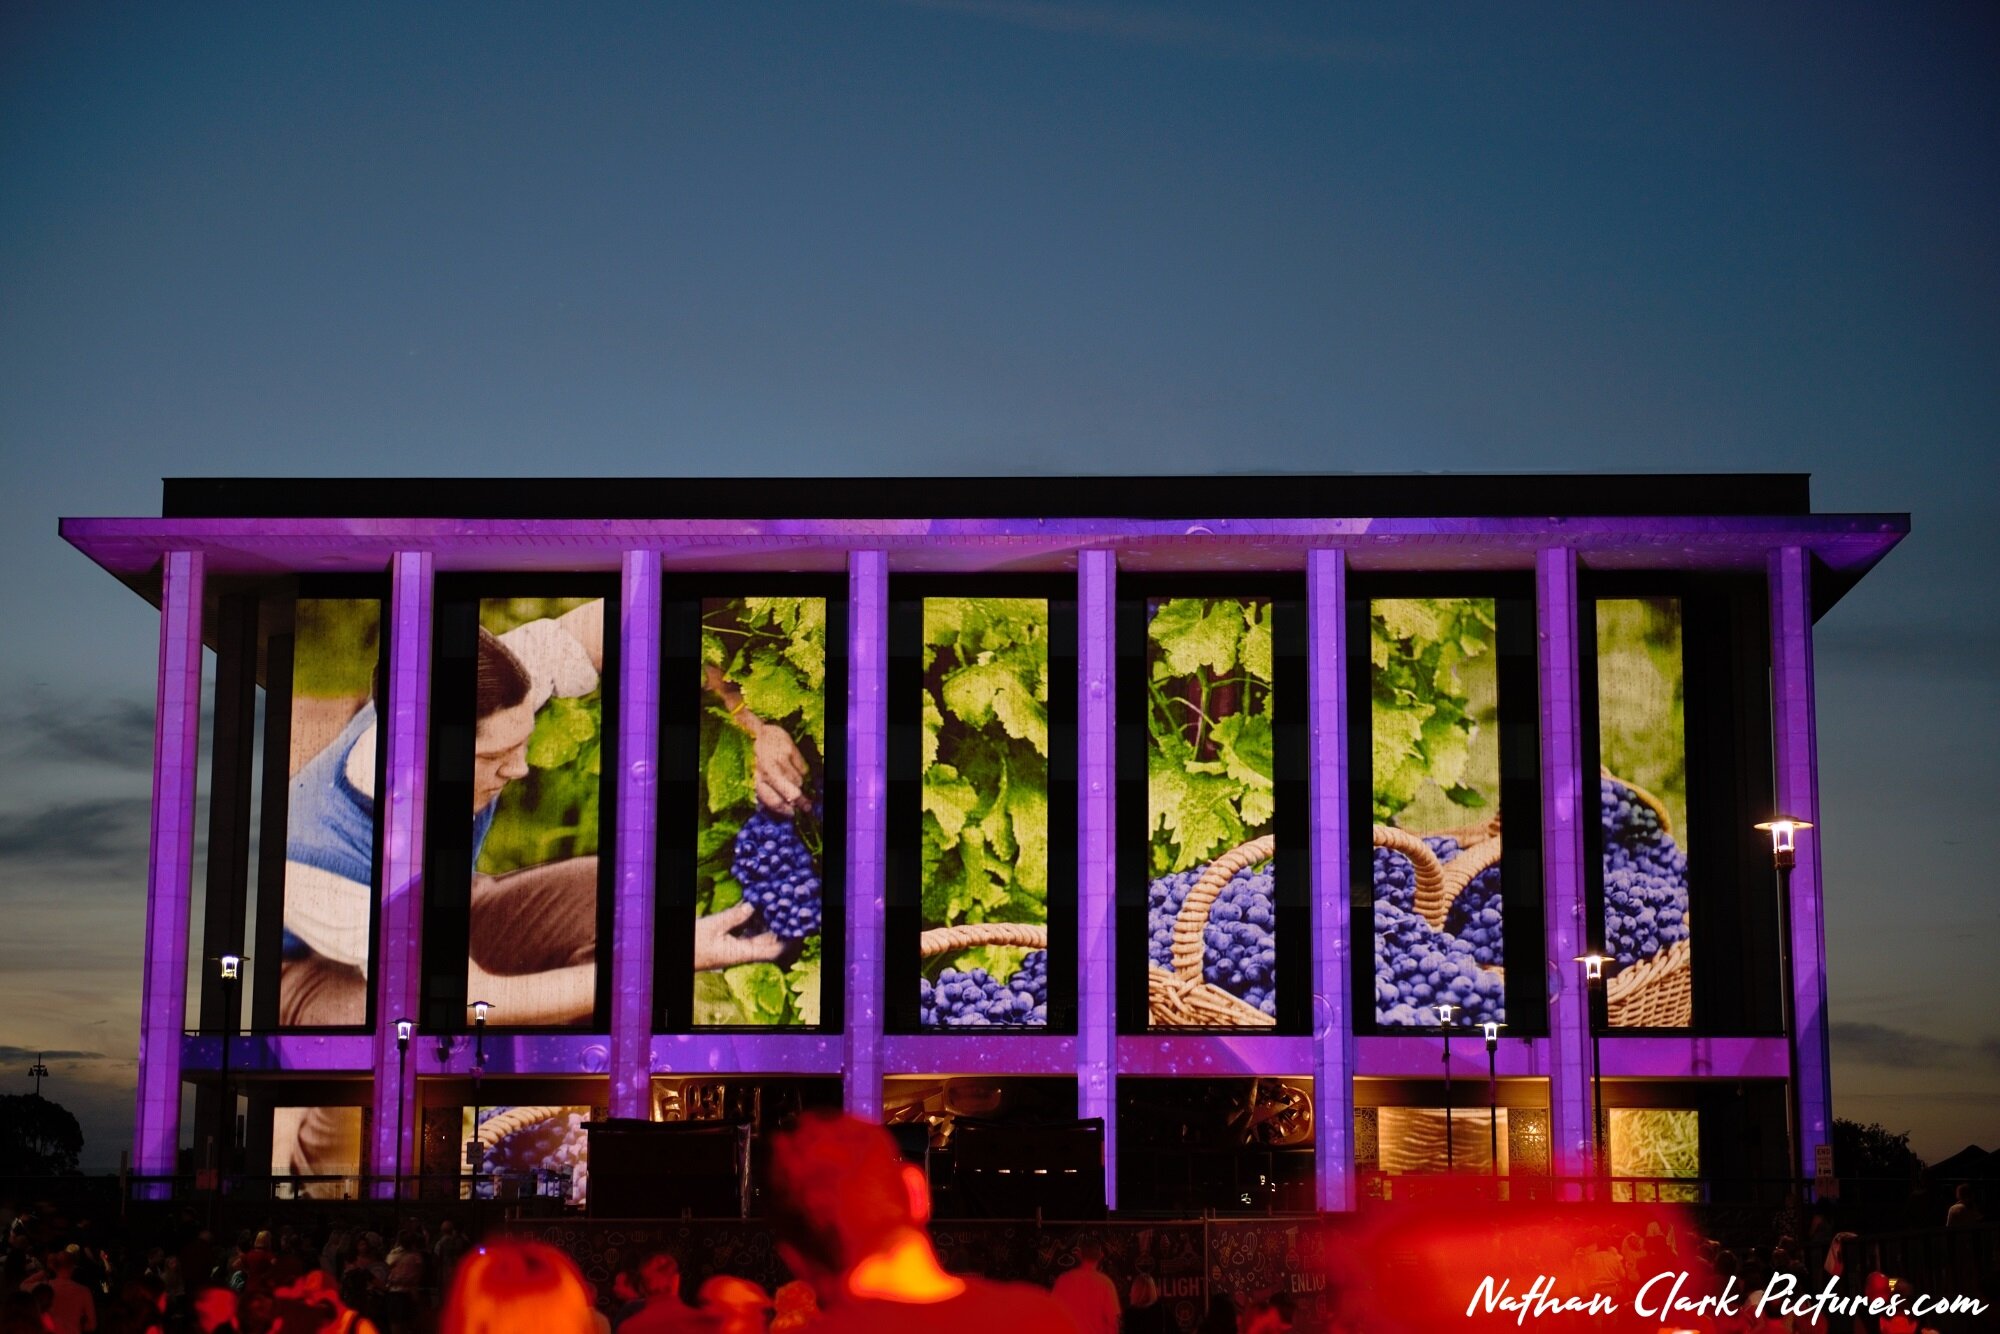
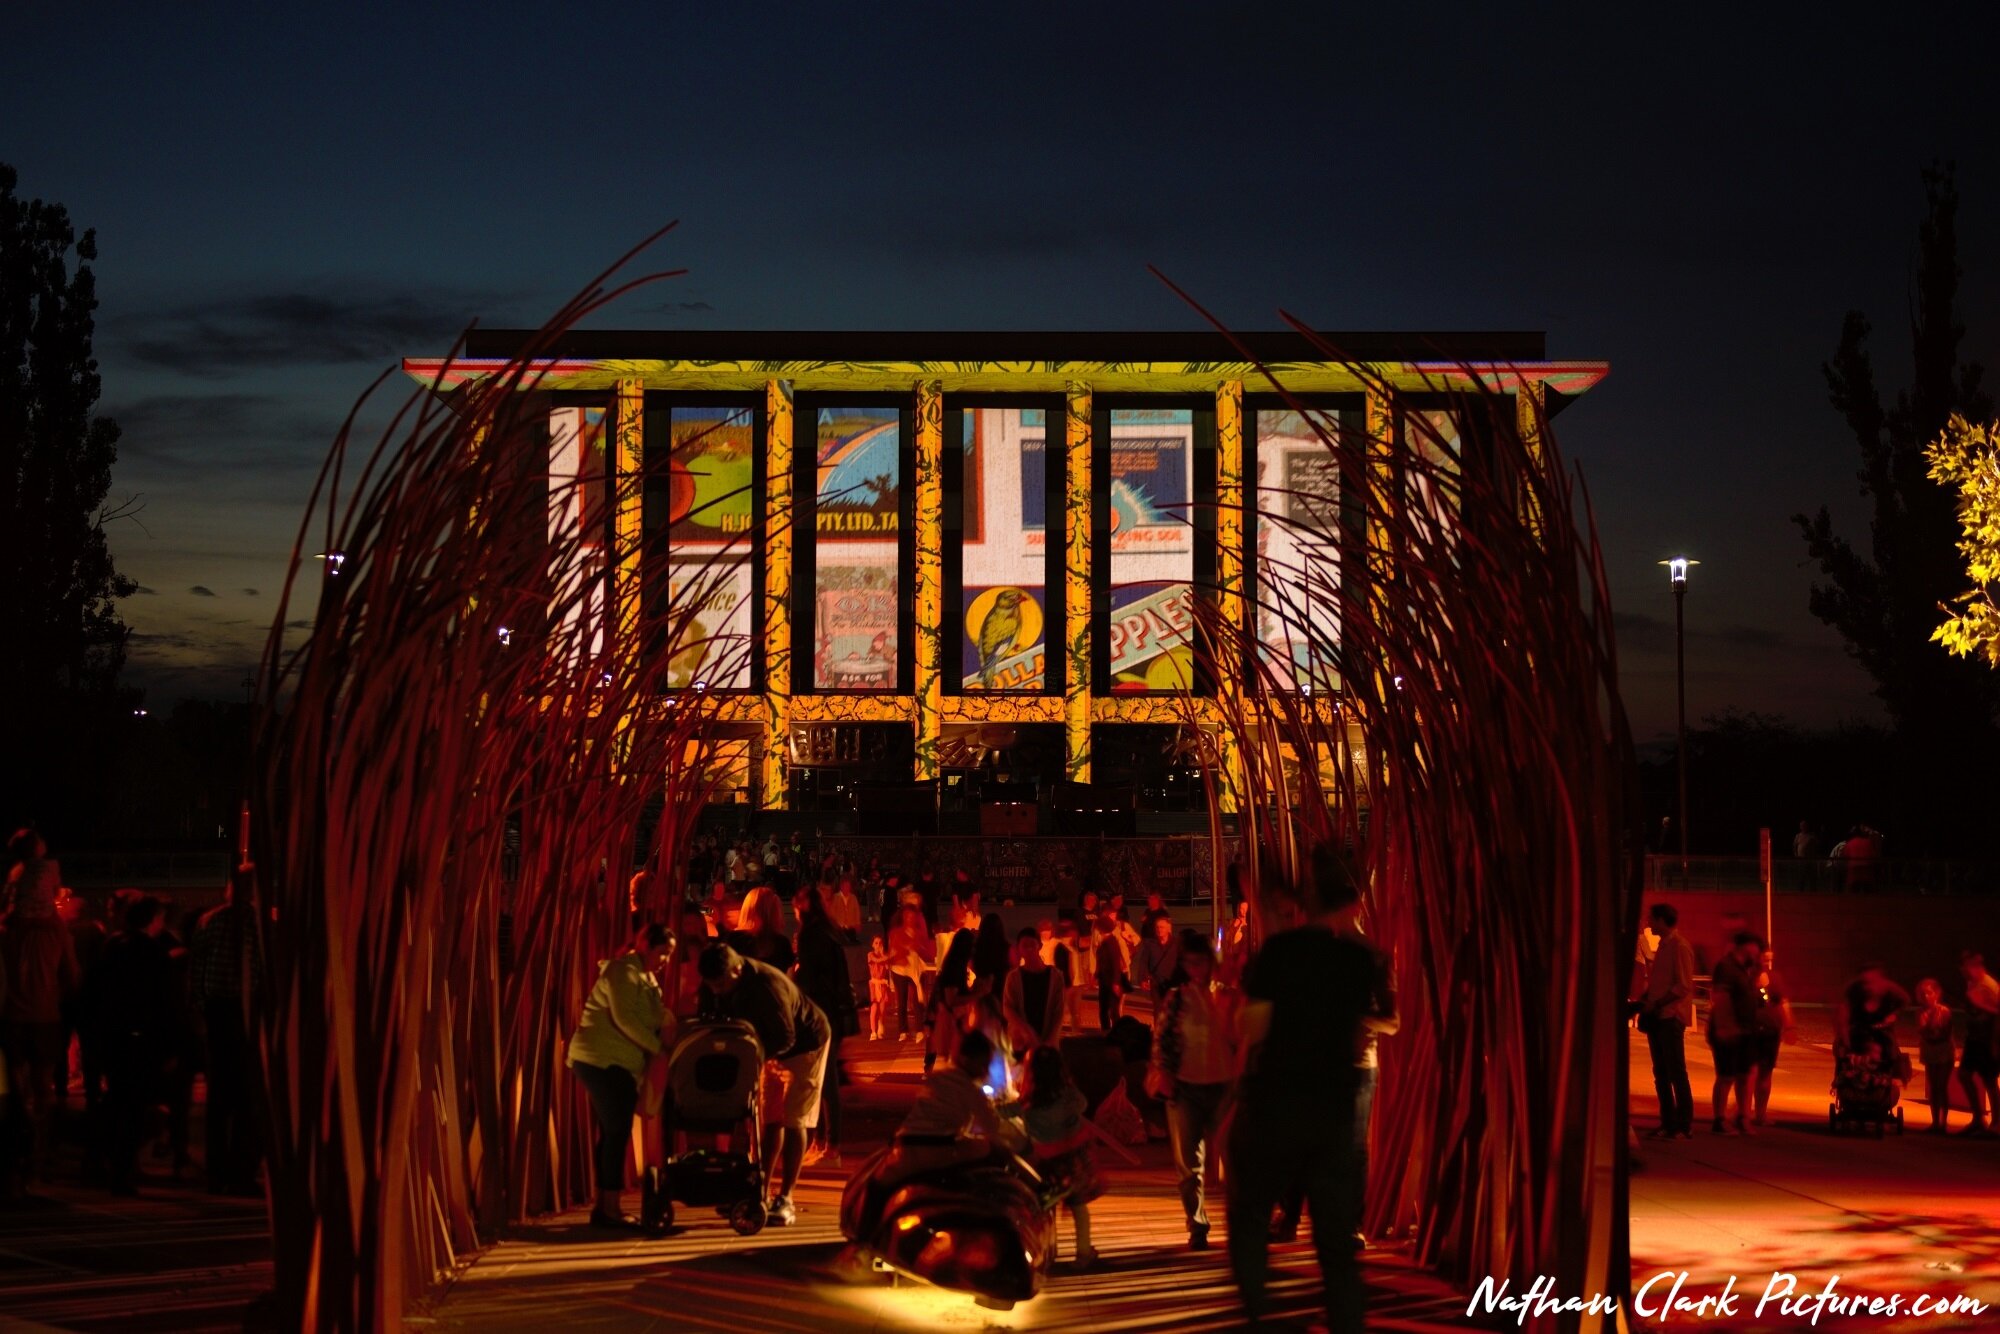
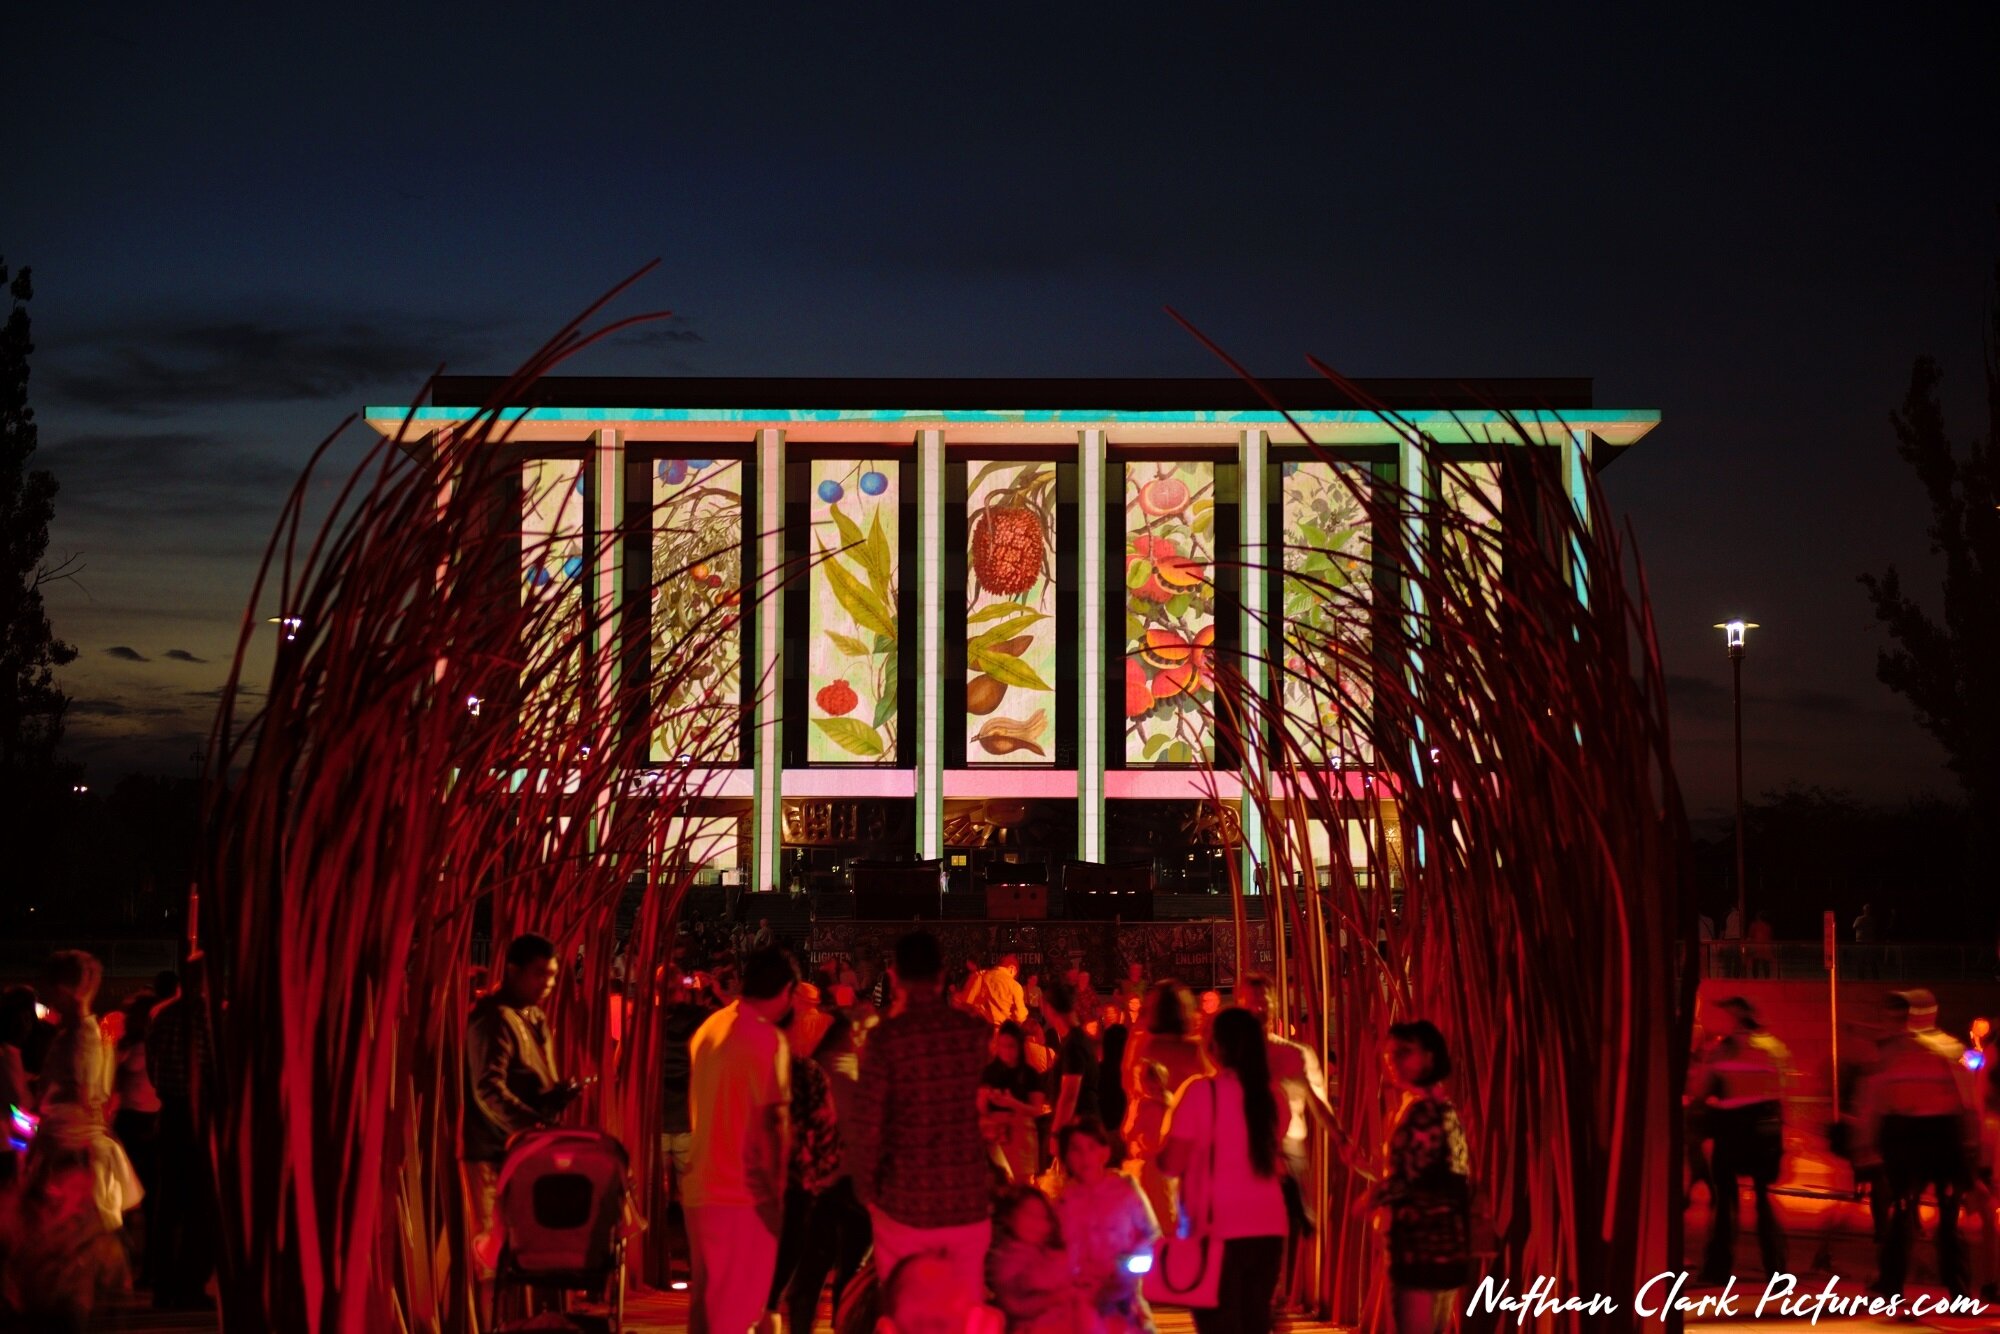
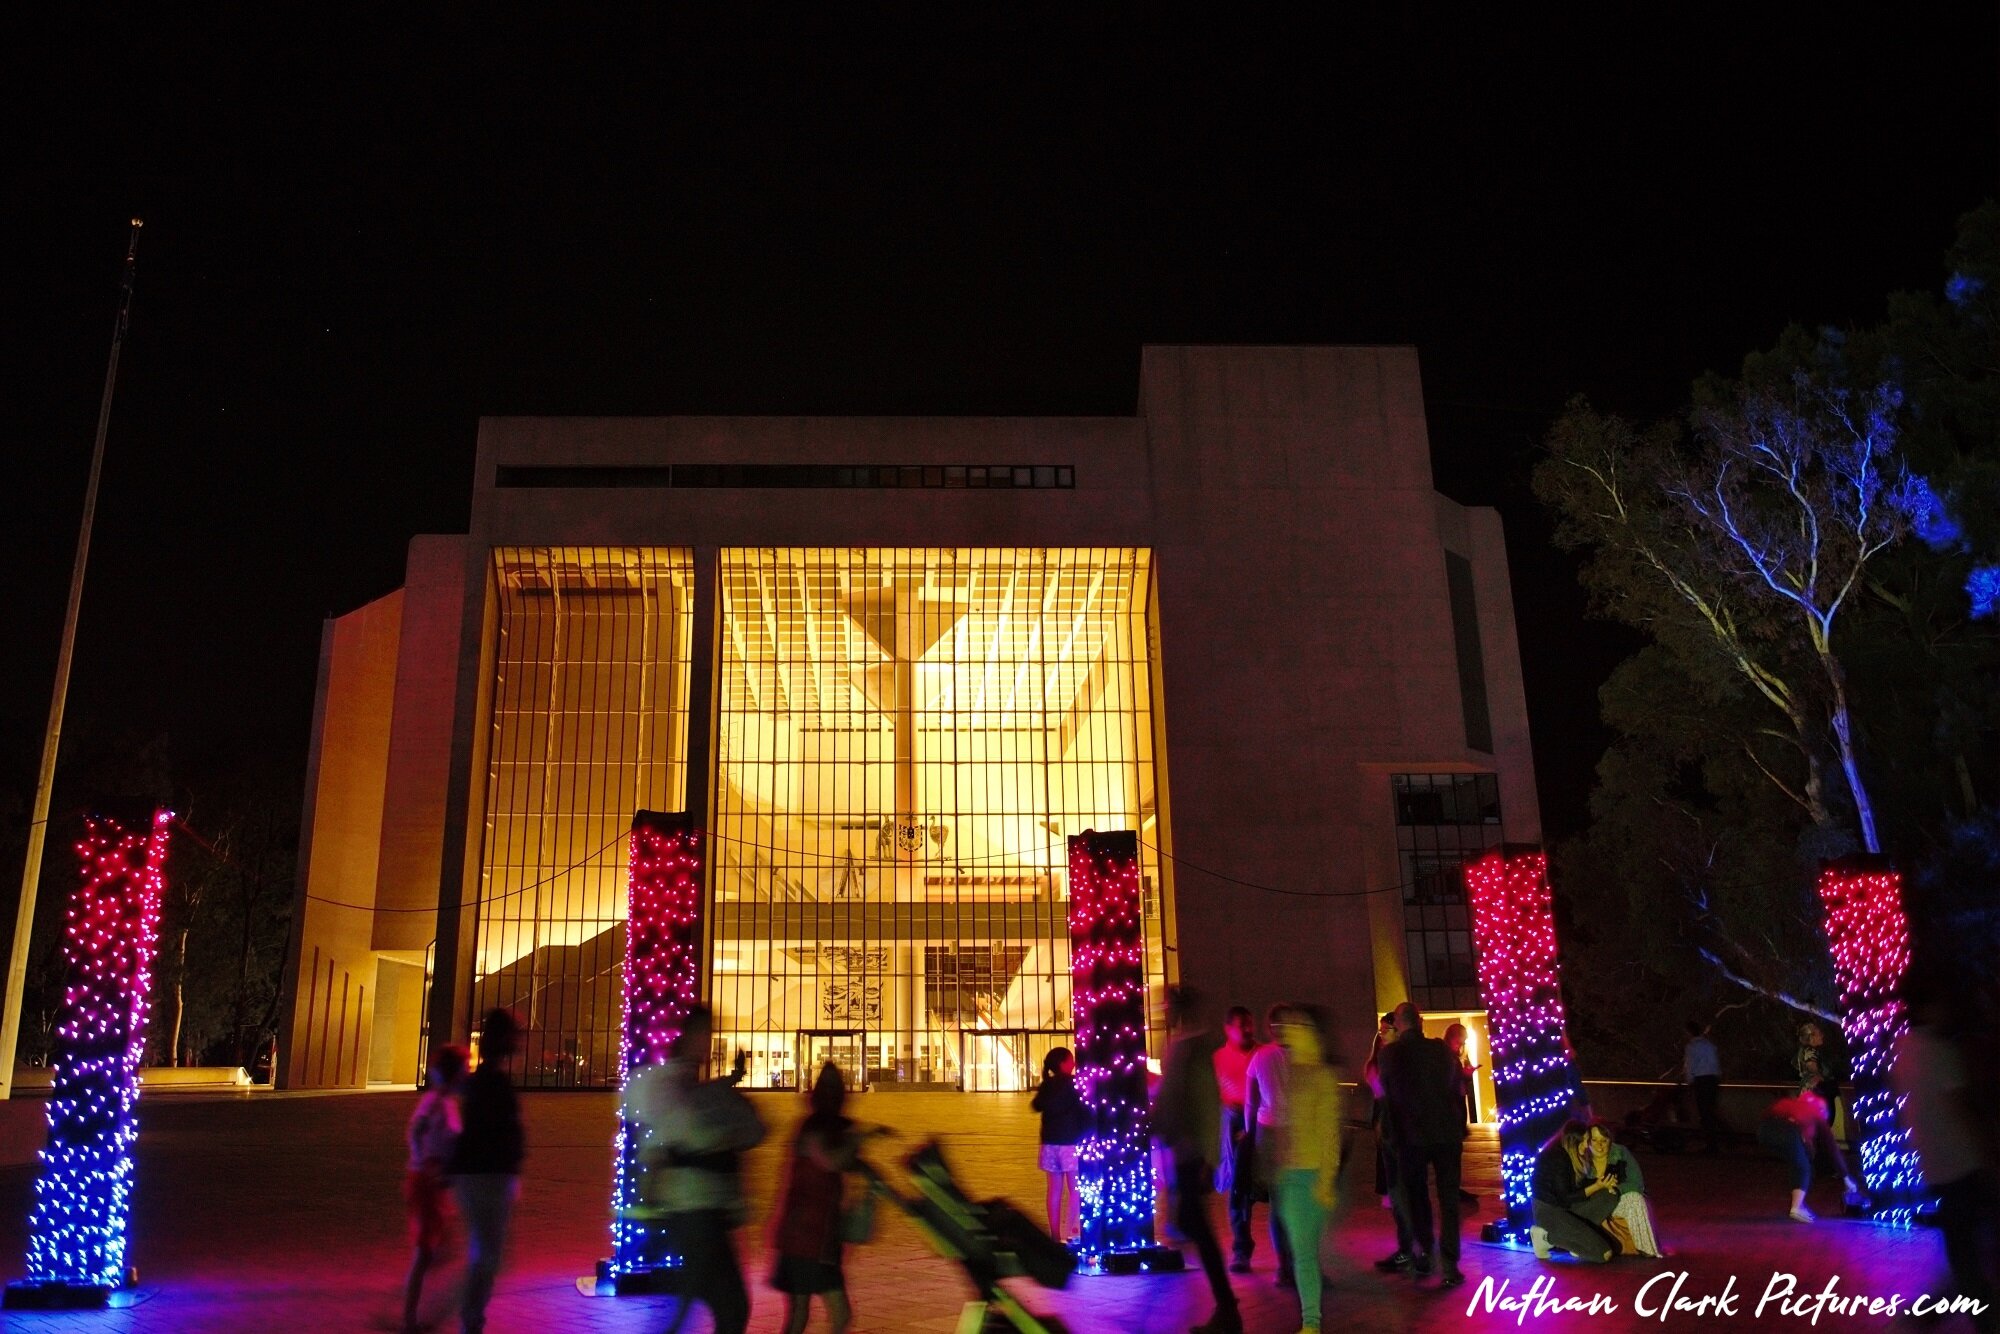
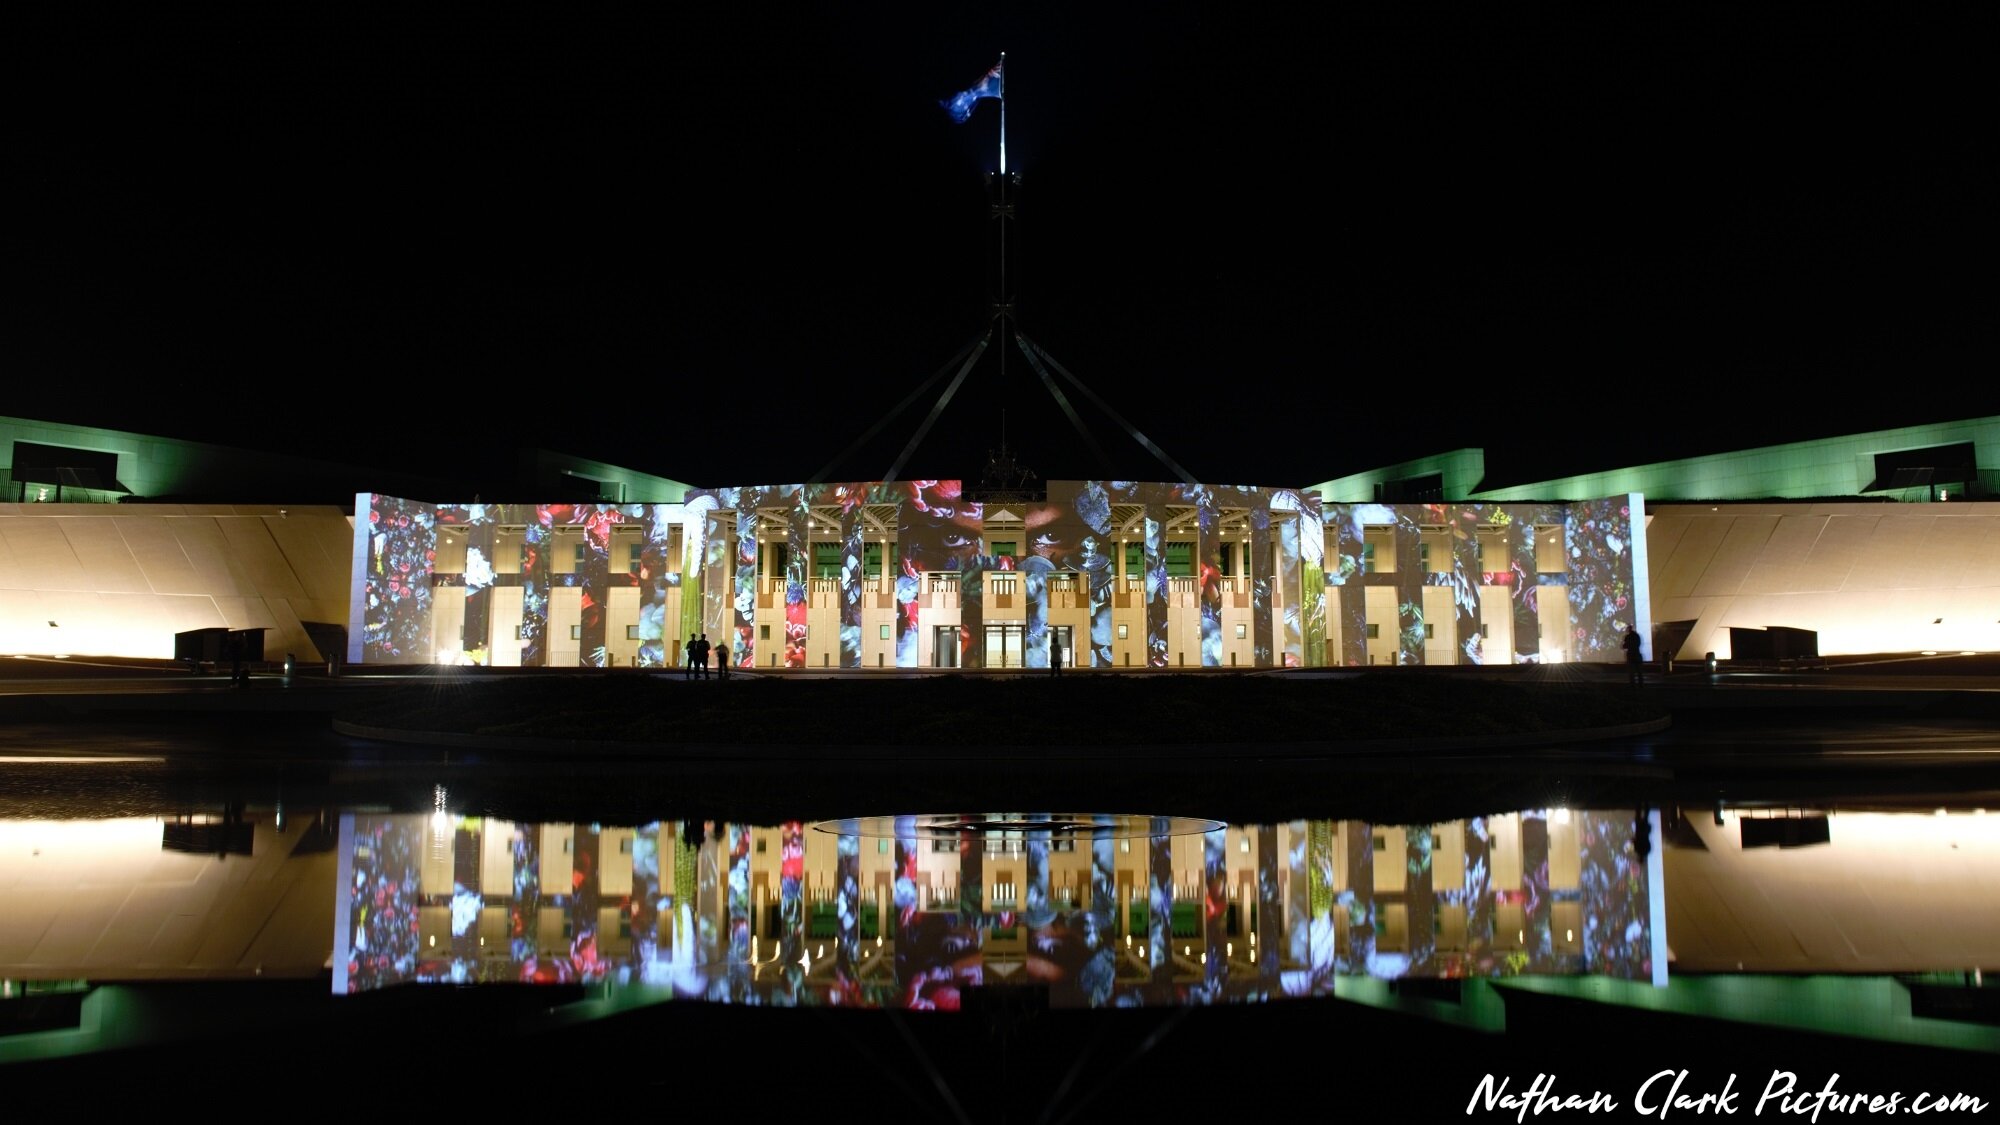
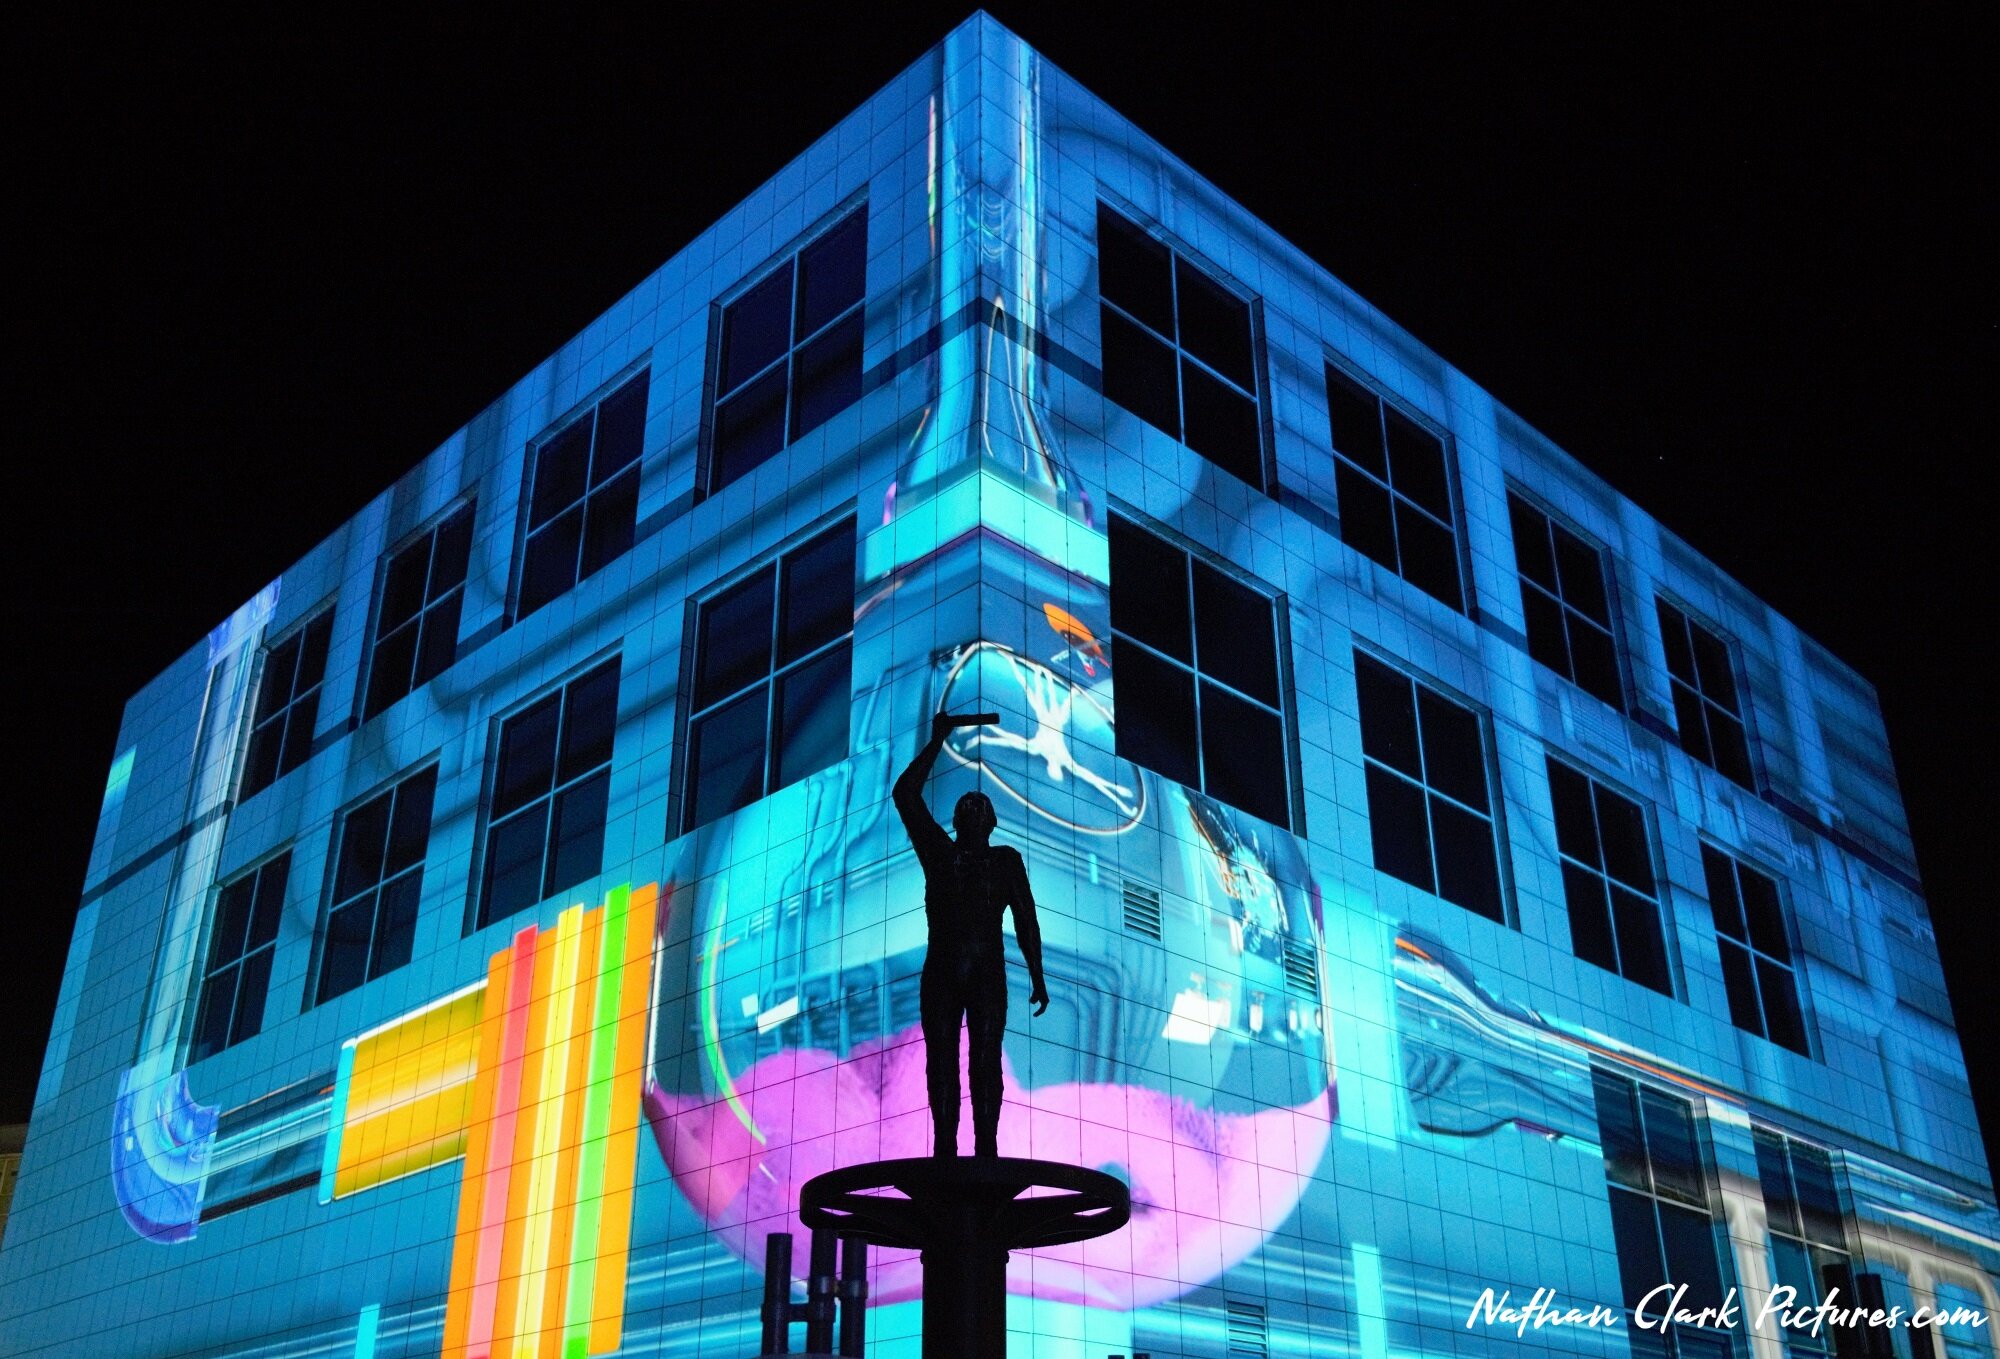
From Friday 26th February until Sunday 14th March 2021, Canberra held their annual ‘Enlighten Festival’. They light up a number of the Capitals iconic buildings with projectors, and have special food tents and a number of festival shows running over this time. (more details can be found on the ‘ENLIGHTEN FESTIVAL’ fb page)

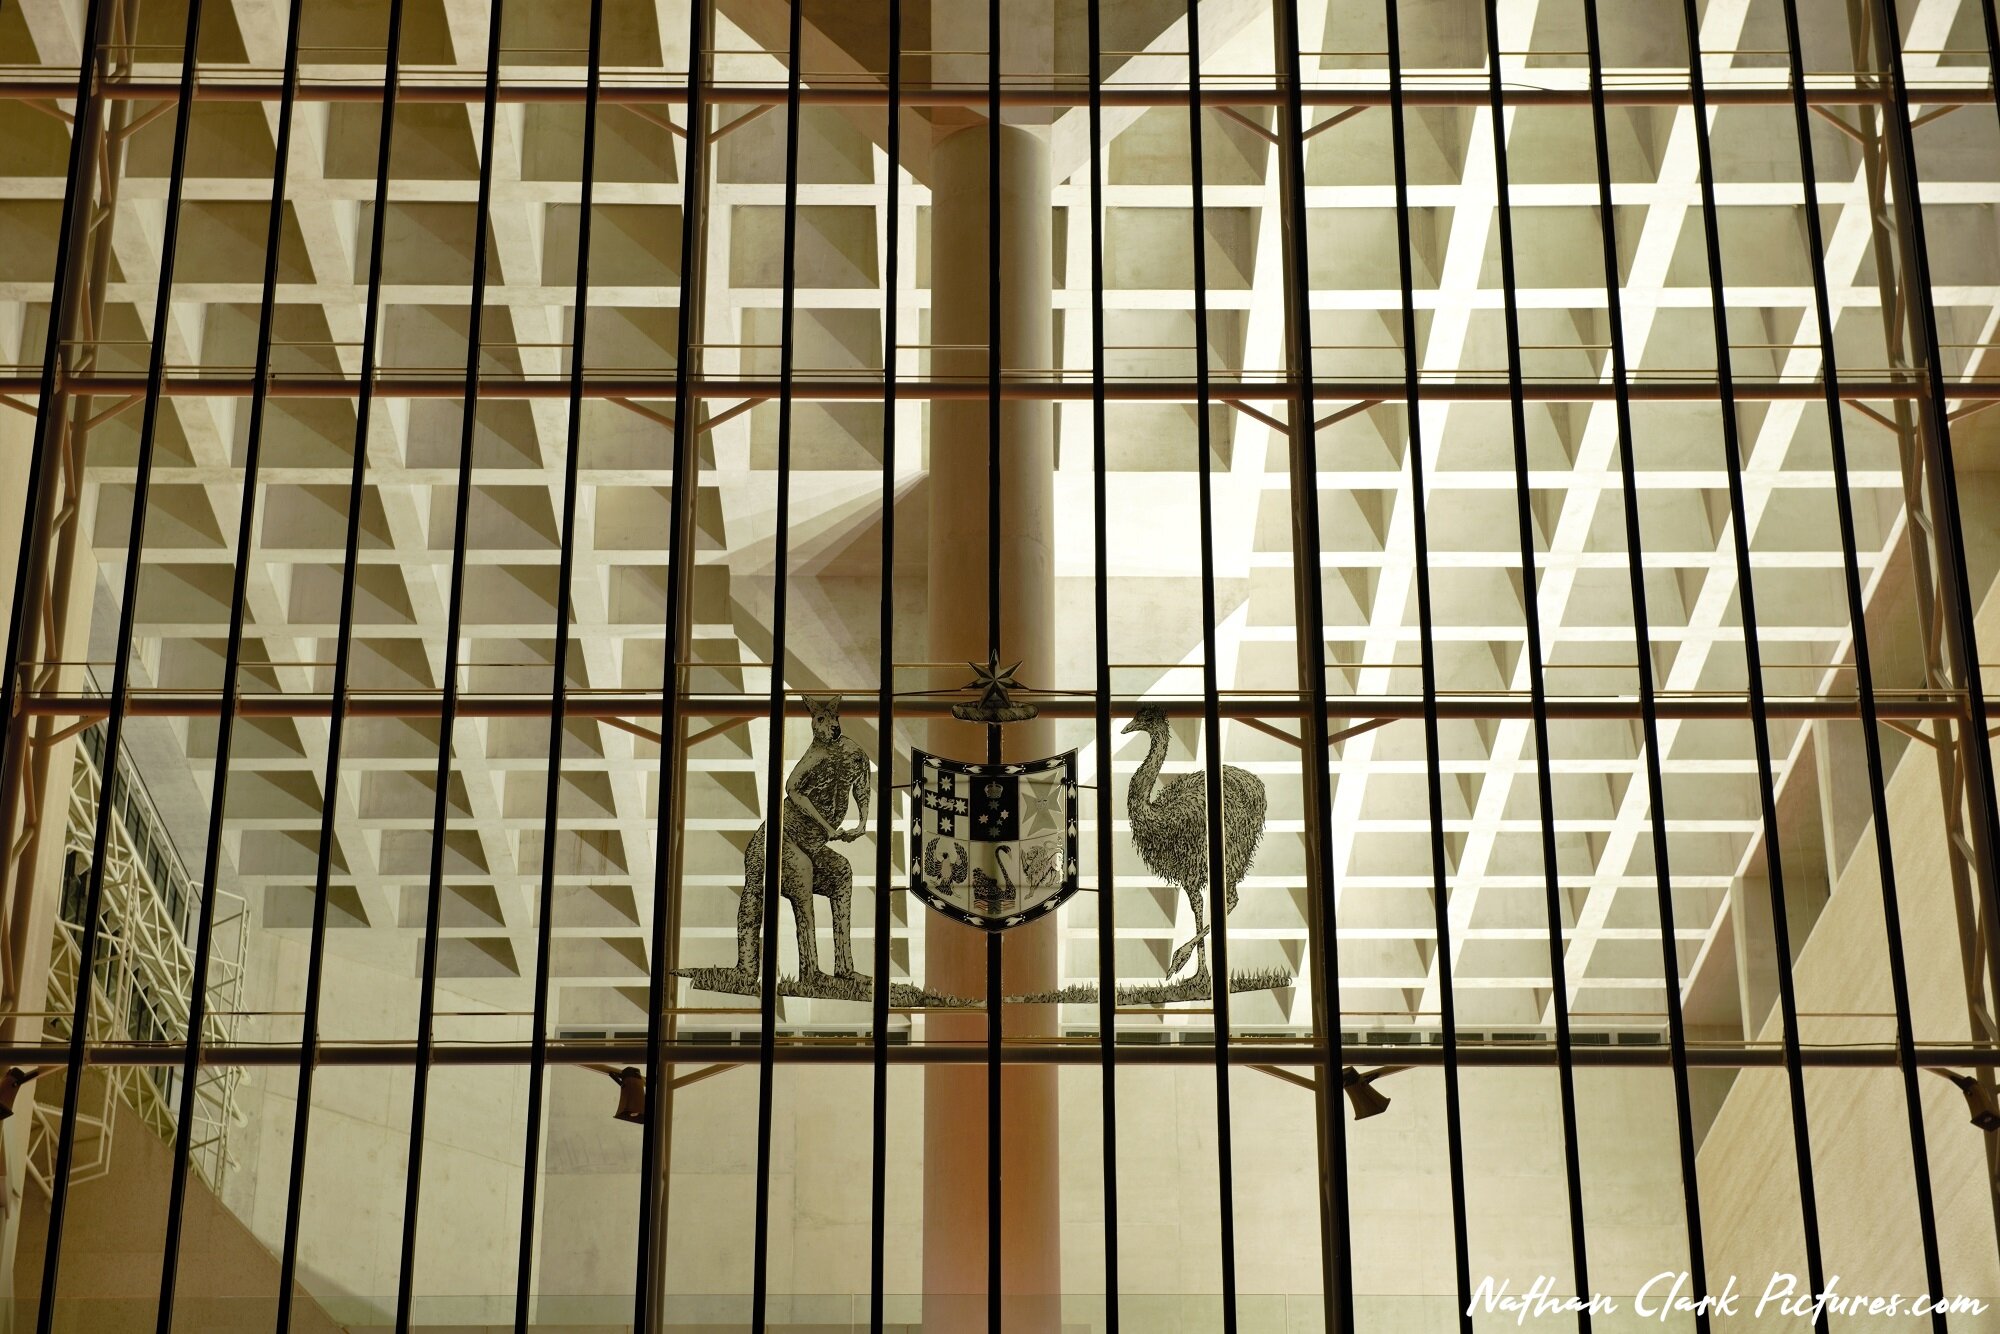
The following pictures were taken over the nights of Saturday, Sunday and Monday, as I toured around Canberra at night.

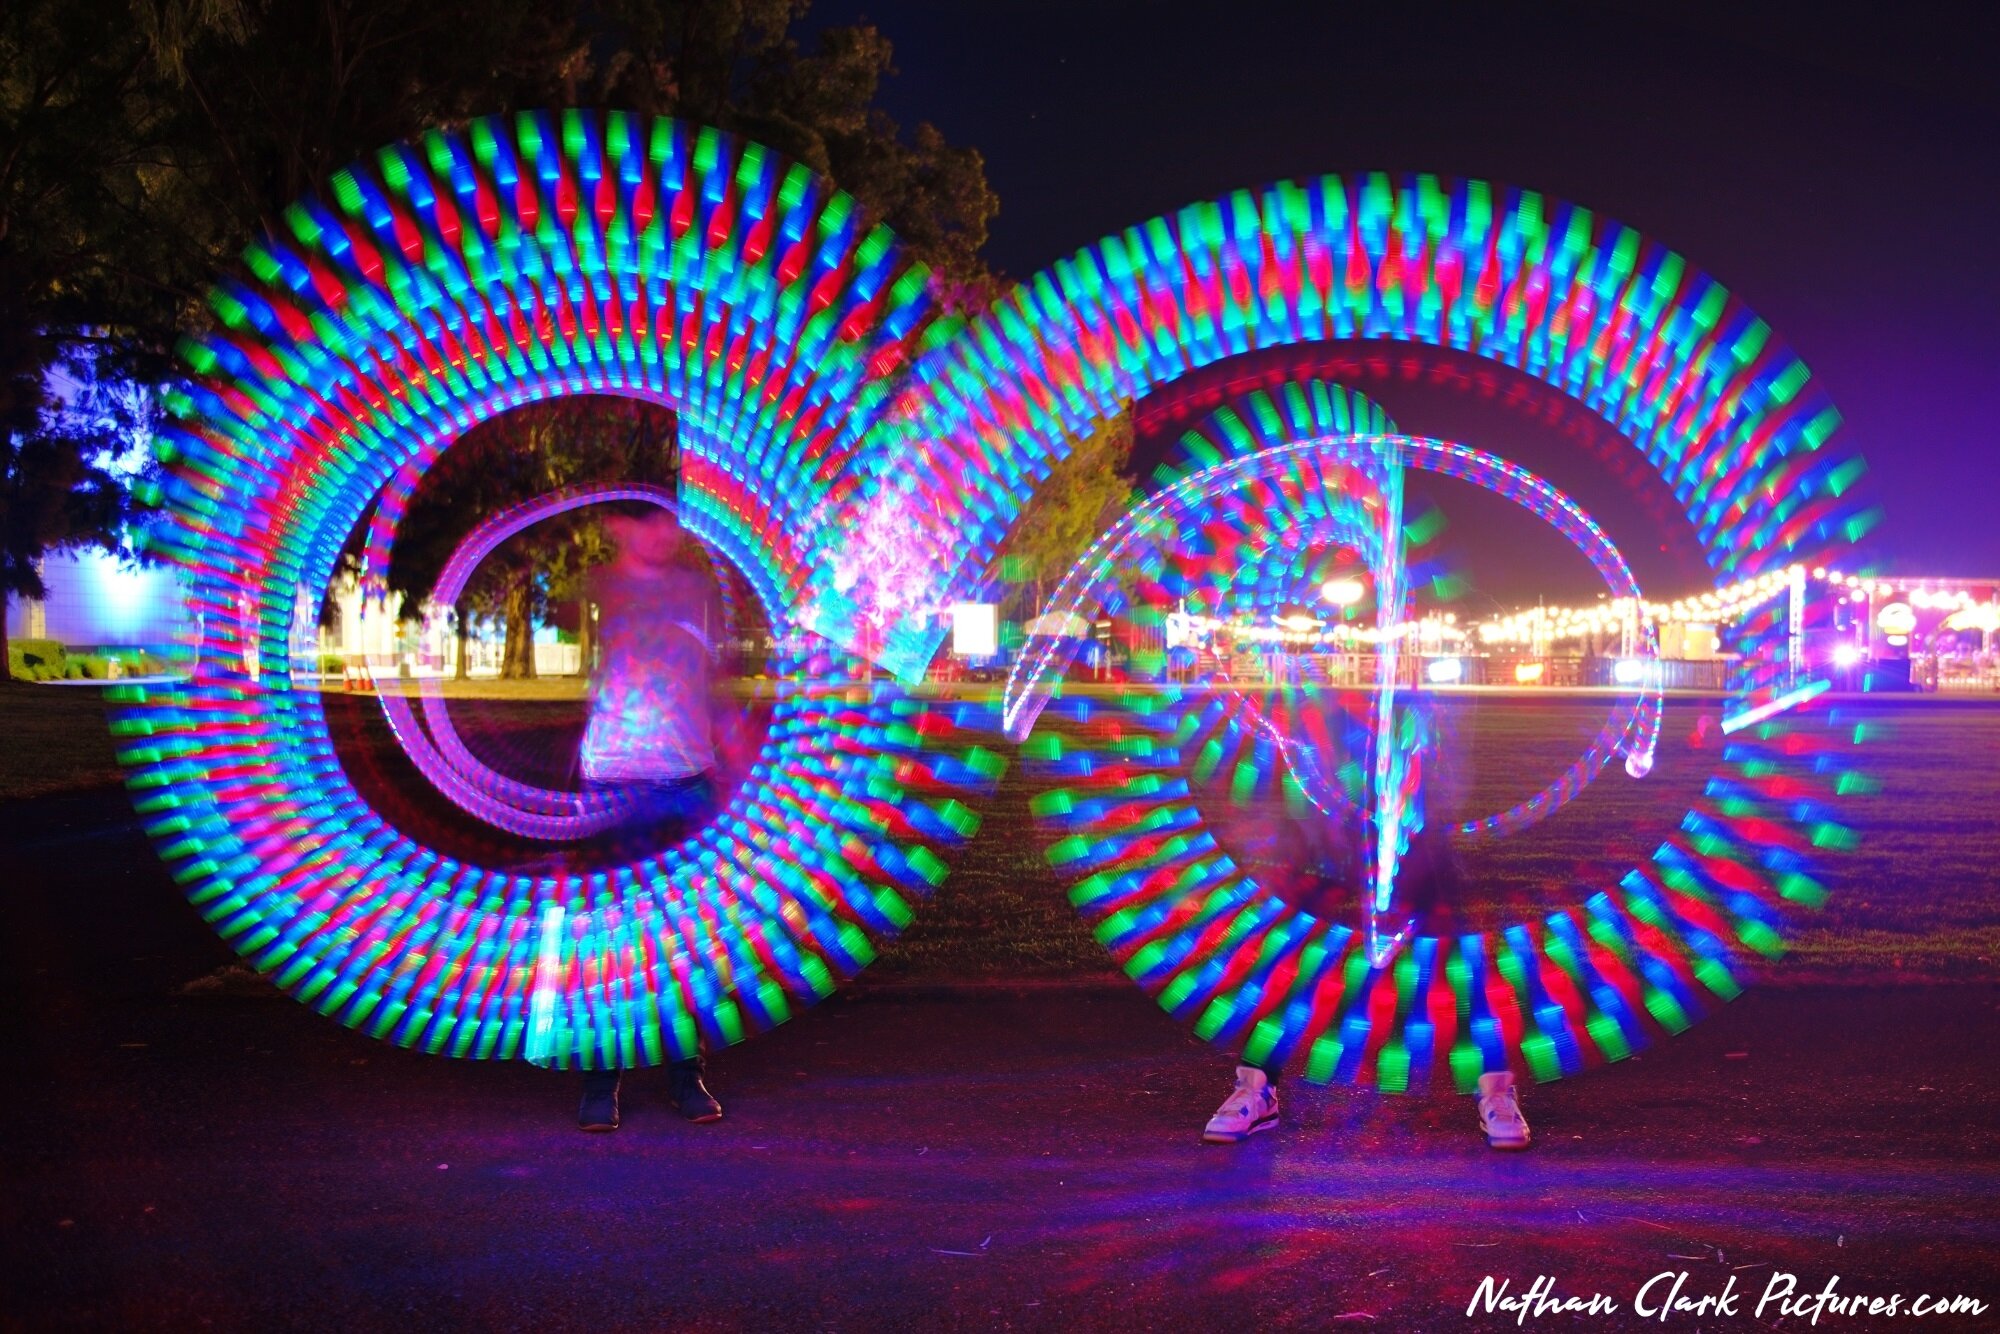
Special thanks goes to the kids that made my night, on Monday 8th, when they asked if I could take their pictures while swinging their LED light sabers…. Guys, you were fantastic, and I hope you like the pictures. (‘Contact me’ with your details if you want the copies)

It’s been a busy week, and there are pictures of the balloons coming soon.

As well as the nathanclarkpictures fb and instagram, check out our fb site ‘Tripping in a Roof Top Tent and 85’ Brown Jayco’ for more stories and pictures, appearing soon !!

ROSEBUD YACHT CLUB - THU 18TH FEB 2021

Tonight I had the pleasure of meeting Roger.

Roger had just taken Alex out for a sail, on his boat. Alex was just walking past on the beach, and asked Roger if he could go out with him. Roger, the amazing guy that he is, was very happy to have some extra company. Roger; “There wasn’t much breeze, but there was enough for 2 so I didn’t get blown over”.

Roger is a great spokesman for the Rosebud Yacht Club, inviting people to come down and speak with them on the weekends if they are there, and weather and circumstances permitting, he could even take you for a sail !!

Thanks for adding some colour to my night Roger.

BLAIRGOWRIE PIER - FRI 12TH FEB 2021

From Back to Front…

On the way home from Diamond Bay, at the back beach, I drove across to the front beach side, on my way home via the supermarket.

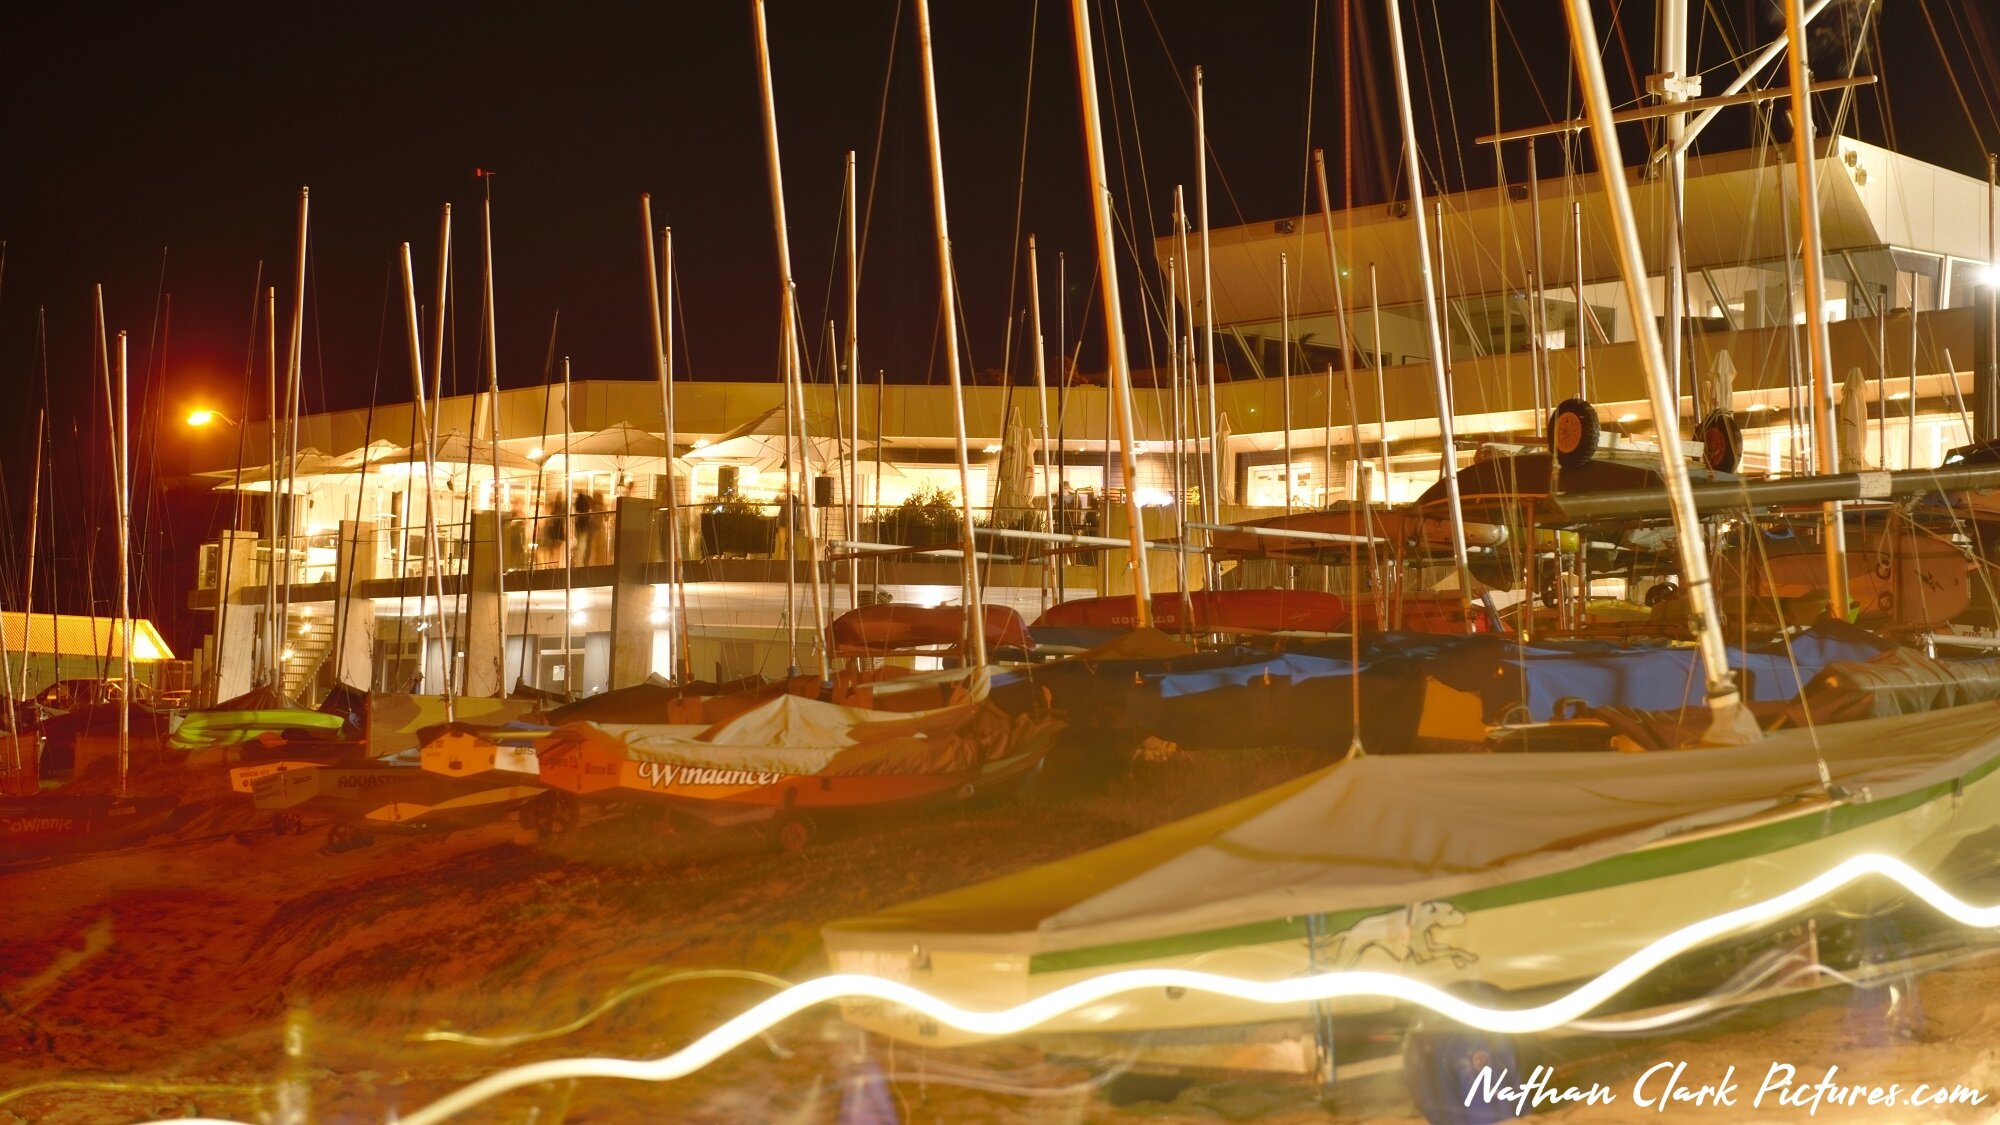
As I was passing the Blairgowrie pier, I was instantly memorized by all the boats and their mast’s in the warm glow of the pier lights.

The air was relatively still on this side of the Point, and I just knew I just had to stop and take these pictures to share the magic with you.

Oh, and yes, I totally forgot about, and subsequently just missed, the Supermarket before it closed.

DIAMOND BAY - FRI 12TH FEB 2021

Another beautiful Back Beach of the Peninsula is Diamond Bay, in Sorrento.

An easy paved walk up the hill from the car park, and you’ll find yourself at a pathway intersection where if you keep going straight you get to the Beach, but if you take the path to the left, you stay up high among the top of the cliffs, and head towards the ‘Bay of Islands’ lookout.

Straight, and once at the top of the path, you will find yourself overlooking the bay, and surrounded by the sandstone cliffs. As you start your walk down the many steps, you get to see the beautiful weather shaped lines and patterns on the sandstone.

NUMBER 16 BEACH - SUN 31ST JAN 2021

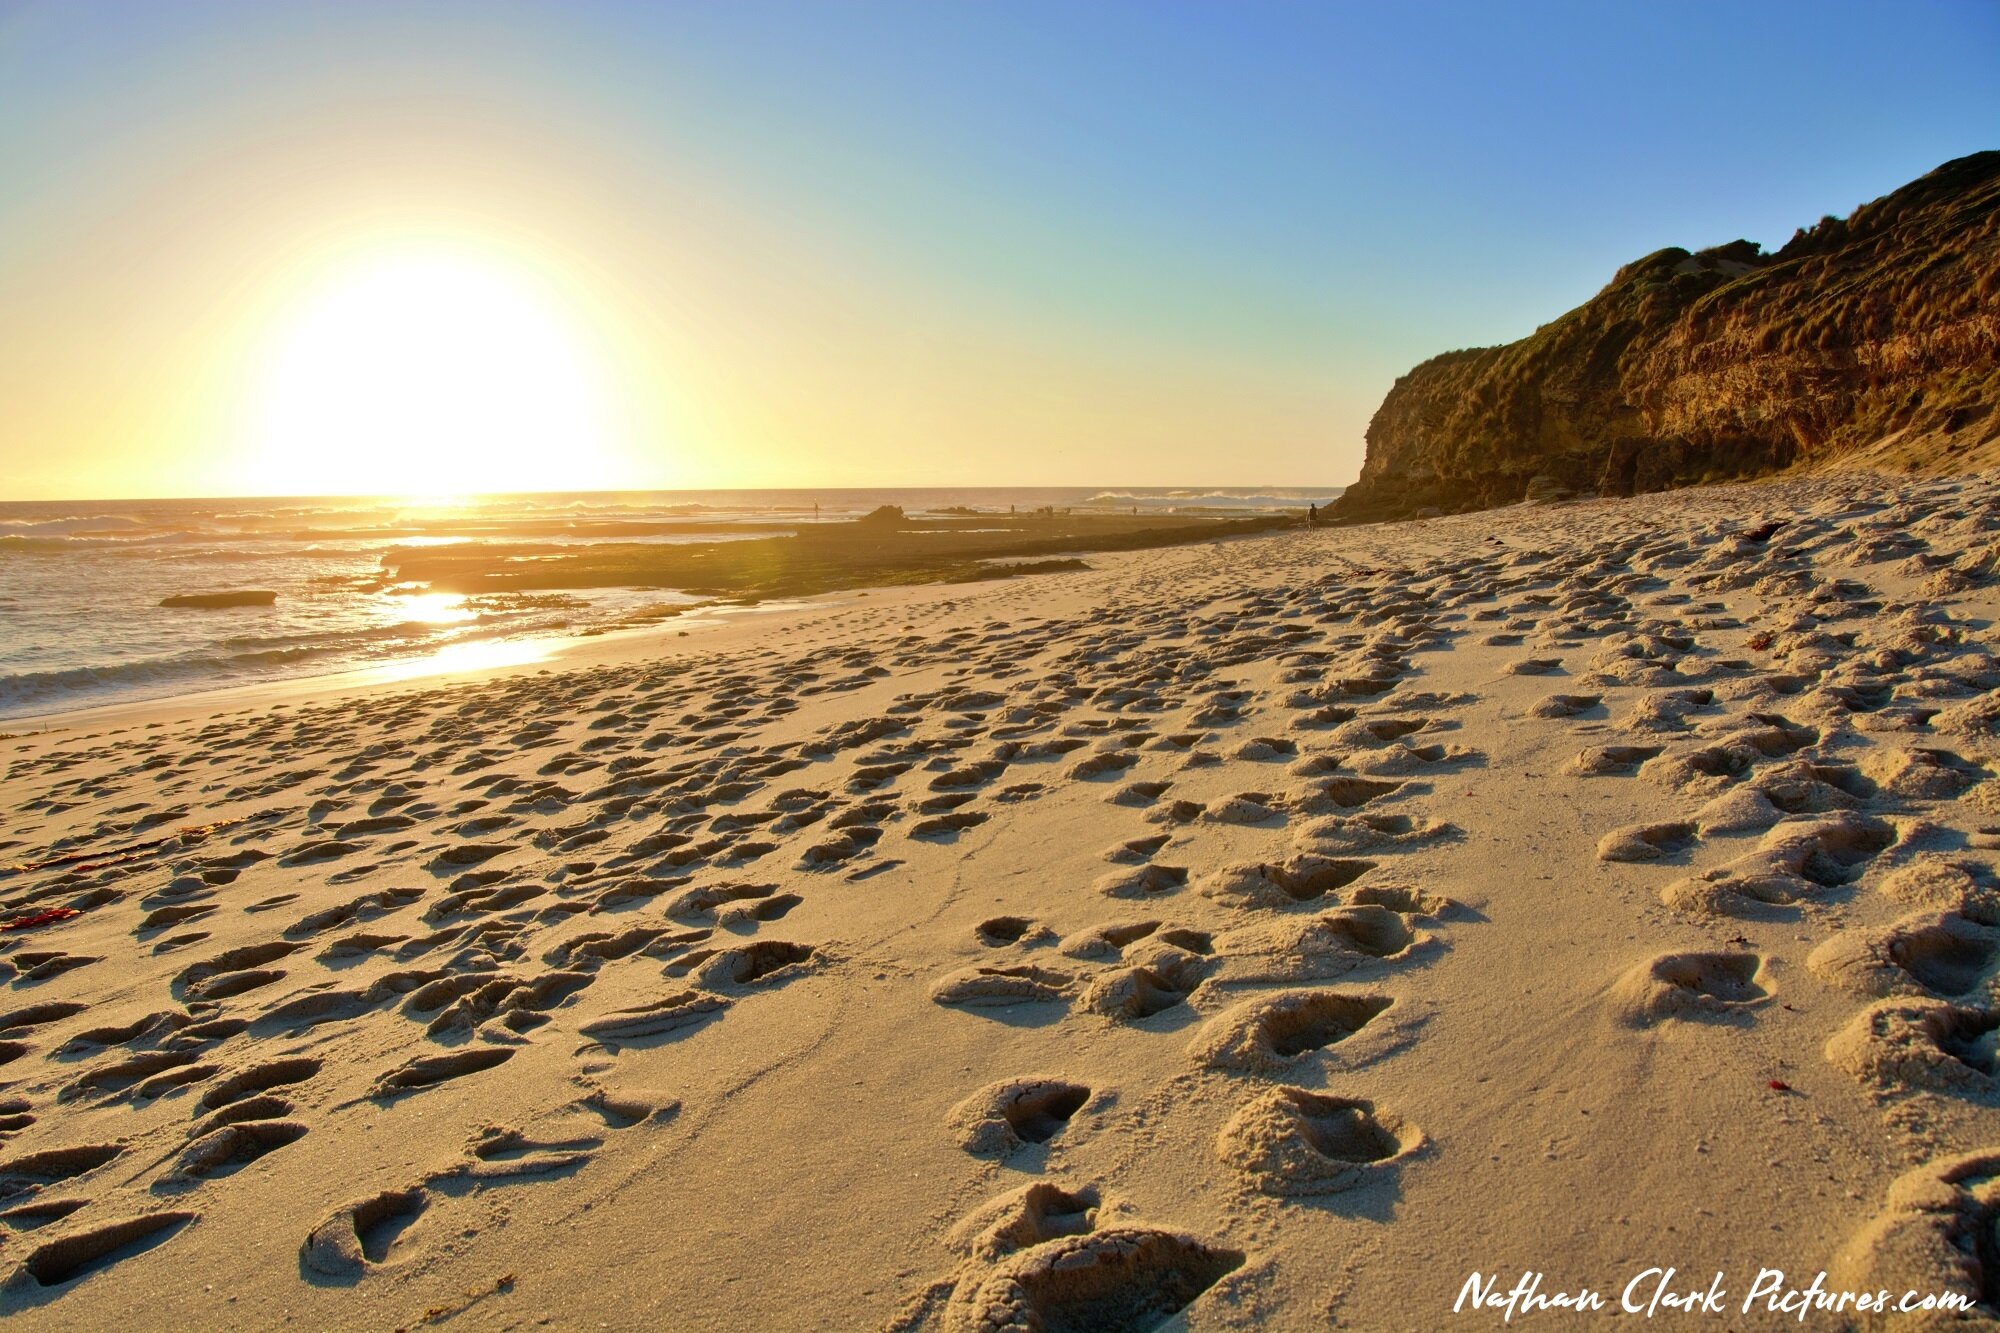
After a heavy cloud sunset the night before, with the low tide and sunset perfectly matched again, I decided to return back to the Dragon’s Head.

The attraction of low tide and sunset together at this spot, is the ability to capture the sea water as it returns from low tide, and specifically flowing over the cliff edge where the Dragon’s Head rock sits, and the chance of a beautiful backdrop of colour filled sunset sky.

It is no easy feat to travel this beach to the ideal photo point, where the angle of the rock shows it’s true Dragon shape. Your feet sink deep into this sand, with every step. You can’t even escape it’s sinking powers at the water’s edge, where you would usually escape to a firm surface. Then, you definitely need your shoes on, as you start walking on very jagged rocks of different shapes and sizes, molded by years of seas powerful waves. As you are getting closer towards the ocean, and the Dragon’s Head, something you can only do during low tide, you then find yourself walking on very slippery water filled seaweed, like small grapes, that covers and hides the rocky surface and it’s sometimes deep holes.. And, if you stay out there too long, you will soon find yourself walking back across this hazardous path towards land, in deep sea water as the tide quickly fills the whole area.

Add the strong blowing winds and salty sea spray, which you often get at most beaches, and it definitely makes for an exhilarating adventure where you put your expensive equipment, and your life, in the hands of luck or the God’s. Which ever faith you believe in most… Tonight I travelled this journey safely again, although only just, walking back in the near dark sky.

Tonight, I also had the pleasure of meeting and sharing time, stories, and pictures, with a lovely couple that had travelled many hundreds of kilometers to make it to this magic spot, and to tick it off their bucket list of Natural Victorian wonders.

RYE PIER - SAT 23RD JAN 2021

If you get one good picture a night, you can feel good.

If you stay sitting on the couch at home… you can only dream about what could have been. (Or, look at everyone else’s pictures)

Again, I would like to thank all my volunteer subjects on the pier tonight. Except the man whom walked in front of me with his bald head. Luckily for me I saw him coming, out of the corner of my eye, and I managed to capture the shot and have been able to crop it beautifully. I’ve included the original shot, and you can see the added benefit of post cropping a picture. You can also see my disappointment at missing out on the moon in this picture.

Photo Tips: There are many different types of lenses, and they all have different uses. (more on this to come later) Tonight’s pictures were taken using an 18-35mm lens. Opened right up, at 18mm, the width of the picture is so much wider than I get using my other lenses...

ROSEBUD PIER - FRI 22nd JAN 2021

Amongst the heavy ‘blue hour’ cloud, I was able to capture these smooth and calming pictures…

Picture Tips: This time I brought my tripod, so I was able to go into manual mode on the camera, and set up a long exposure of 20seconds. Setting a longer exposure time has the ability to smooth out waves, and blur people moving through your picture. (You can make out the moving persons on the bridge with blurry images). I then adjusted the aperture to get the right light exposure for the picture. Do not be afraid to take lots of pictures as you adjust through the different settings.

DROMANA PIER - MONDAY 18TH JAN 2021

A morning trip to Dromana for the kids to attend Vic Swim, and of course Dad was focusing… On the deep blue clouds and the green bay sea water…

Photo Tip: Always take a tripod… of course I didn’t again today, so these were all hand held with a 70-200mm lens. When using such a zoom lens, camera shake is even harder to control. Unfortunately many of these pictures have a slight blur to them. It is very hard to bend, hold still in near gale force winds, and most importantly, remember to breathe…

These shots were all taken in manual aperture mode. Being able to set your own aperture, enables a more focused overall picture. It has also slowed down the exposure, creating deeper colours, and the softer wave lines. (But wait, more on these settings will be coming soon !!)

ANTHONY'S NOSE, DROMANA - WED 13th JAN 2021

Going out with friends, and walking in the sea water at sunset, is a great way to end a day.

My camera of choice is a Nikon D800E. It offers a huge 36 Megapixels of stunning ‘full frame' detail and colour in each photo. However, it is also a very heavy and an expensive camera to carry around.

Tonight’s pictures were taken with a Nikon D5100, a 16 Megapixel cropped sensor camera. There are many differences between the cropped sensor and full frame sensor cameras, one being, the cropped sensor cameras, being made with different quality material, are a lighter unit than the full frame cameras. This makes them much easier to carry around your neck for long periods and on hot days.. And, while you would still cry, you would not cry as much if you dropped a cropped sensor camera in the ocean as you would a full frame sensor camera.. ($$)

I moved between a 18-140mm and an 18-200mm lens tonight. (Both recent 2nd hand purchases). There was no tripod brought along, so long exposure was out of the question. (It would just be too blurry from camera movement).

The advantage of having such a large zoom lens, as the 18-200mm, is that you can really zoom in on the action. In this case, the sun setting, and subsequently, the immediate sky around the sunset.

You can see in the last two pictures below, how using a zoom lens can fill your picture differently.

NUMBER 16 BEACH - MON 11th JAN 2021

The sky was heavy with bright blue clouds, and they didn’t seem to be moving.

Reviewing the radar, I decided a drive to the ocean beach side of the land was in order.

Number 16 Beach on the ocean side, is quite close to us. You would remember from the 4th December, that this is where ‘Dragon’s Head’ is located. This is a beautiful spot, but, there is a bit of a walk from the car park, through the dunes to get to the beach, and the steps are in need of repair work, especially the last, which is a good foot off the sand. And, talking about the sand, it is very heavy to walk through. The sort where every step you take your feet sinks into the depths, and you have to pull your foot out to prepare for the next step.…

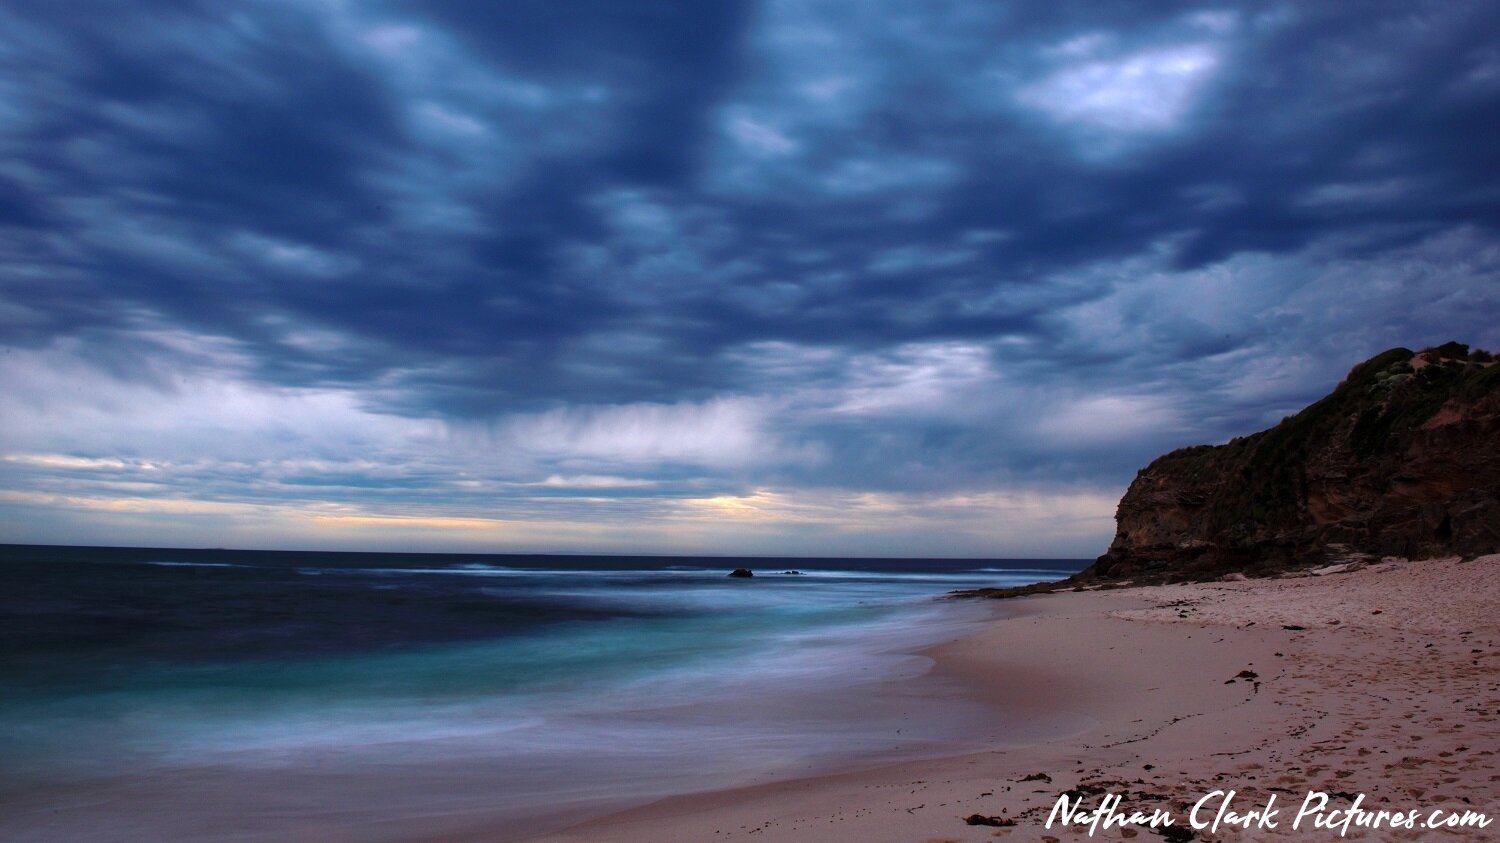
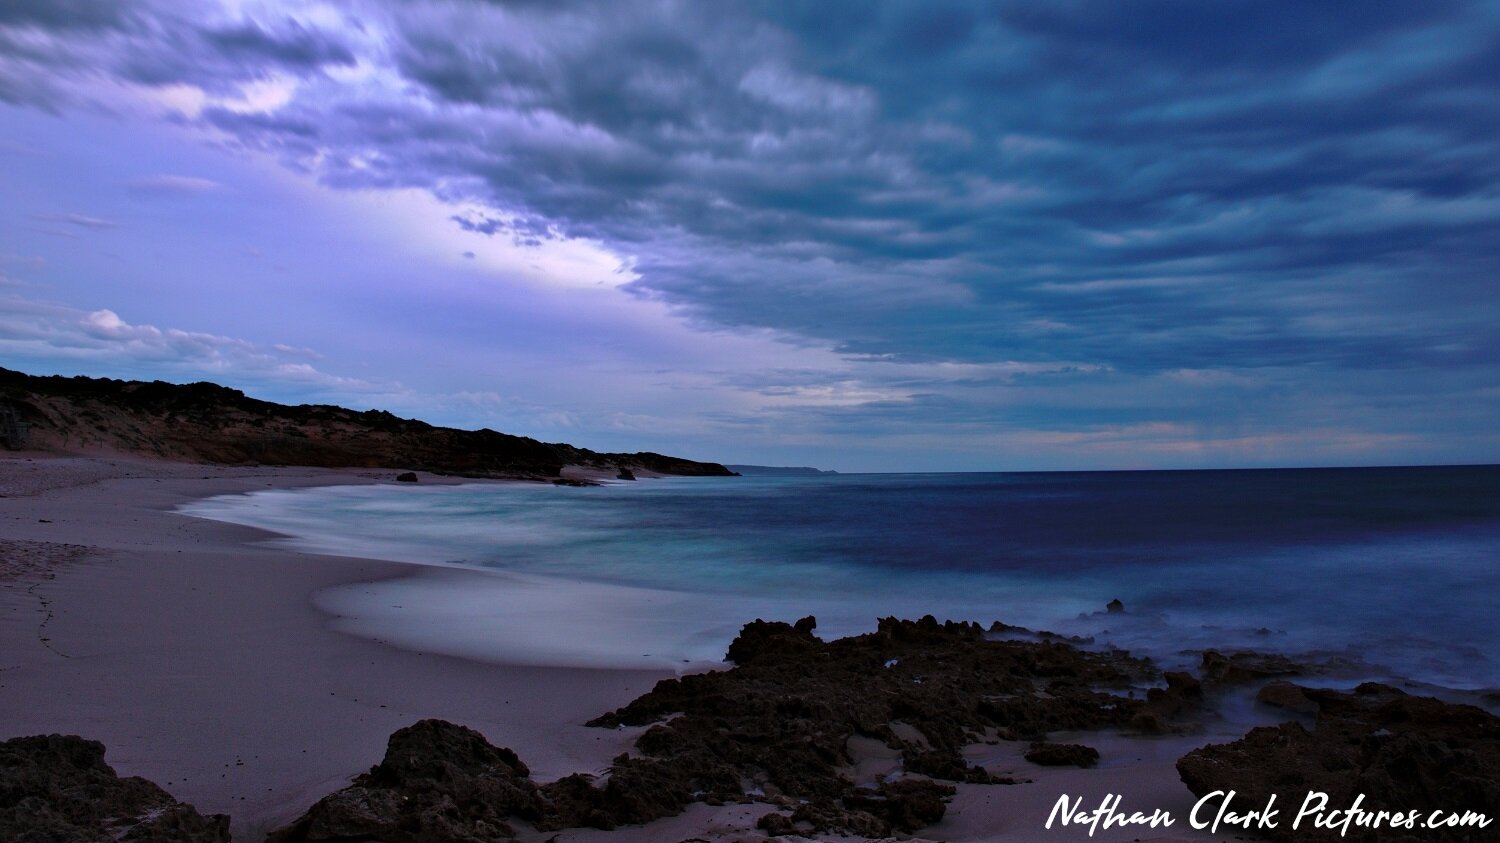
Photo Tip: Again, with the use of a tripod, I was able to venture into Manual mode. I set the exposure time at about 15 seconds, and I adjusted the aperture setting up and down a bit to adjust the amount of light showing on the pictures. The longer exposure changes the waves smashing onto the beach and rocks, into a smooth flowing image. A long exposure time can also add character and blur to fast moving clouds. Unfortunately these ones weren’t really moving tonight.

MORNINGTON PENINSULA FWY - SUN 10th Jan 2021

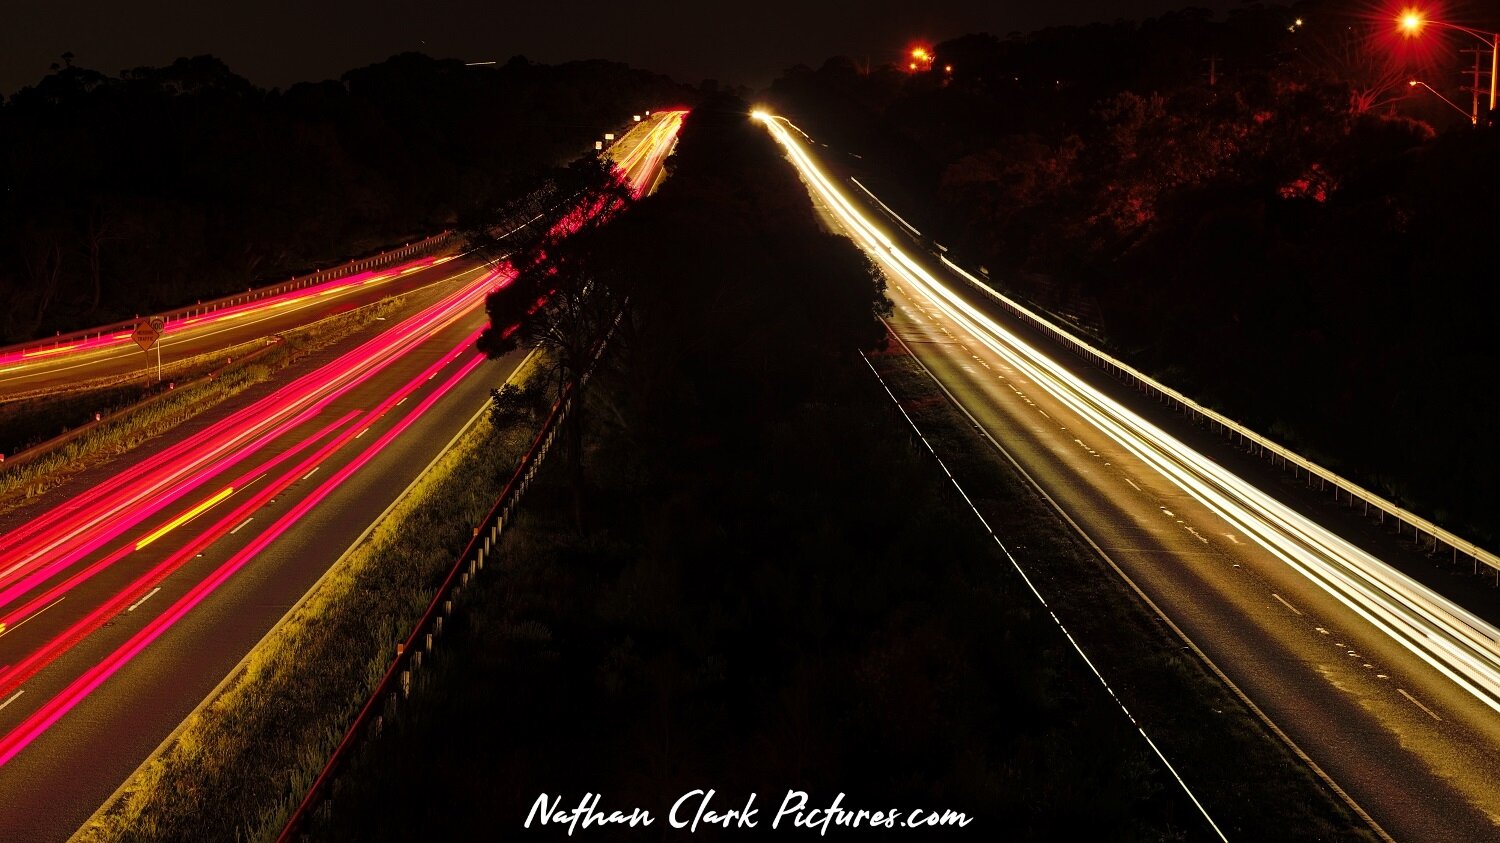
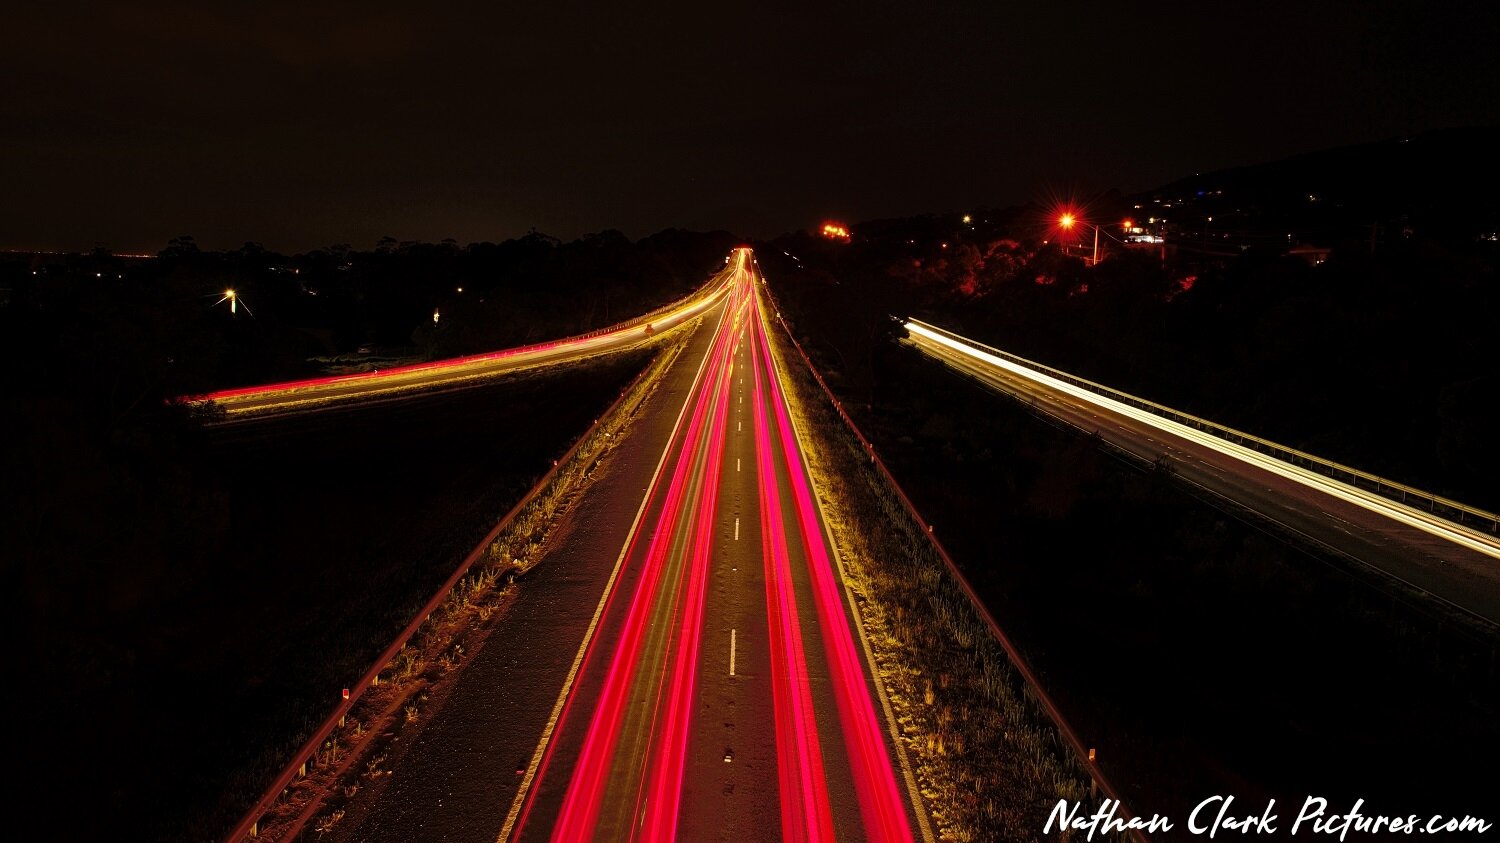
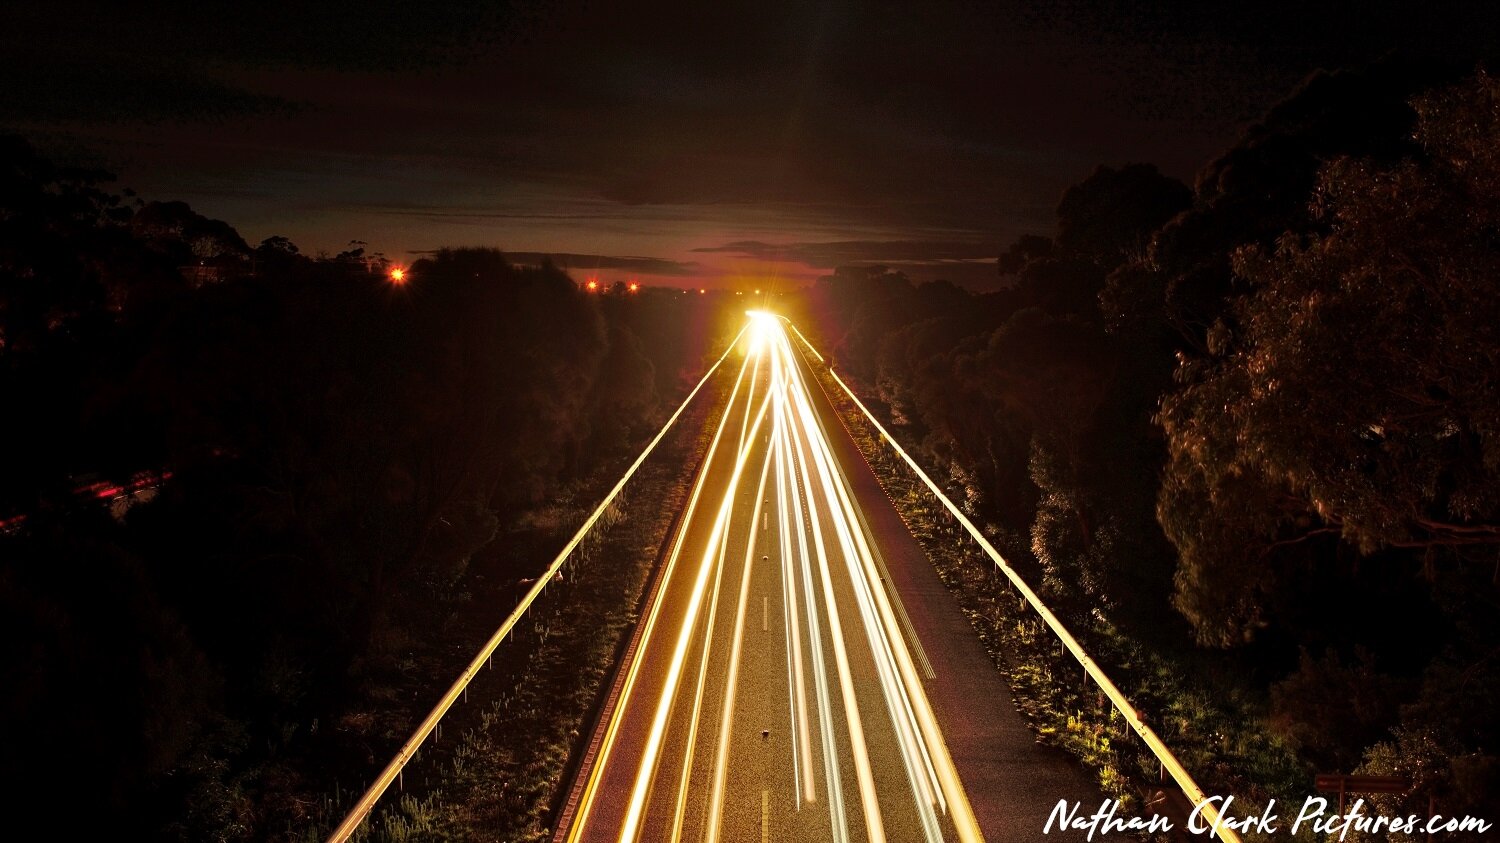
With the traffic so busy at the end of the hot day and weekend, I thought I would go capture some light trails on the freeway.

There are 2 safe bridges to stand on and take pictures from near the end of the freeway. You do want to be very careful though, and I held onto my camera strap at all times.

Photo Tips:

It is time to play when you want to take long exposure photo’s like these, and venture into Manual Mode. These light streaks are caused by the shutter being open for a longer time than a normal picture would be, when in Auto or Program mode. The longer the shutter is open, the longer the light has to pass across the sensor, making the light lines you can see.

Take your first picture, and zoom in on it and check it is in focus. Then, look at the exposure. Is it too dark or too light? If it is too dark, make the exposure time longer. If it is too bright, reduce the exposure time. Try starting off with 10 seconds exposure to see what the picture is like, and then adjust from there. When you feel you know what you are doing with your exposure settings, you can also play with your ISO and aperture. The second and third pictures, below, were taken with 100ISO. Then I moved the setting to 800ISO, and what a difference it made to the background lights!

Oh, and remember, you will need your tripod to do this!

ROSEBUD FORESHORE - SUN 10th Jan 2021

I really wasn’t interested in going out… But, I thought I had better, or everyone would have had the ‘magic’ sunset, that I would have missed…

Well, I was glad I went, as on arrival, there was a sole pelican resting in the shallow waters… What an amazing bit of luck.

Photo Tips:

1) Zoom in for bright concentrated colours, and go wide for the full range. If you take a look at the 1st and 2nd shots, while they are a little different in angle, you will see number one is simply a lens zoom of the second shot which is taken at wide angle lens. Exactly the same lens, just one picture taken at 24mm, and the other at 70mm.

2) I know I’ve mentioned it before, but if you’ve got time, stick around for ‘Blue hour’, which isn’t really an hour, but a period of time after the sun sets, till the sky goes completely black. This way you get to see all the changing colours in the sky and clouds.

3) And, finally for today, remember to take your tripod with you. Many of these shots were taken with long exposure, of 15seconds or more. These shots are going to end up blurry if you can’t stabalise the camera from any movement. Note, long exposure is how you make the water so smooth. But, if things move within your shot, they will create a blur. Check out the pelican close up, when he moved onto the sand bar, and you can see a little blur of his head, because he moved ever so slightly. Also, go back and have a look at the boat at the end of the pier on Sat 9th Jan 2021 !

Oh, and remember to look behind you, not just in front.