Everyone is talking about the ‘Super Pink Moon’, and you’ll see pictures appearing all over social media and the news. Taking pictures of the moon can seem pointless and frustrating at the best of times. You see others magical pictures of Big amazing moons, and yet when you take your picture, it just turns out like a big white dot !?
Well, I’m going to tell you that yes, you too can take these pictures. You just need to venture out of your comfort zone from the Auto Mode, into Manual mode. And, as always, the more money you put into your equipment, the better quality image you will have at the end, but, YES, YOU can do this… !!
Which ever way you look at it, night time photography has it’s issues. To start with, it is late, and that generally means you have been up all day, and are now tired, and should be in bed. Next, it is dark. So, finding all the buttons and settings for your camera is much more difficult than in daylight. And, depending on the time of year, it is likely to be cold, so you have layers of clothes on, making it bulky and difficult to move. You may even need to have gloves on to keep your fingers on your hands.
To help combat these issues, it is best to try and work out how to change your settings when in the warmth and light of day, or at home, before setting out. Work out how to move into Manual mode, and how to change these 4 settings, ISO, White Balance, Aperture, (‘f’ settings), and Shutter Speed. Yes, you could need to play with all these settings to get the right picture.
The moon is a changing light, and, it is a moving light, so your settings one night may not work for you the next night you are out. Being able to adjust the amount of light onto the sensor will make the difference between a white dot, and a characteristic moon.
I recommend moving your ISO from Auto to Manual, and start at 100 ISO. This will make for low ‘noise’ in the picture. (less grain)
Next, set your Aperture at f9. As you know, the smaller the f number, the more light that is let onto the sensor. It also gives a more concentrated focus on the details of the subject. This f9 setting will allow a fair amount of light through, which then allows you to play with the Shutter Speed.
Try starting out at 1/125th of a second for your Shutter Speed, and see what the difference is as you go slower or faster. When your lens is at it’s full focused distance, you will notice that camera shake, especially when hand held, is more noticeable. By using a quicker Shutter Speed, instead of a slower shutter speed with a longer exposure time, you will reduce this camera shake.
Once you feel you have the other settings right, you can change your WB (White Balance). Moving this setting between sunny, cloudy or flash for instance, can magically create a white, blue, or yellow moon.
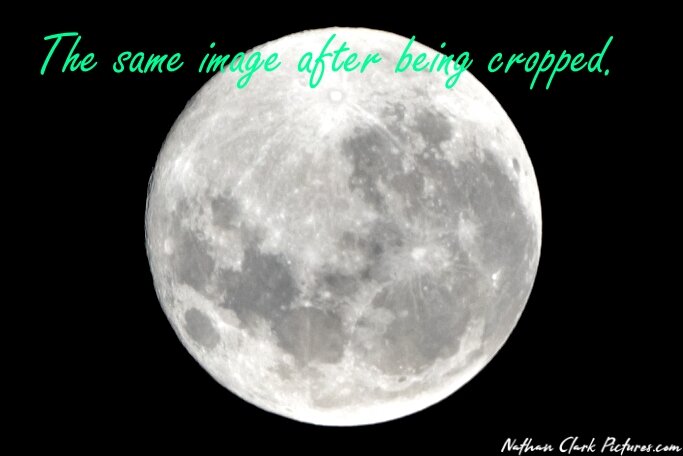
Finally, when you have your perfect picture, Crop it. Cropping a picture makes the subject appear bigger. In most cases, you can easily do this in camera.
But, none of this is going to happen if you don’t grab your camera and get out there. I recommend you go into your own backyard and start practicing, before taking a trip out far away….


